LED guage cluster install
 07-11-2007, 04:39 PM
#1
Contributing Member
Thread Starter
iTrader: (2)
Join Date: Aug 2004
Location: Misawa, Japan
Posts: 5,091
LED guage cluster install
Hello boys and girls
So.. you tired of looking at your old dull gauge cluster and you don't wanna go with one of those USDM tyte indiglo gauge layover setups??? well here is something for you that will cost you no more than 11 bucks with shipping. i seen this done on another forum and now i bring it to you guys and gals.
Tools/Material needed
5x 194 Led's ( your choice) http://www.superbrightleds.com/mini-wedge.html
( ALERT you don't need the 5th bulb... the gas light seem to have its own big *** bulb... also if you put a LED in the gas light, it will say on due to current flow)
rubber/vinyl gloves
Phillips screw driver
19mm socket
ratchet or breaker bar
----------------------------------------------------------------
1. this step is optional, but you can remove your wheel quickly to give yourself more room and also make it easier to remove your gauge cluster bezel without breaking it... 15 year old plastic is brittle.

2.remove the following screws

3.unhook those two clips by pulling downward on them ( excuse my birds nest, i got a chance to clean it up)

4.In order to remove the bezel you must unhook the following devices


5.Remove these three screws to remove the cluster. once the screws are out, place you fingers around the upper portion of the cluster and pull down and toward you and cluster will pop out....... relax Heman's

6.Unhook following connections to remove cluster

7. Get your Led's ready to go. make sure you have gloves on at this point.

8. Remove one at a time by twisting the connections clock-wise

out with the old

in with the new

9. hook connections back up to cluster and test them.. if you see that you have a black out spot that means you have to take that led back out rotate it and re-insert it. they are not revers polarity. that means that the positive and negative nodes must match the led's respectively. once you got all power just reverse your steps from above and your done

later on im going to personally take the other smaller lights ( gas, oil, etc) out and insert hyper white led's in them
results of your 20-30 min of labor
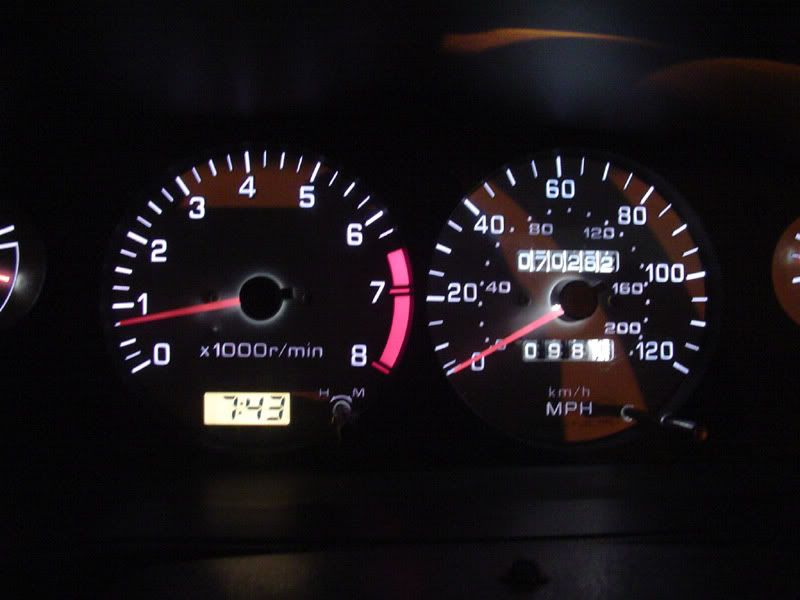
Before

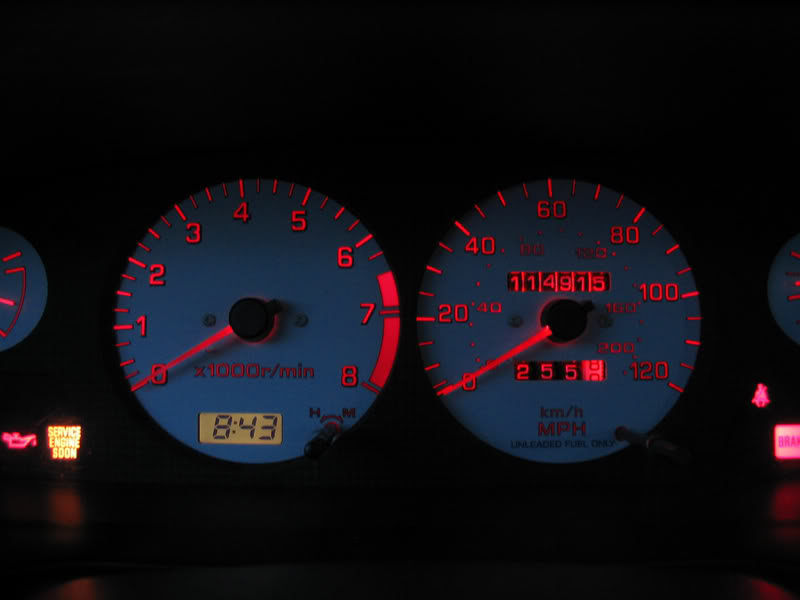
After ( Day time shots with different camera exposures)


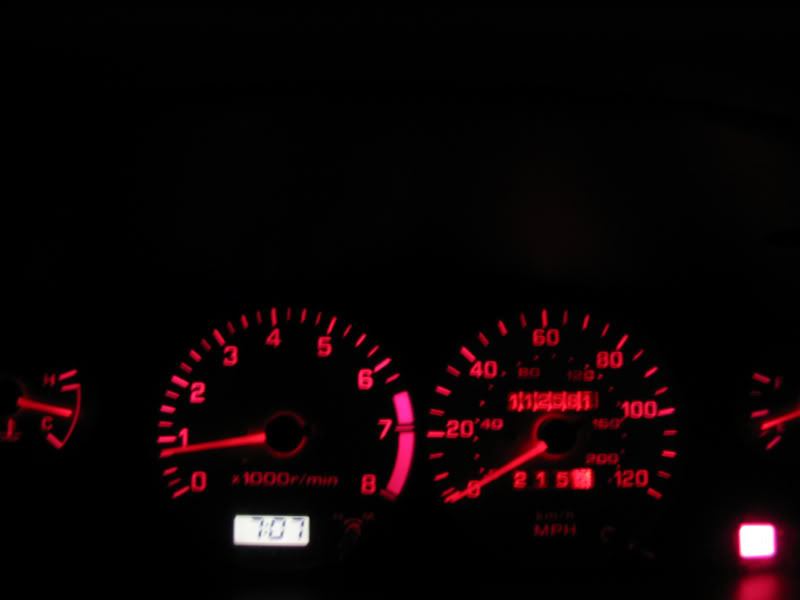
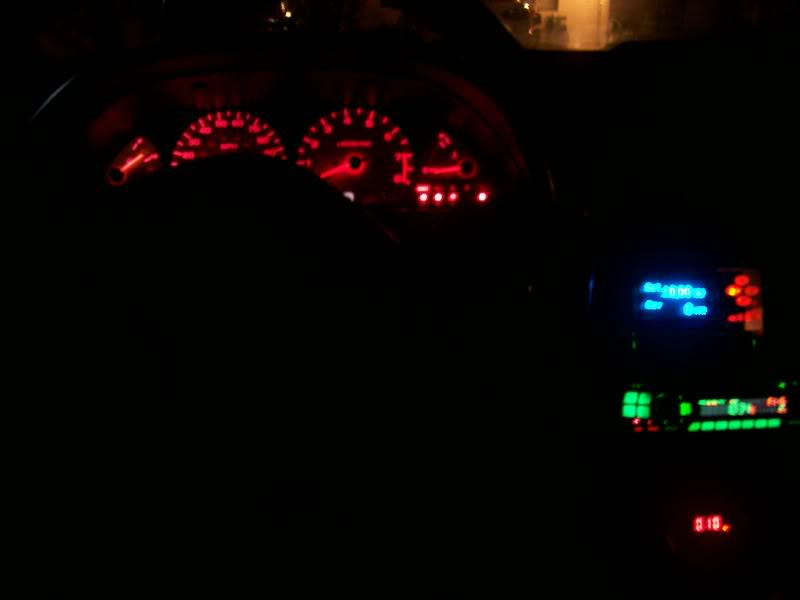
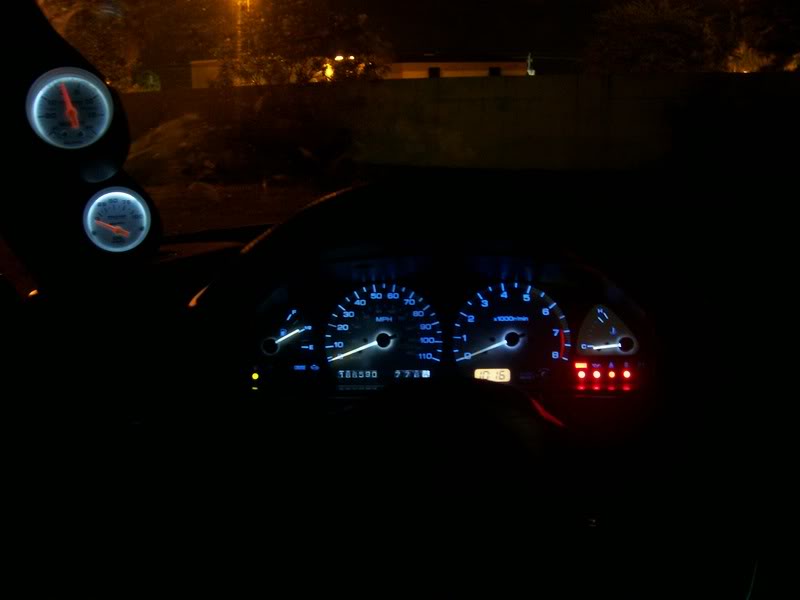
After ( Night time shot)


So.. you tired of looking at your old dull gauge cluster and you don't wanna go with one of those USDM tyte indiglo gauge layover setups??? well here is something for you that will cost you no more than 11 bucks with shipping. i seen this done on another forum and now i bring it to you guys and gals.
Tools/Material needed
5x 194 Led's ( your choice) http://www.superbrightleds.com/mini-wedge.html
( ALERT you don't need the 5th bulb... the gas light seem to have its own big *** bulb... also if you put a LED in the gas light, it will say on due to current flow)
rubber/vinyl gloves
Phillips screw driver
19mm socket
ratchet or breaker bar
----------------------------------------------------------------
1. this step is optional, but you can remove your wheel quickly to give yourself more room and also make it easier to remove your gauge cluster bezel without breaking it... 15 year old plastic is brittle.
2.remove the following screws
3.unhook those two clips by pulling downward on them ( excuse my birds nest, i got a chance to clean it up)
4.In order to remove the bezel you must unhook the following devices
5.Remove these three screws to remove the cluster. once the screws are out, place you fingers around the upper portion of the cluster and pull down and toward you and cluster will pop out....... relax Heman's
6.Unhook following connections to remove cluster
7. Get your Led's ready to go. make sure you have gloves on at this point.
8. Remove one at a time by twisting the connections clock-wise
out with the old
in with the new
9. hook connections back up to cluster and test them.. if you see that you have a black out spot that means you have to take that led back out rotate it and re-insert it. they are not revers polarity. that means that the positive and negative nodes must match the led's respectively. once you got all power just reverse your steps from above and your done
later on im going to personally take the other smaller lights ( gas, oil, etc) out and insert hyper white led's in them
results of your 20-30 min of labor
Before
After ( Day time shots with different camera exposures)
After ( Night time shot)
Last edited by Biggamehit; 07-30-2007 at 06:09 AM.
 07-11-2007, 07:59 PM
#6
Registered User

Join Date: Jun 2003
Location: Harrisburg, PA
Posts: 8,440
The ones I had in my car from them were way too dark, a lot darker then the Jetta. It was so hard to see the damn things at night. This picture doesn't make them look too bad, but they were much darker in person

Actually have amber now

Actually have amber now
Last edited by Bryan; 07-11-2007 at 08:03 PM.


 07-12-2007, 06:59 AM
#9
Contributing Member
Join Date: Sep 2002
Location: Starkville, MS.
Posts: 1,192
Man that is sick! They look, light and show up that good on camera during the day...they must really be bright at night. I need to do this and ditch my JDM tyte reverse glows! Excellent write-up with very nice pics to boot!
07-12-2007, 08:40 AM
#11
Registered User
Join Date: Jun 2003
Location: Harrisburg, PA
Posts: 8,440
 07-12-2007, 01:04 PM
#14
I had those in my car for like 5 months now. They are some chinese crap that was supposed to be hyper white but really lights up purple. The other day the middle LED burned out. I need to find a place that sells good leds... anybody know of a place?