
S13 Wheel Stud Replacement

Thread Starter
Contributing Member
Joined: Sep 2002
Posts: 1,192
From: Starkville, MS.
S13 Wheel Stud Replacement
I finally got off my duff and replaced that wheel stud that I broke a couple of months ago.
Tools needed:
Jack
Jackstands
Socket wrench
17mm socket
14mm socket
3lb. hammer
Washers
Lug wrench
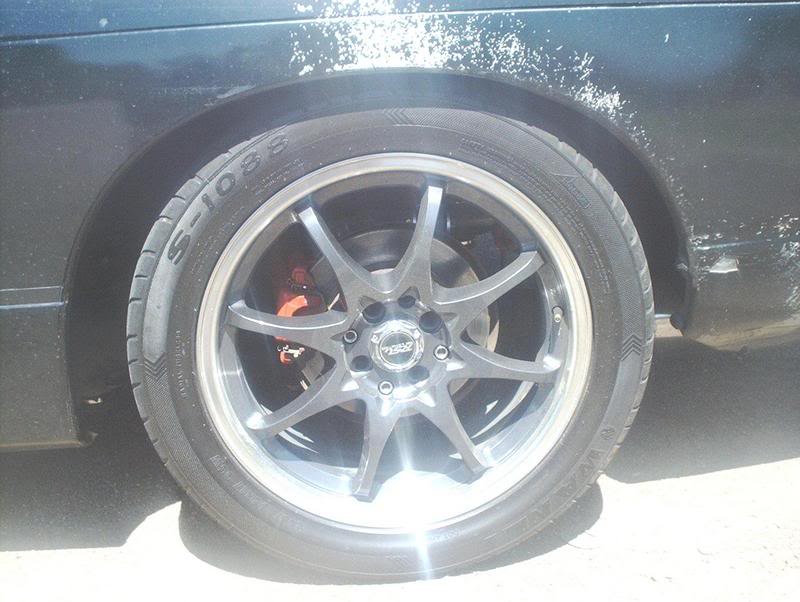
I've been riding around for a couple of months now with one missing lug nut on my rear drivers side...it ends today!
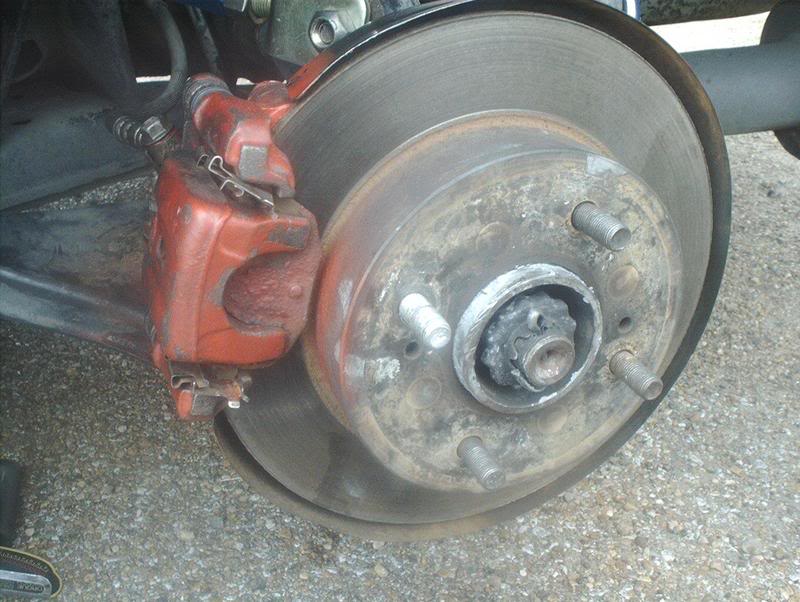
First, jack the car up, place your jackstands in the appropriate places and remove the wheels. In order to gain access to the hub so that you can remove the broken wheel stud, you need to remove the brake caliper and the brake rotor.
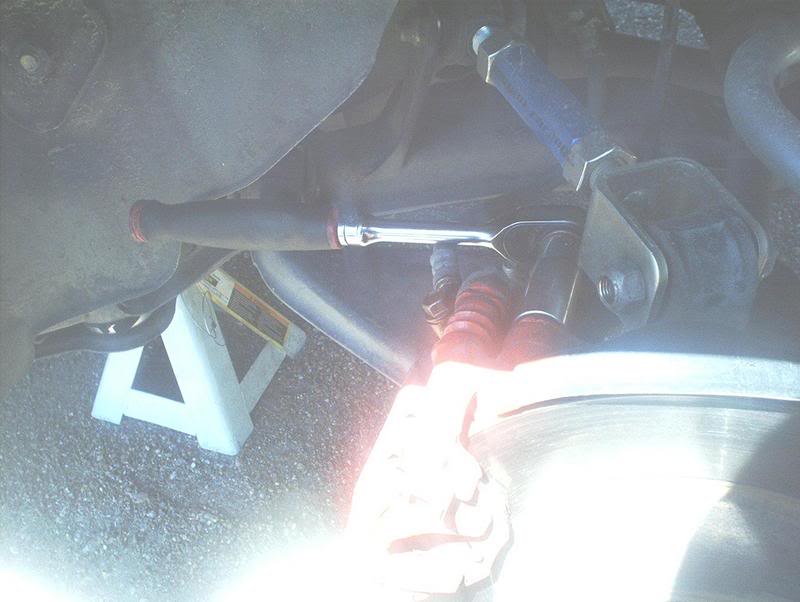
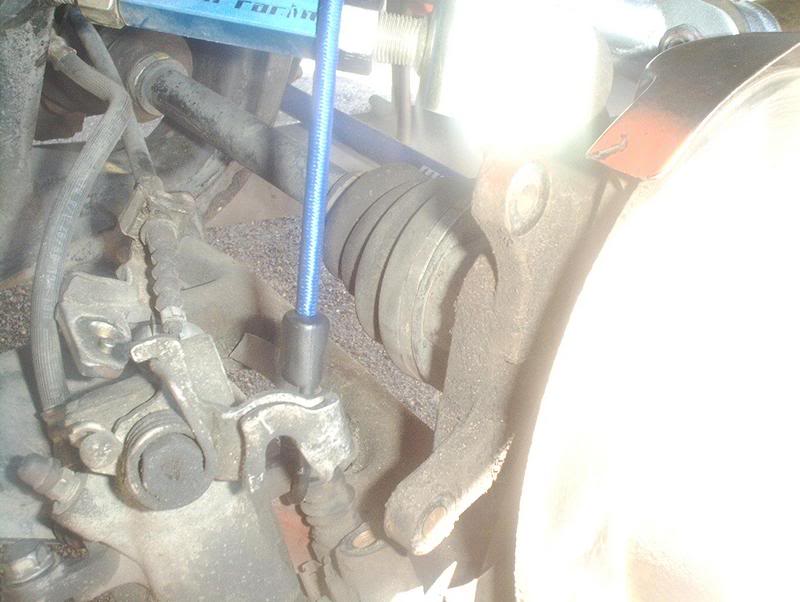
In order to get the rotors on and off you'll need to remove the brake caliper. You start by removing the torque member bolt with a 17mm socket. There are two bolts on the torque member, top and bottom. This is the top bolt.
This is the bottom torque member bolt.
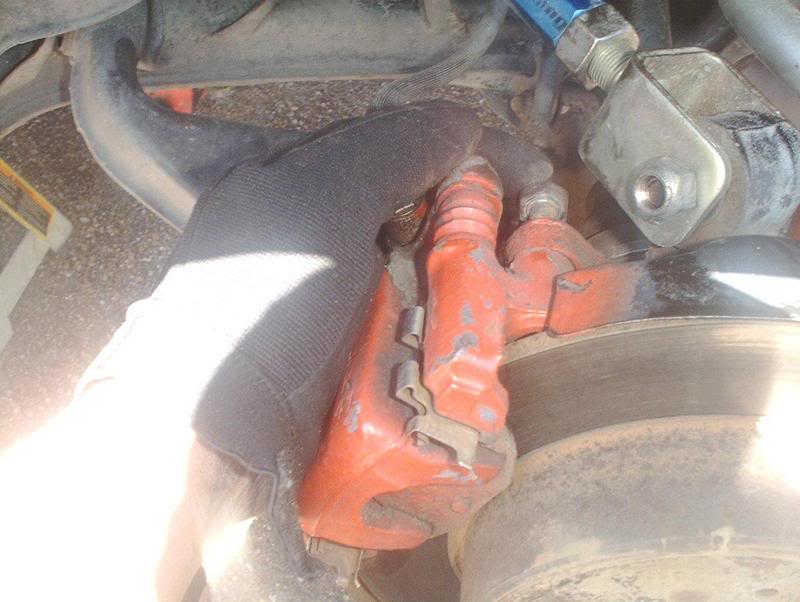
Torque member bolt-top.
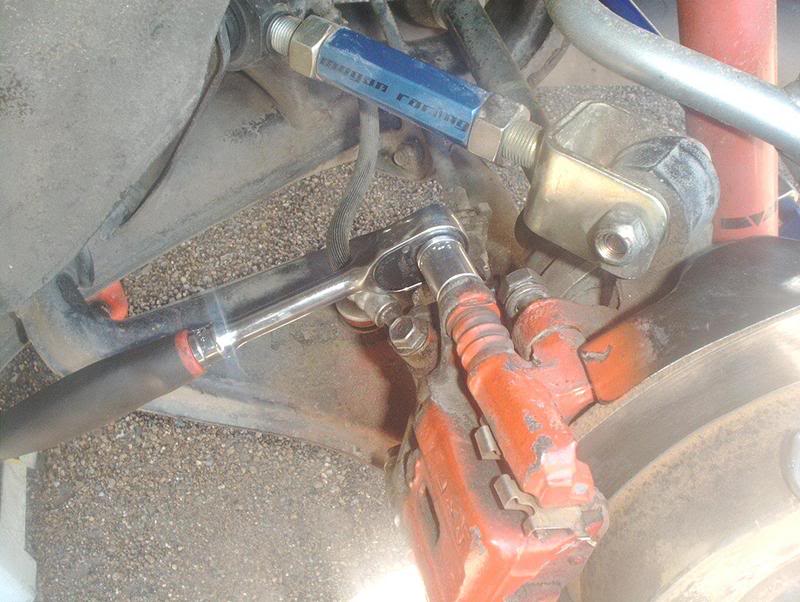
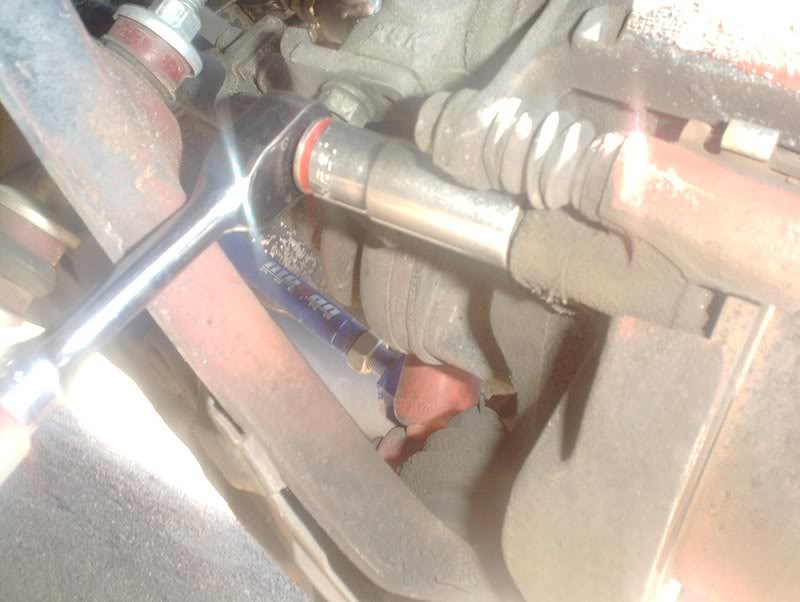
If you can't wriggle the caliper off then you may need to slightly loosen the pin bolts. There are two pin bolts. This is the top pin bolt.
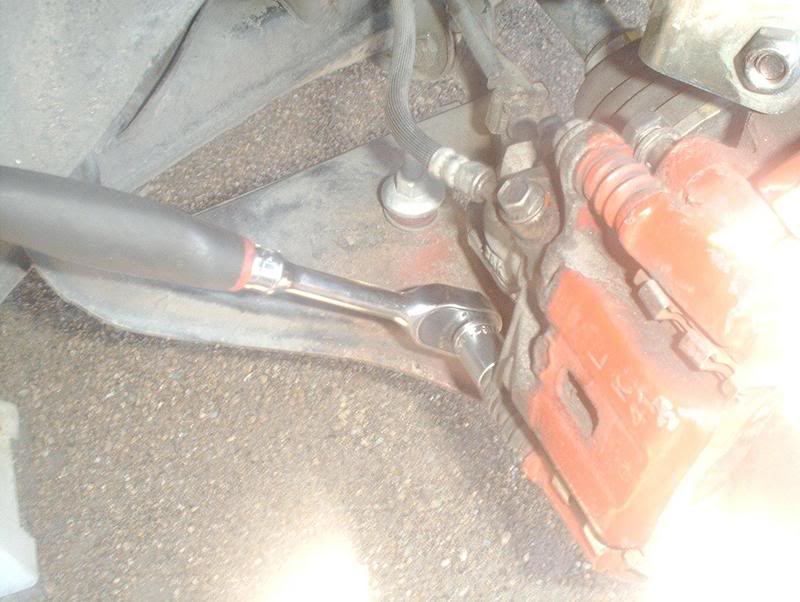
This is the bottom pin bolt.

Here's the caliper.
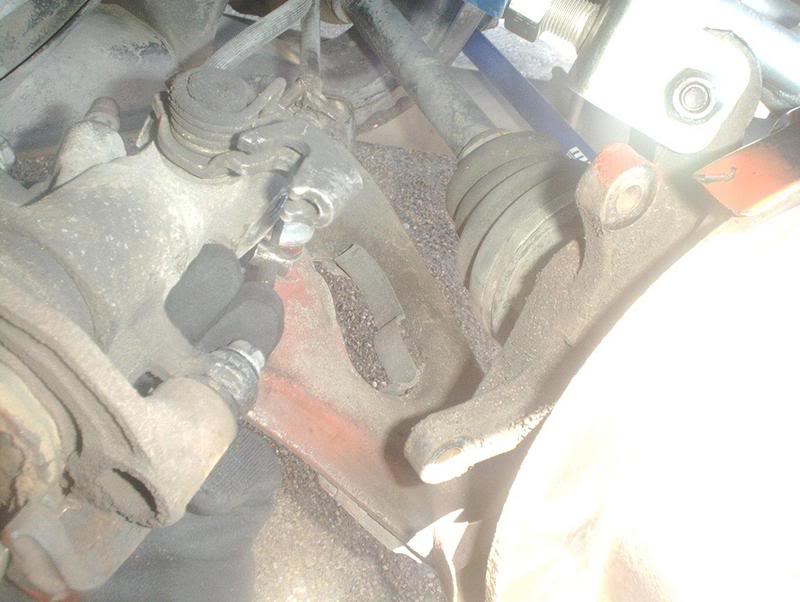
Here's the torque member that it bolts to.
You don't want the caliper hanging by the brake line, which could damage the line, so you use something to hold the caliper with while keeping stress off the brake line. I didn't have any metal coat hangers so I used a small bungee cord. Put one end on the top of your springs and hang the other on the caliper.
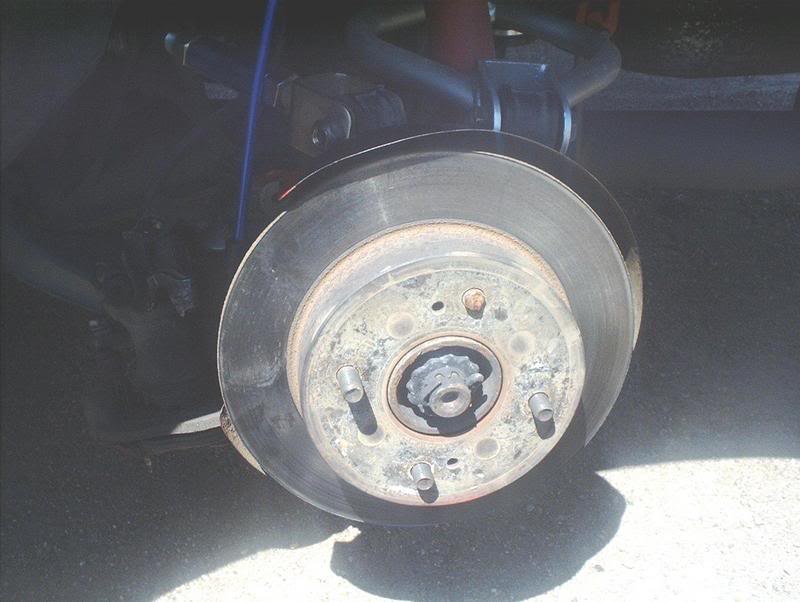
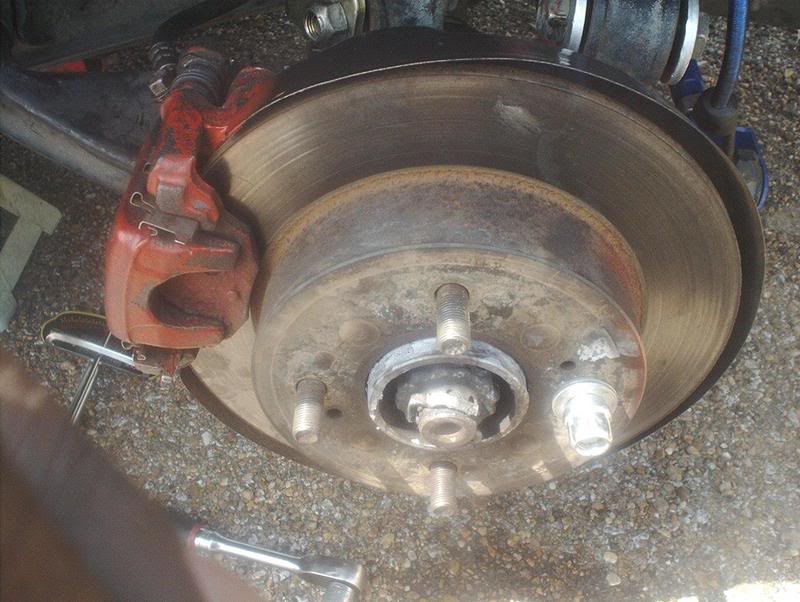
Rotor
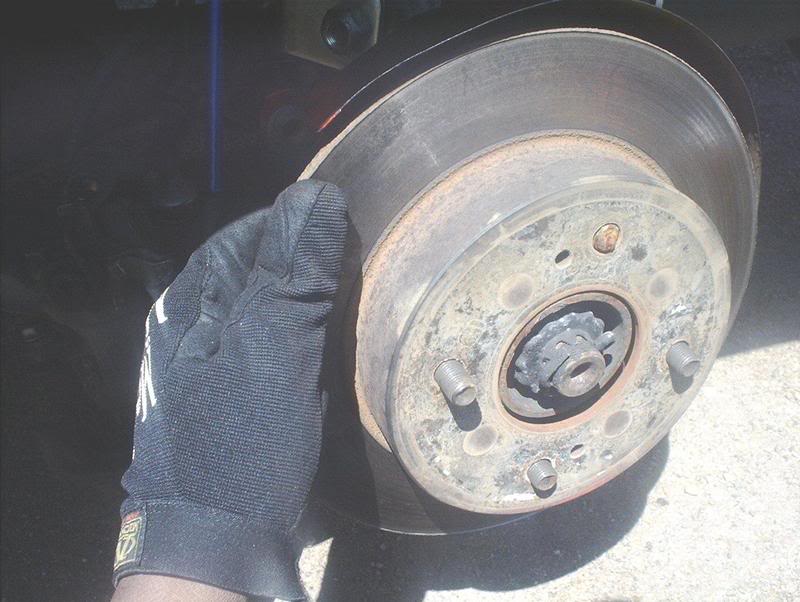
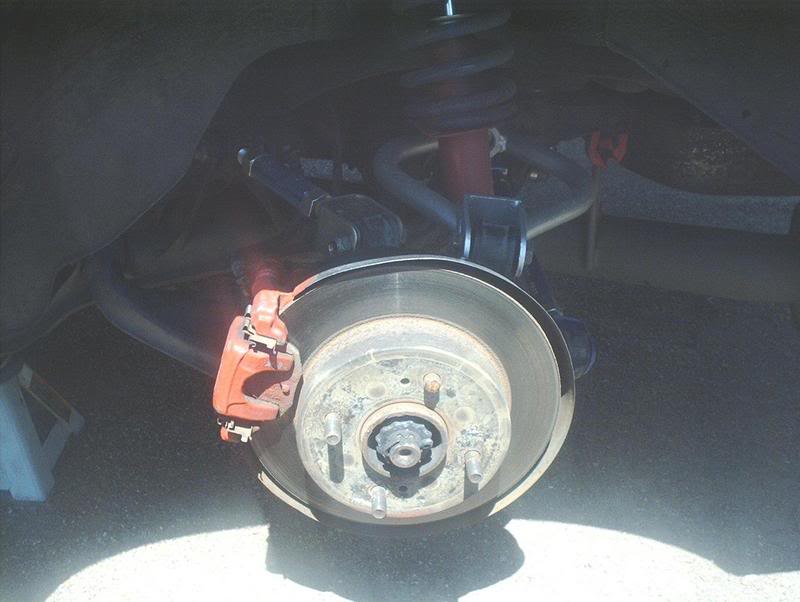
The rear rotor is slip-fit so it just comes off when you pull it.

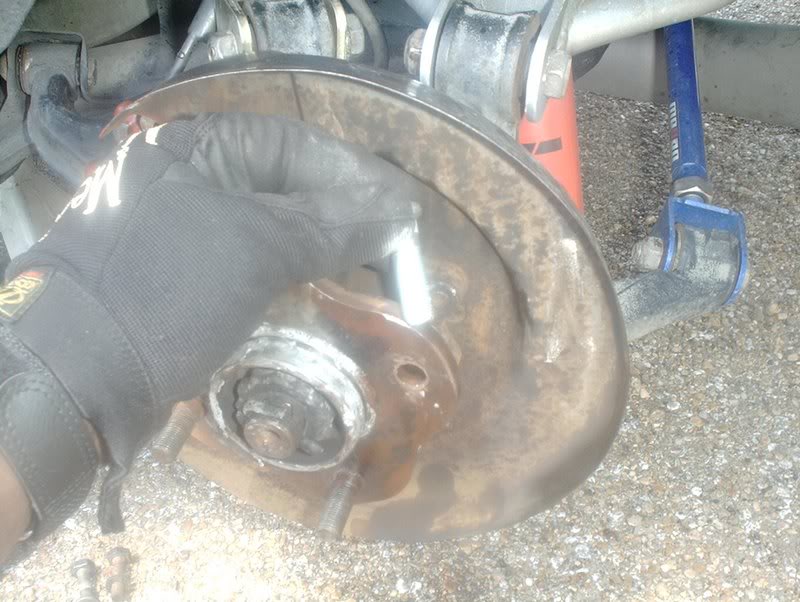
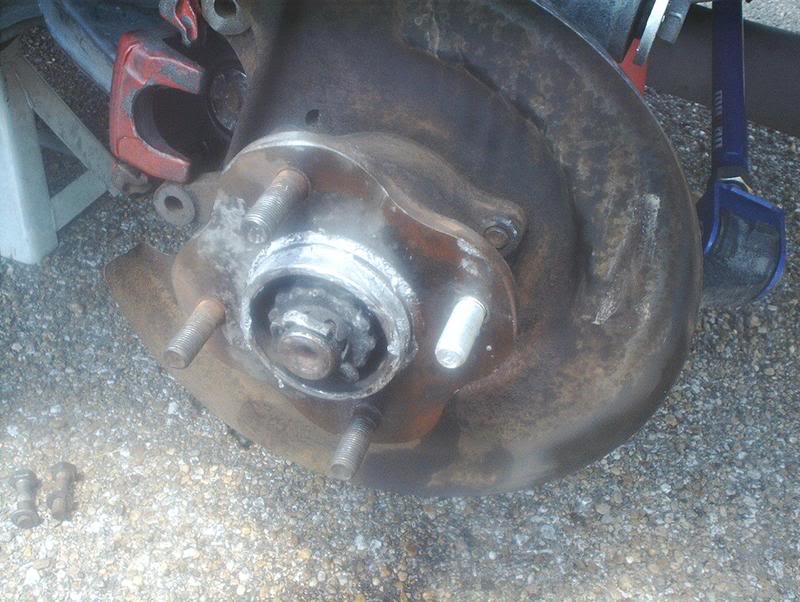
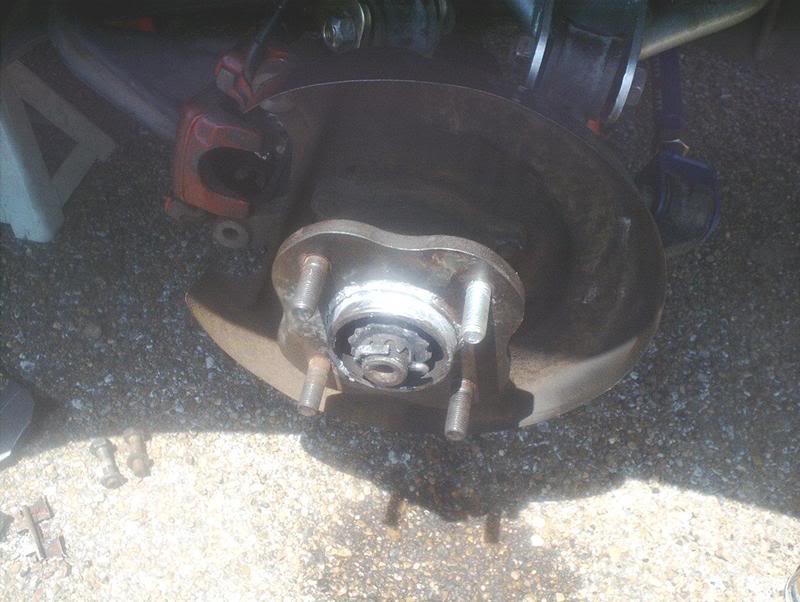
Exposed hub.
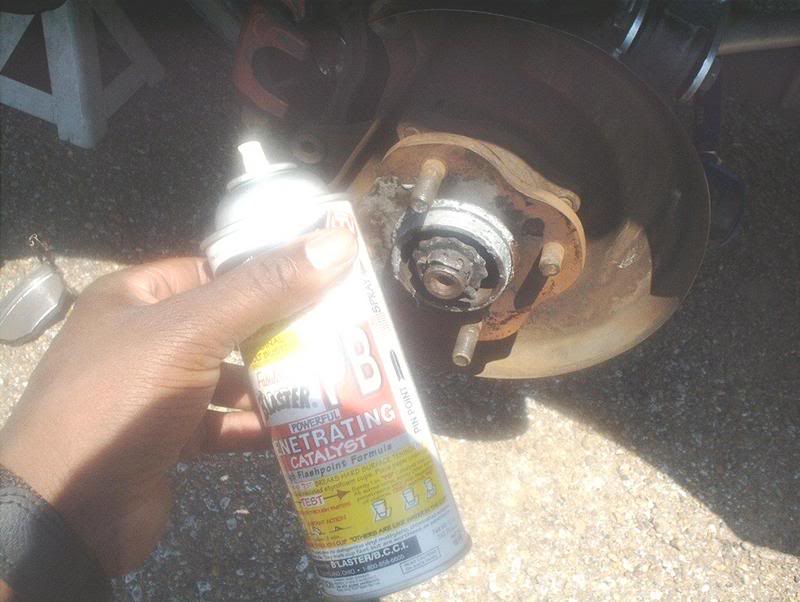
You'll probably find that the wheel stud is rusted so hit it with some PB Blaster and let it sit for 10 minutes.
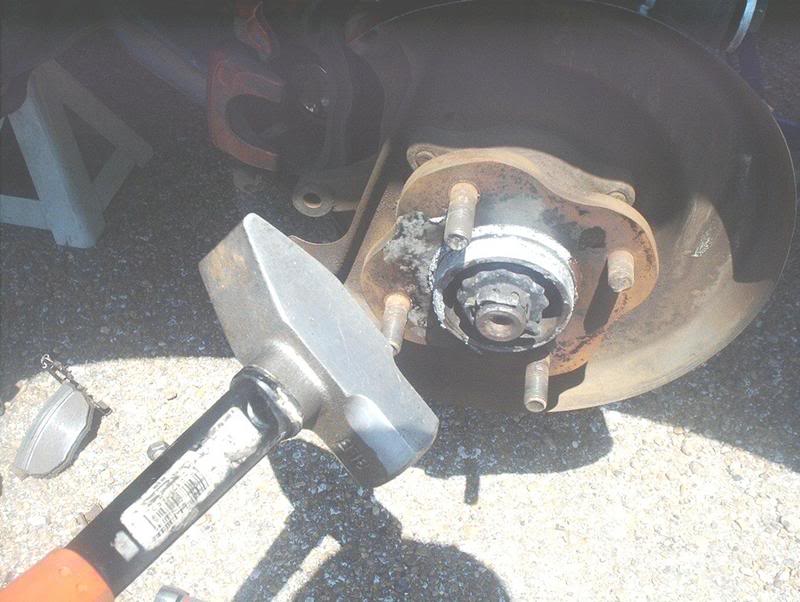
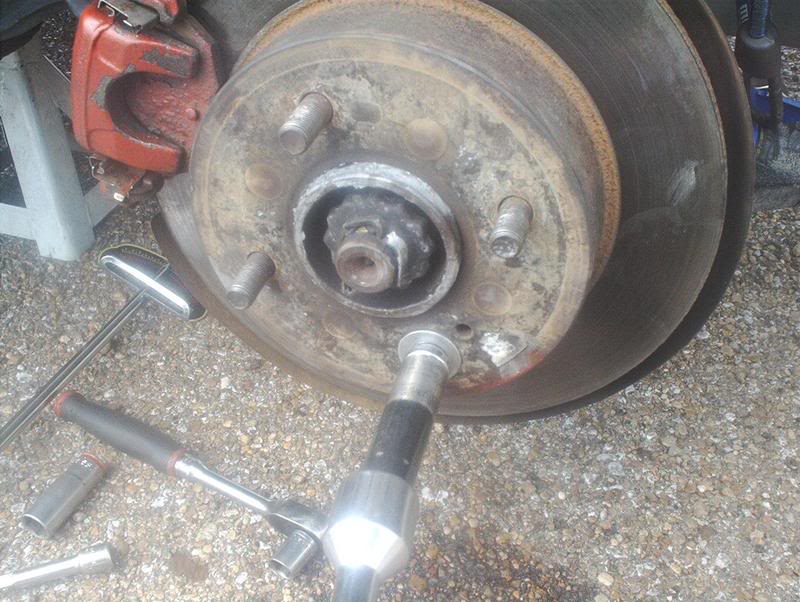
After the PB does it's thing, you're ready to knock out the wheel stud.
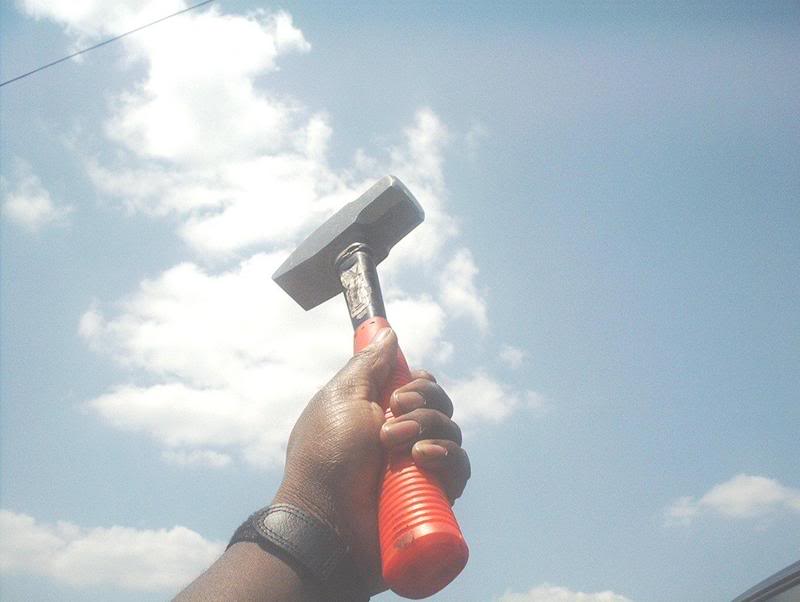
Grab your trusty hammer like the Mighty Thor and raise it toward the heavens...uh, the Mighty Thor isn't black and he doesn't wear a wrist watch either.
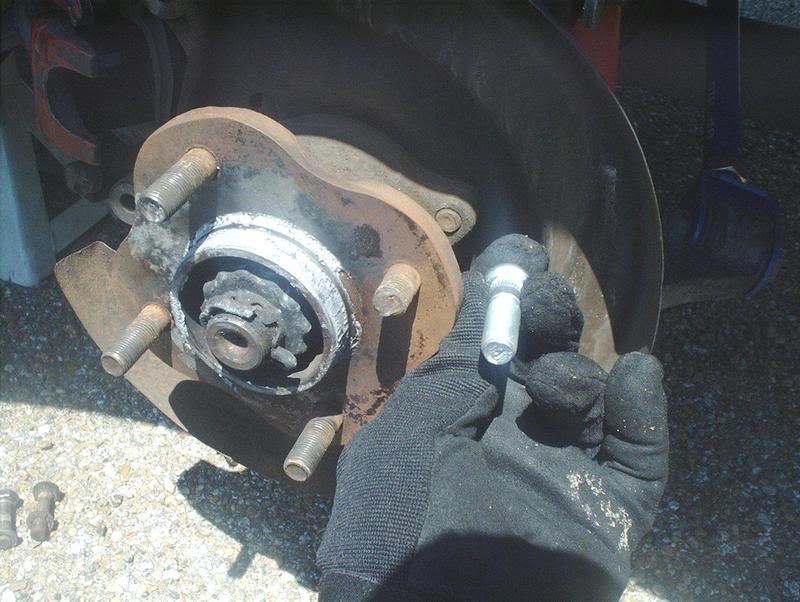
Here's the stud that needs to be swapped out and the new stud...shiny!!!

To remove the stud, you need to knock it out with a hammer, I used a 3lb. hammer. I started off by hitting it from my left, I hit the stud probably 20 times and it didn't budge.
I got a little angry that it wouldn't move so I switched to my right side and manned-up. The first blow that I hit it with knocked it loose.
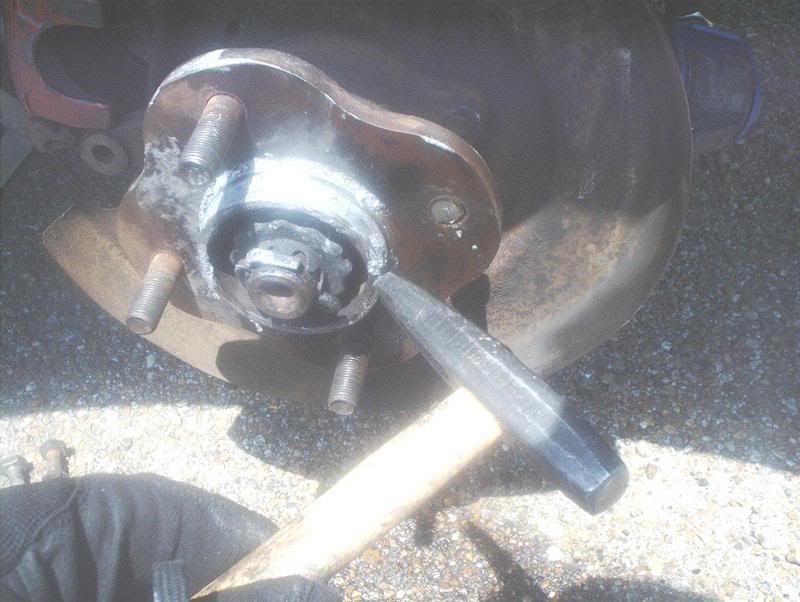
After knocking it loose, I used a small hammer and a flathead screwdriver to hammer and chisel the stud the rest of the way out of the hub.
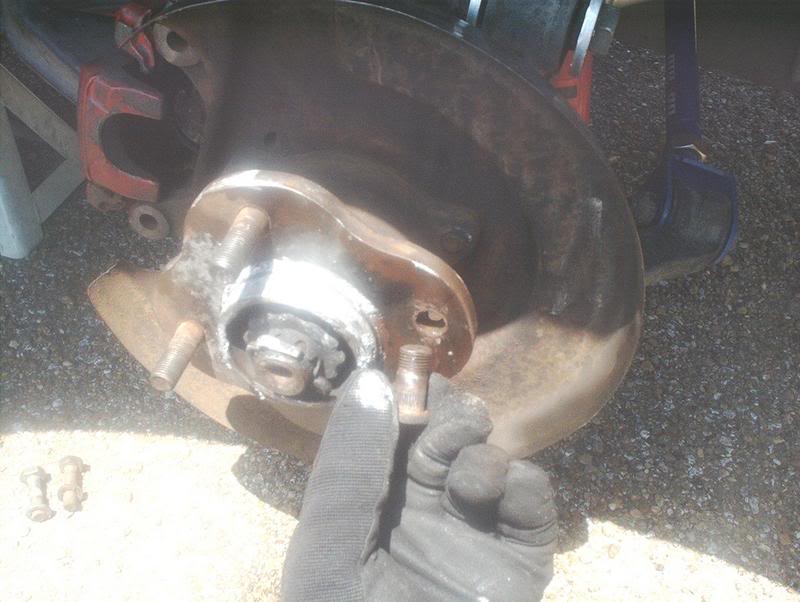
Finally got it out!
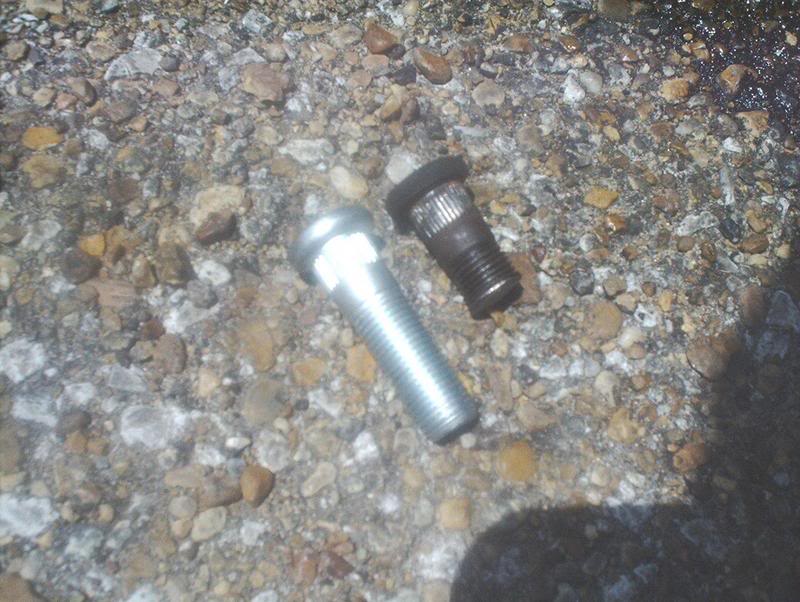
The busted stud and the new one...again.
Take the new stud...
and insert it into the hub. Put some anti-seize on it before inserting to keep it from rusting in the future.
This is where the washers come into use. You'll need to place a couple of them on the wheel stud to keep the lug nut that you're going to use from bottoming out.
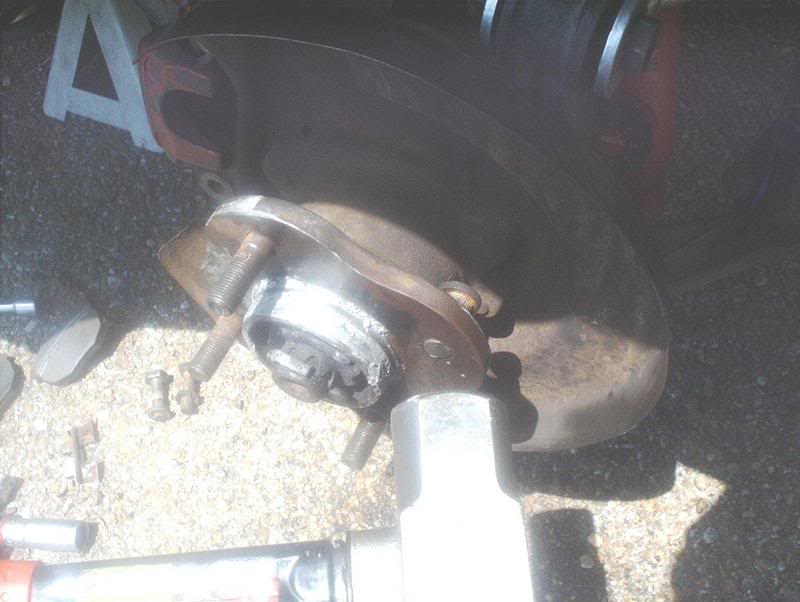
Take a lug nut and place it on the new stud.
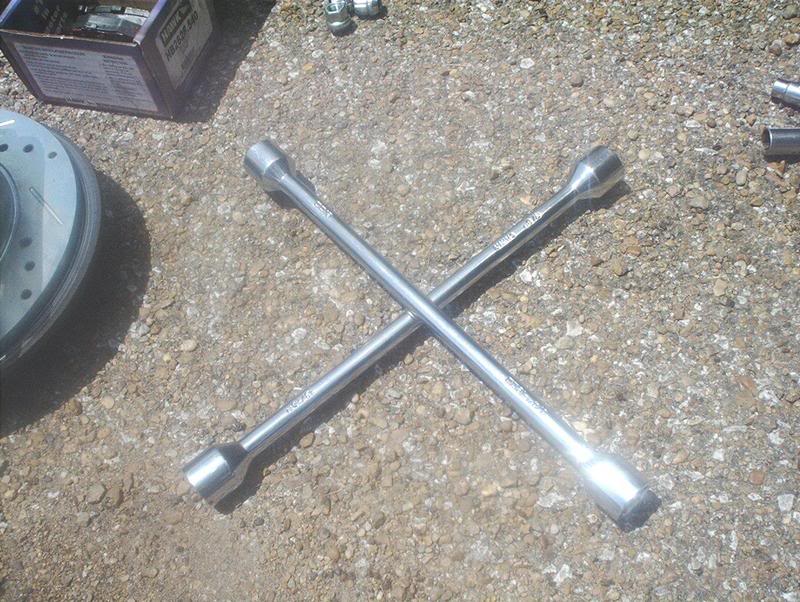
Lug wrench.
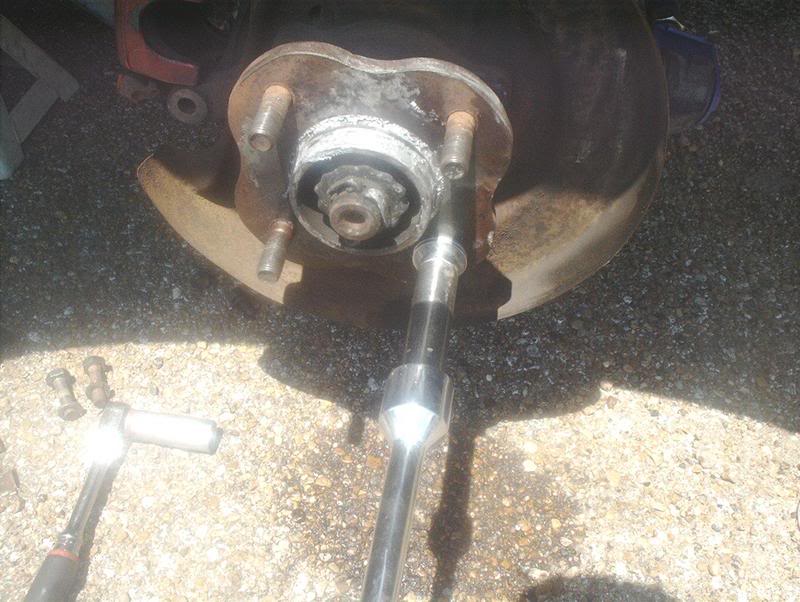
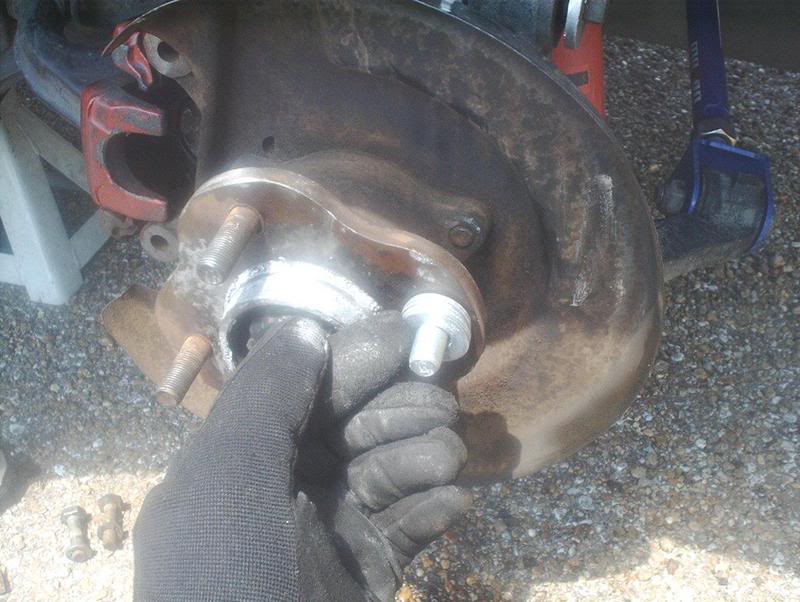
Tighten the lug nut as far as you can, doing this will pull the new wheel stud into the hub.
You'll only be able to turn the lug wrench so far because of something you did earlier. By taking off the caliper and disconnecting the e-brake, the wheel now spins freely making it a pain to hold still and turn the lug wrench.
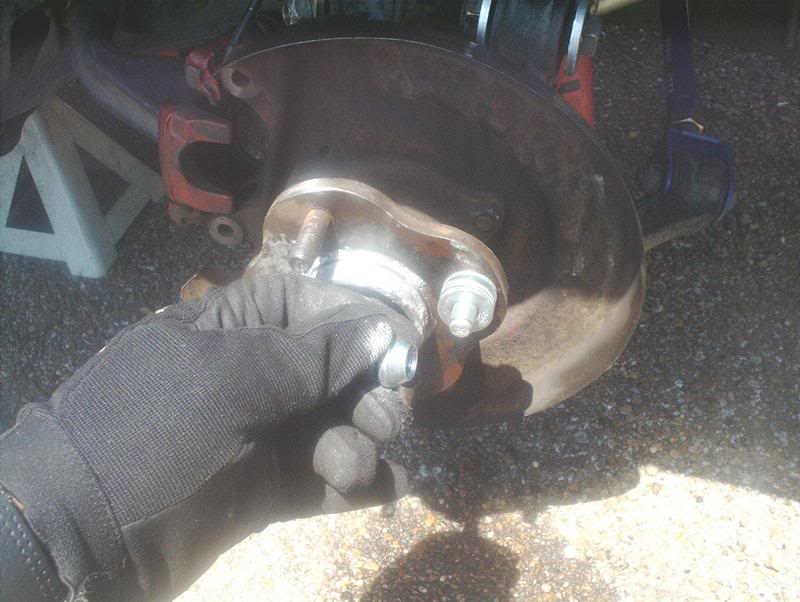
This is when you need to put your brake rotor and caliper back on so that you can use the e-brake to keep the wheel immobile. After you get everything back together, place a spacer or two on the wheel stud again.
Now that the wheel doesn't move you can tighten that wheel stud as far as you can get it in order to seat it into the hub.
Finished! Put your wheels back on, drop the car and you're ready to go.
Tools needed:
Jack
Jackstands
Socket wrench
17mm socket
14mm socket
3lb. hammer
Washers
Lug wrench
I've been riding around for a couple of months now with one missing lug nut on my rear drivers side...it ends today!
First, jack the car up, place your jackstands in the appropriate places and remove the wheels. In order to gain access to the hub so that you can remove the broken wheel stud, you need to remove the brake caliper and the brake rotor.
In order to get the rotors on and off you'll need to remove the brake caliper. You start by removing the torque member bolt with a 17mm socket. There are two bolts on the torque member, top and bottom. This is the top bolt.
This is the bottom torque member bolt.
Torque member bolt-top.
If you can't wriggle the caliper off then you may need to slightly loosen the pin bolts. There are two pin bolts. This is the top pin bolt.
This is the bottom pin bolt.
Here's the caliper.
Here's the torque member that it bolts to.
You don't want the caliper hanging by the brake line, which could damage the line, so you use something to hold the caliper with while keeping stress off the brake line. I didn't have any metal coat hangers so I used a small bungee cord. Put one end on the top of your springs and hang the other on the caliper.
Rotor
The rear rotor is slip-fit so it just comes off when you pull it.
Exposed hub.
You'll probably find that the wheel stud is rusted so hit it with some PB Blaster and let it sit for 10 minutes.
After the PB does it's thing, you're ready to knock out the wheel stud.
Grab your trusty hammer like the Mighty Thor and raise it toward the heavens...uh, the Mighty Thor isn't black and he doesn't wear a wrist watch either.
Here's the stud that needs to be swapped out and the new stud...shiny!!!
To remove the stud, you need to knock it out with a hammer, I used a 3lb. hammer. I started off by hitting it from my left, I hit the stud probably 20 times and it didn't budge.
I got a little angry that it wouldn't move so I switched to my right side and manned-up. The first blow that I hit it with knocked it loose.
After knocking it loose, I used a small hammer and a flathead screwdriver to hammer and chisel the stud the rest of the way out of the hub.
Finally got it out!
The busted stud and the new one...again.
Take the new stud...
and insert it into the hub. Put some anti-seize on it before inserting to keep it from rusting in the future.
This is where the washers come into use. You'll need to place a couple of them on the wheel stud to keep the lug nut that you're going to use from bottoming out.
Take a lug nut and place it on the new stud.
Lug wrench.
Tighten the lug nut as far as you can, doing this will pull the new wheel stud into the hub.
You'll only be able to turn the lug wrench so far because of something you did earlier. By taking off the caliper and disconnecting the e-brake, the wheel now spins freely making it a pain to hold still and turn the lug wrench.
This is when you need to put your brake rotor and caliper back on so that you can use the e-brake to keep the wheel immobile. After you get everything back together, place a spacer or two on the wheel stud again.
Now that the wheel doesn't move you can tighten that wheel stud as far as you can get it in order to seat it into the hub.
Finished! Put your wheels back on, drop the car and you're ready to go.
Last edited by positron; May 2, 2007 at 08:13 AM.


Thread
Thread Starter
Forum
Replies
Last Post
Nissan_240sex
Suspension, Chassis, and Brakes
9
Jul 20, 2006 09:56 AM