
Subframe Collar Install

Thread Starter
Contributing Member
Joined: Sep 2002
Posts: 1,192
From: Starkville, MS.
Pics Of My Subframe Collar Install
I took some pictures of the subframe collars install that I did yesterday.
Tools needed:
Jackstands
Jack-to stabilize/lower and raise the differential
Socket wrench with extension for the forward subframe bushings
Socket extension
15mm socket
Breaker bar
Pry bar
Gloves
Start off by jacking up your car and placing stands in the appropriate places.
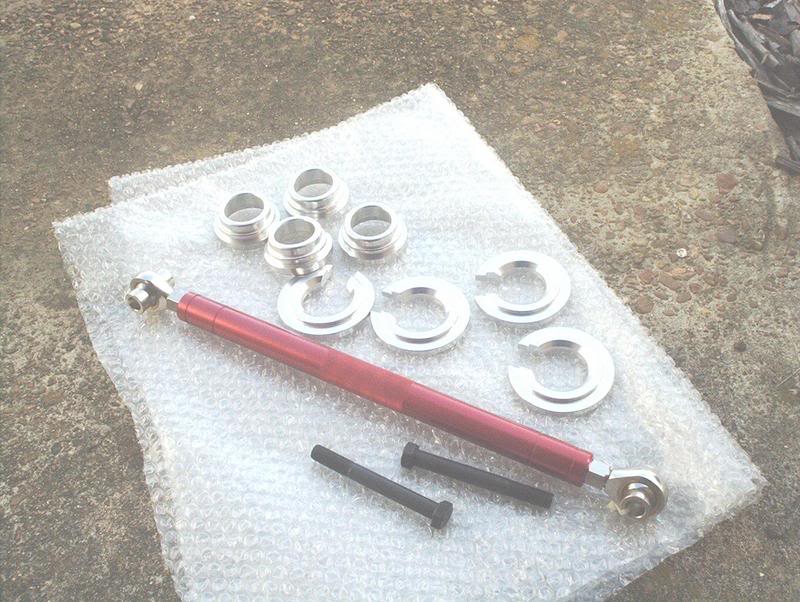
Got them in yesterday morning from JGYCustoms.
With the exeption of the springs/struts this starts the beginning of my rear suspension changes.
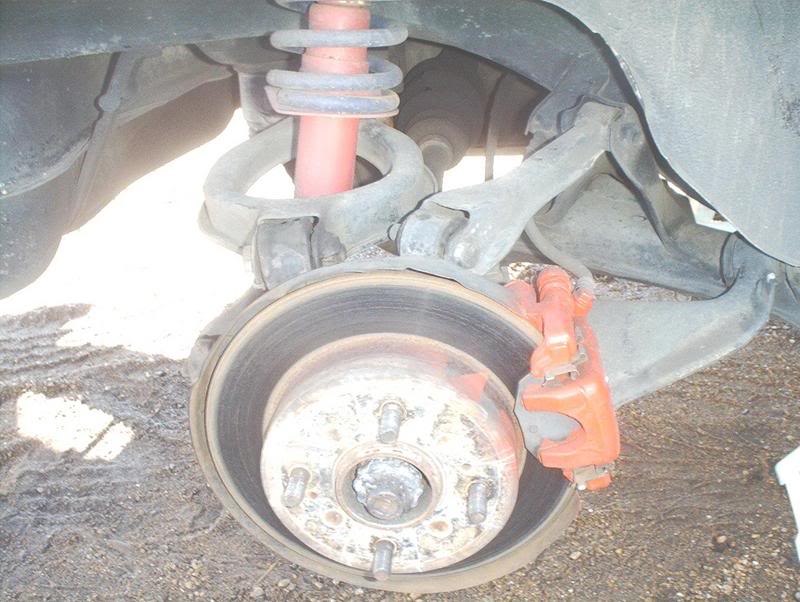
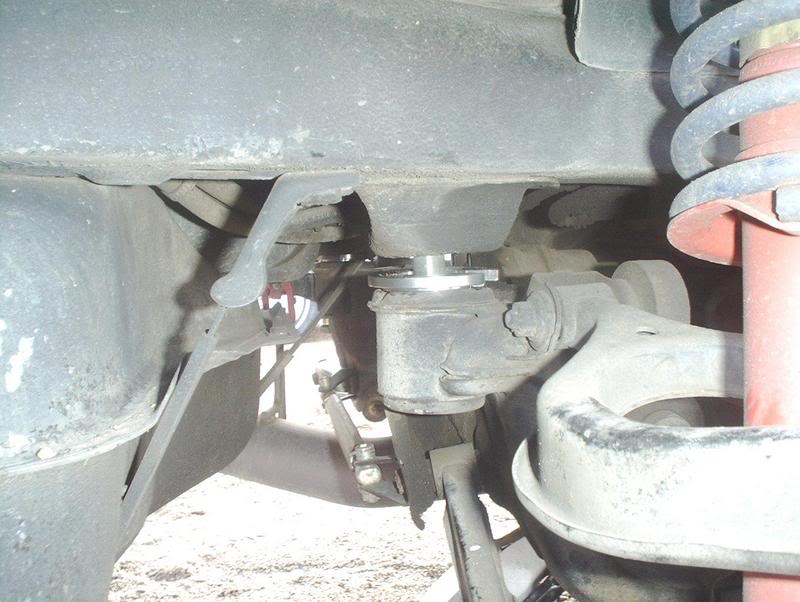
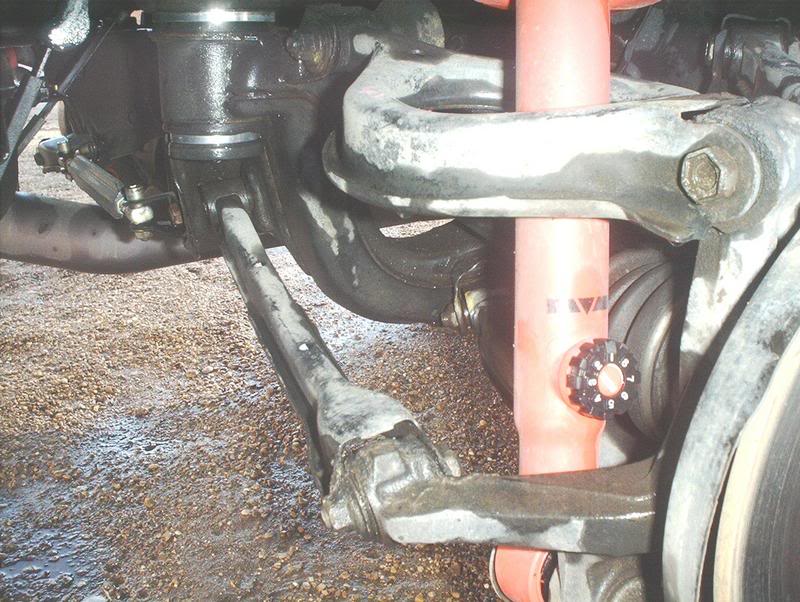
Gonna do a lot of cleaning back here, there's grime and grease buildup from the differential everywhere. Note the cheapy ebay lower control arm bar. I got the spherical bearing bar to replace it with. You can see the subframe bushing also.
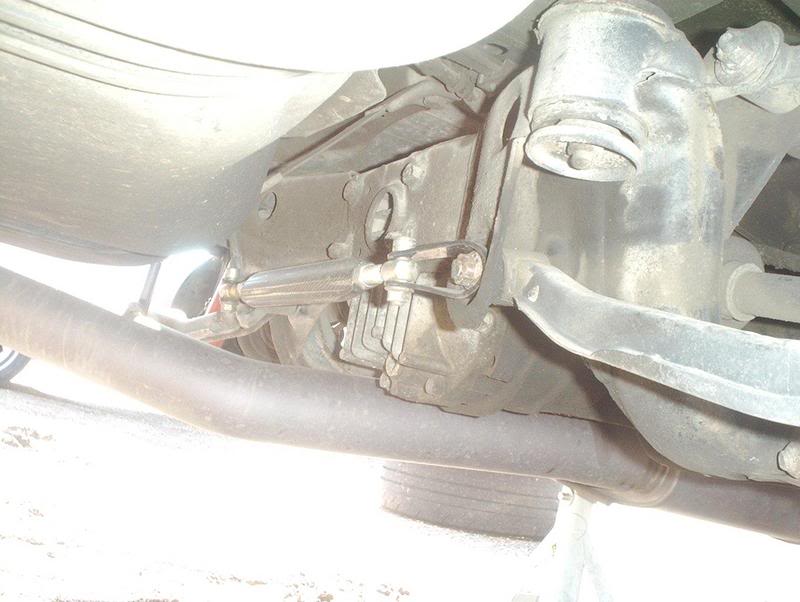
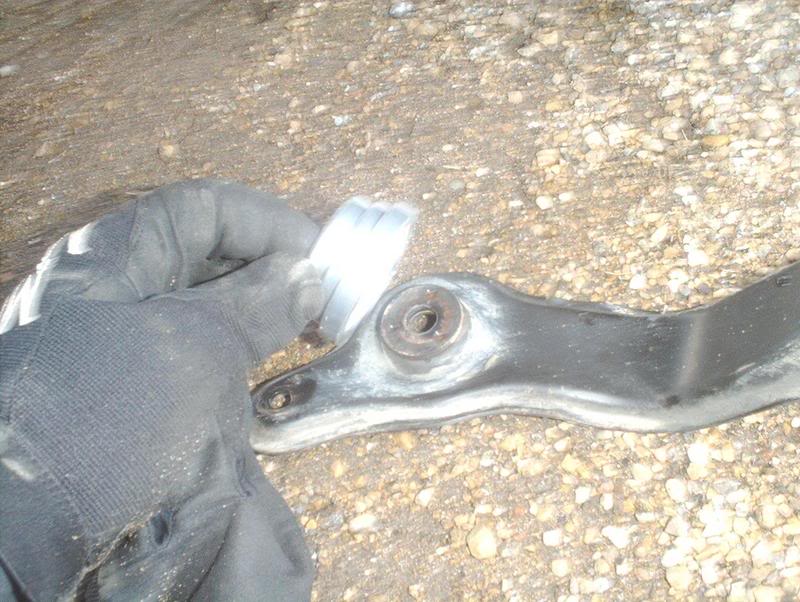
Here's the subframe bushing on the forward section of the subframe.

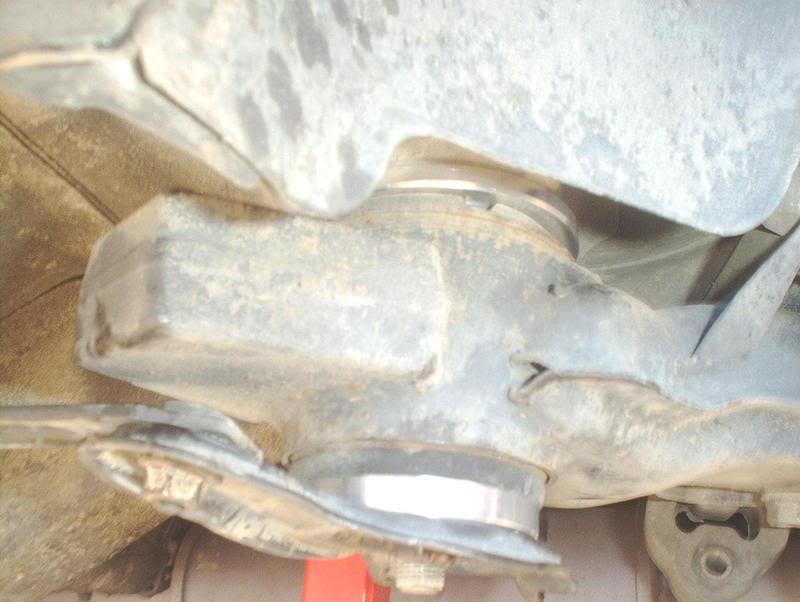
15mm socket takes the bottom collar off. I needed a breaker bar to break these off also. 15mm socket takes off both nuts front and rear by the way.
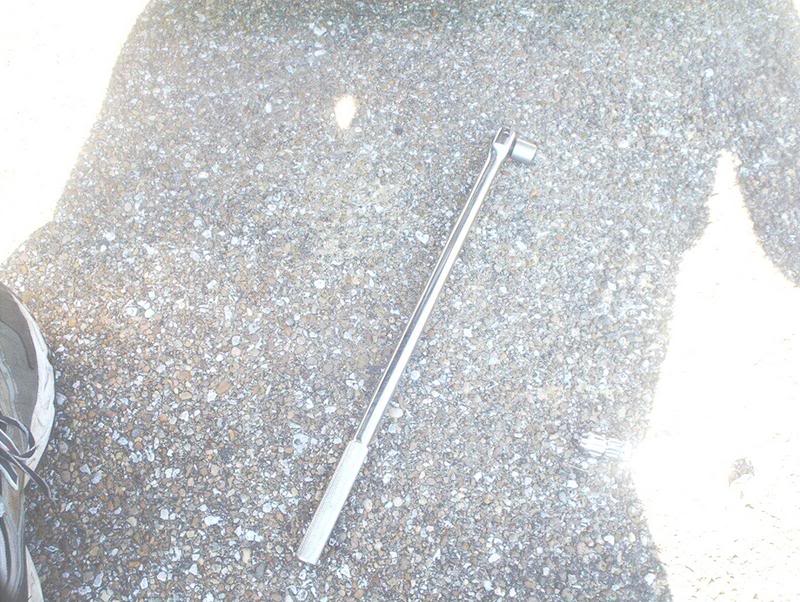
Breaker bar.
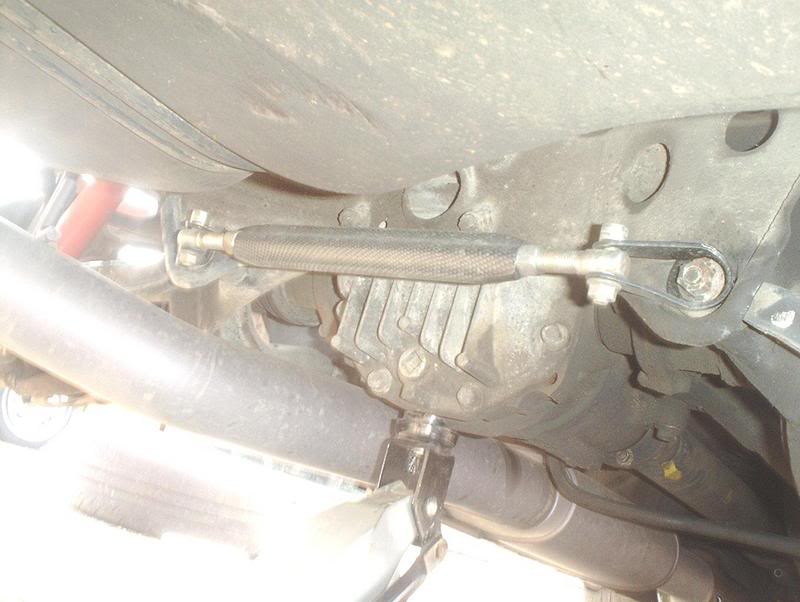
This shows where I used the jack to hold up the differential. You'll probably need to lower the jack slightly to slide the top collars in. I also had to use a prybar to wedge the passenger side down slightly.
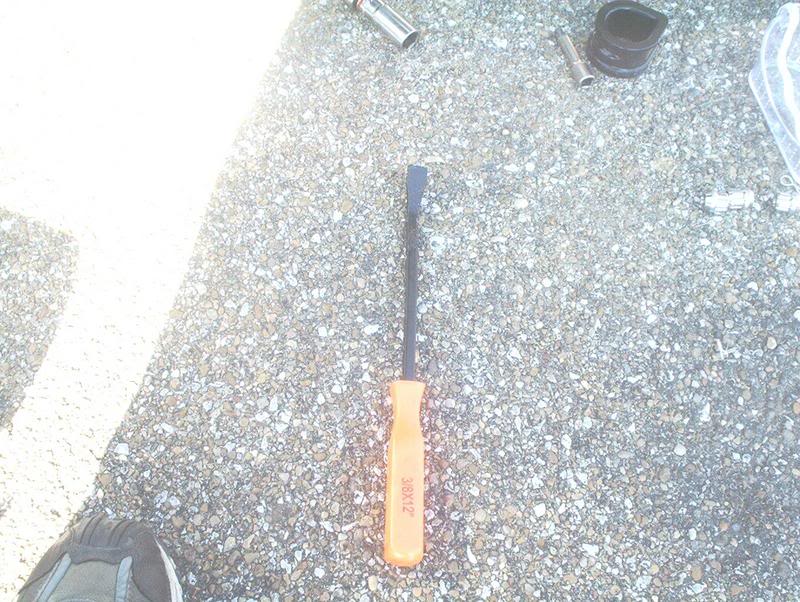
Prybar.
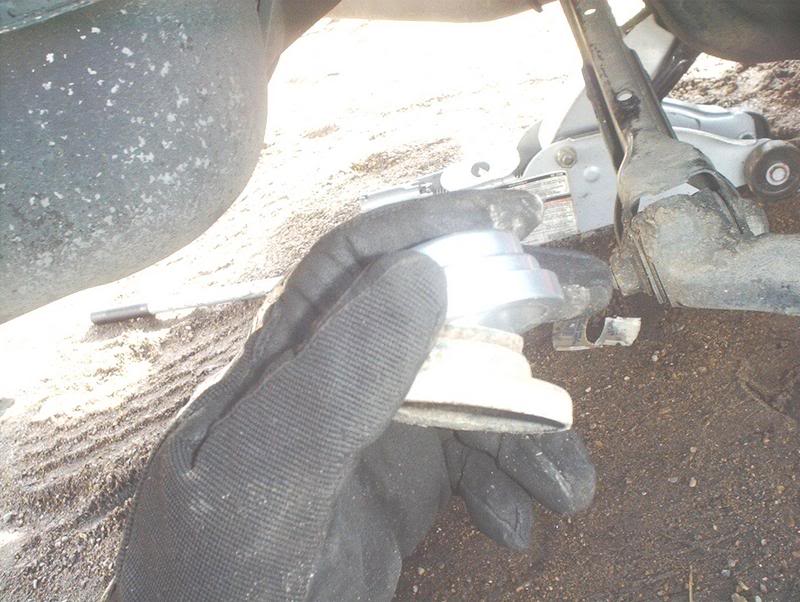
Slide the top collar in.
Like so.

Done on the rearest subframe collars. Torque to 72-87ft.lbs.
Done on the forward subframe collars. Torque to 72-87ft.lbs.
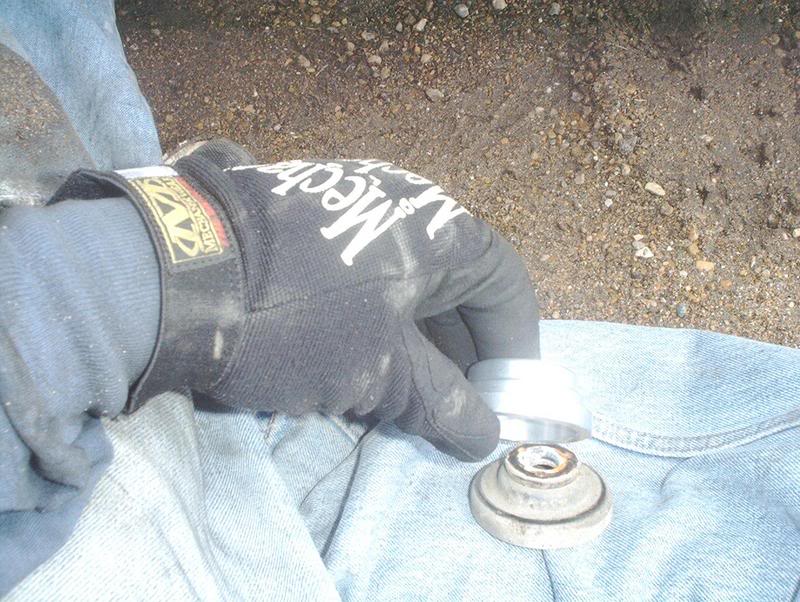
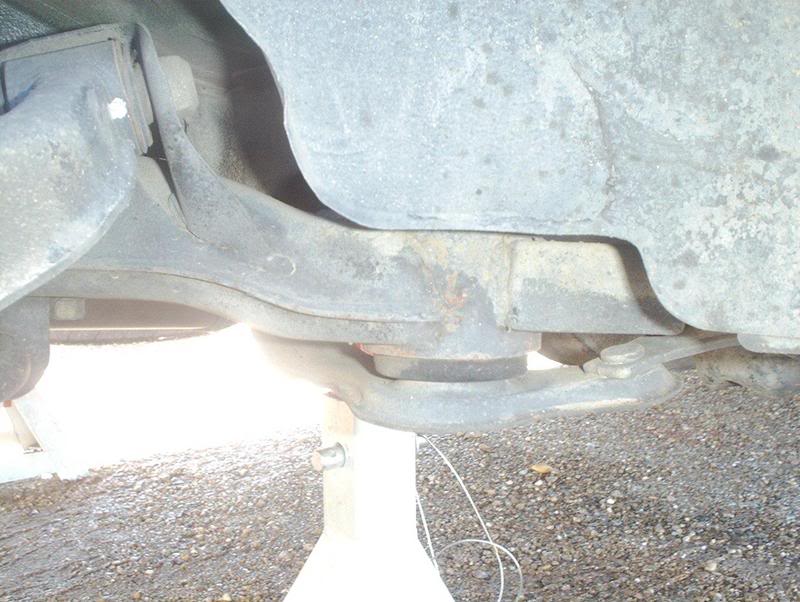
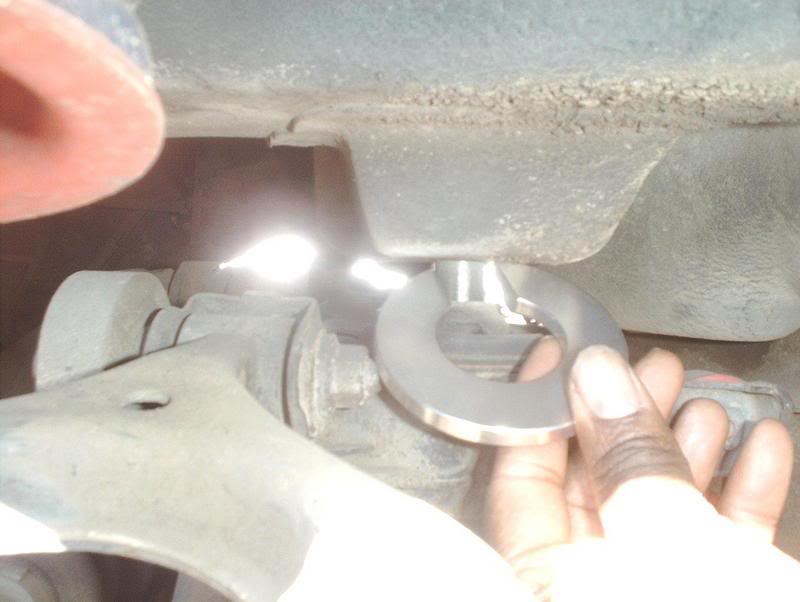
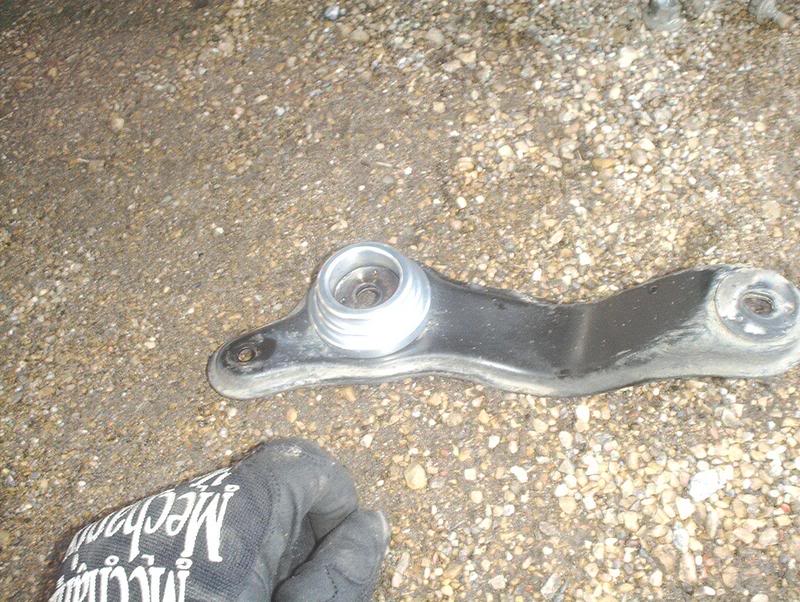
Heres's the bottom collars for the subframe collars.
Finished. Some Purple Power and a couple more scrub sessions and I'll have this thing cleaned up pretty good by the time I install the other parts.
Tools needed:
Jackstands
Jack-to stabilize/lower and raise the differential
Socket wrench with extension for the forward subframe bushings
Socket extension
15mm socket
Breaker bar
Pry bar
Gloves
Start off by jacking up your car and placing stands in the appropriate places.
Got them in yesterday morning from JGYCustoms.
With the exeption of the springs/struts this starts the beginning of my rear suspension changes.
Gonna do a lot of cleaning back here, there's grime and grease buildup from the differential everywhere. Note the cheapy ebay lower control arm bar. I got the spherical bearing bar to replace it with. You can see the subframe bushing also.
Here's the subframe bushing on the forward section of the subframe.
15mm socket takes the bottom collar off. I needed a breaker bar to break these off also. 15mm socket takes off both nuts front and rear by the way.
Breaker bar.
This shows where I used the jack to hold up the differential. You'll probably need to lower the jack slightly to slide the top collars in. I also had to use a prybar to wedge the passenger side down slightly.
Prybar.
Slide the top collar in.
Like so.
Done on the rearest subframe collars. Torque to 72-87ft.lbs.
Done on the forward subframe collars. Torque to 72-87ft.lbs.
Heres's the bottom collars for the subframe collars.
Finished. Some Purple Power and a couple more scrub sessions and I'll have this thing cleaned up pretty good by the time I install the other parts.
Last edited by positron; May 17, 2008 at 09:12 PM.

Yeah I generally use my car for everything from track to street so I decided to go with the peak performance polyurethane subframe spacer bushing's. Makes the sub chassis just as stiff as the aluminum IMO, with no noise or serious vibration.
wow ive had the aluminum spacers in both my s14 and never got noise from them lol but hell yea you get used to them after a while then you go drive a stock 240 and it feels like the rear end is made of jello or honda lmao
Registered User
Joined: Jul 2008
Posts: 74
From: Bay Area
ummm...i have a question about the 15mm socket...i never used one when I did mine. I lifted the car up grabbed my 1/2'' gun, a 14mm socket, a 3" extension, and a 17mm deep. I undid the 4 14mm bolts that hold the brackets to the body for the front bushings. Then I removed the 4 17mm nuts holding the entire subframe to the car, let it dangle, slid the spacers in, zapped everything back together with the gun. In the shop and out in 5 minutes! No more noise 
yea its a 17mm for the mounts and 12mm for the small bolts... however its not uncommon for the head size to vary on some cars... for example on tie rods, it could be an 17 or 19 mm depending on who makes the tie end,.
