
Winter 08 build: The track package

Thread Starter
Registered User
Joined: Dec 2006
Posts: 434
From: VA
Those aren't collars, they're entire replacement bushings for the rear sub frame. I'm planning on dropping the subframe to do the install. Once the old bushings are out. I'm hoping to have the subframe sandblasted and then powdercoated, lime green.
Yeah I've heard about those bolts being an issue. Hopefully mine will be okay. I'm sure it will be.
Yeah I've heard about those bolts being an issue. Hopefully mine will be okay. I'm sure it will be.
Thread Starter
Registered User
Joined: Dec 2006
Posts: 434
From: VA
Update 1.5
Minor one.
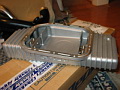
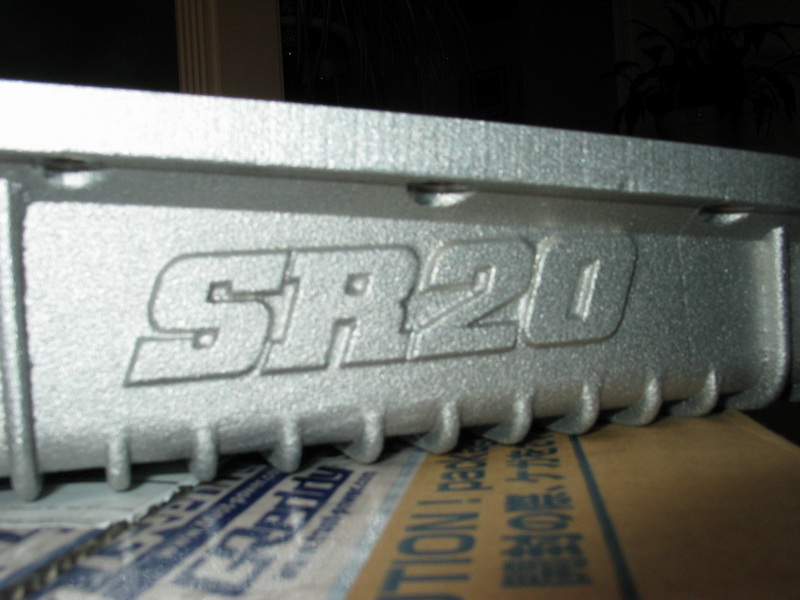
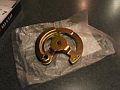
Ordered it up last week. Came in today. I f'n love this thing. I've wanted one since I put in my swap. Finally pulled the trigger on it.
What brand?

SORNY!
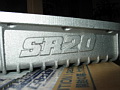
Ahhh. In all it's glory
Another update late this week, or next.
Thanks.
More pix here.
Minor one.
Ordered it up last week. Came in today. I f'n love this thing. I've wanted one since I put in my swap. Finally pulled the trigger on it.
What brand?
SORNY!
Ahhh. In all it's glory
Another update late this week, or next.
Thanks.
More pix here.
Last edited by Bumnah; Dec 29, 2008 at 10:00 PM.
Thread Starter
Registered User
Joined: Dec 2006
Posts: 434
From: VA
Update 2.0
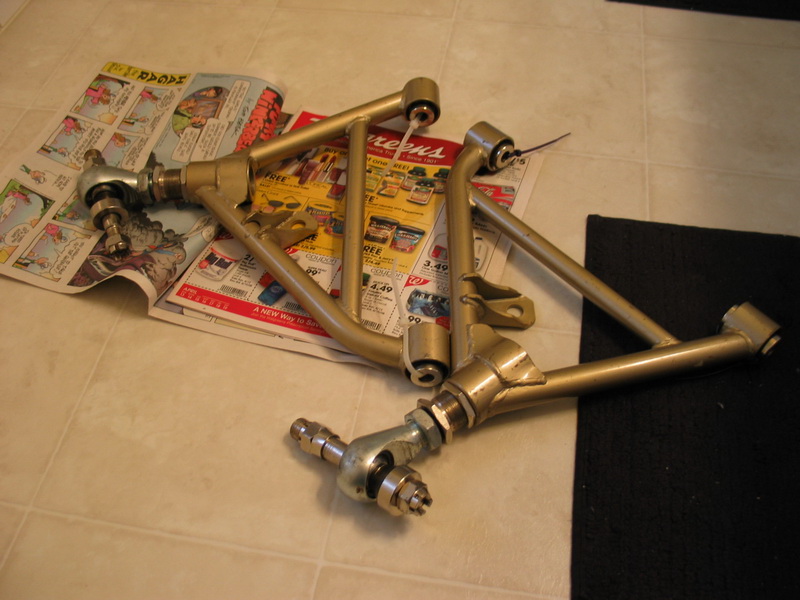
These weren't a part of the game plan at all but I got a great deal on these piece slightly used. These arms along with the rest I have planned, the entire rear end will have all spherical bushings.
I have no idea how the hell I'll ever get the alignment back together properly without taking it to a professional shop.
This may be my last update for a bit. My wallet is bleeding from all these recent purchases. Taking a break.
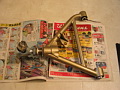
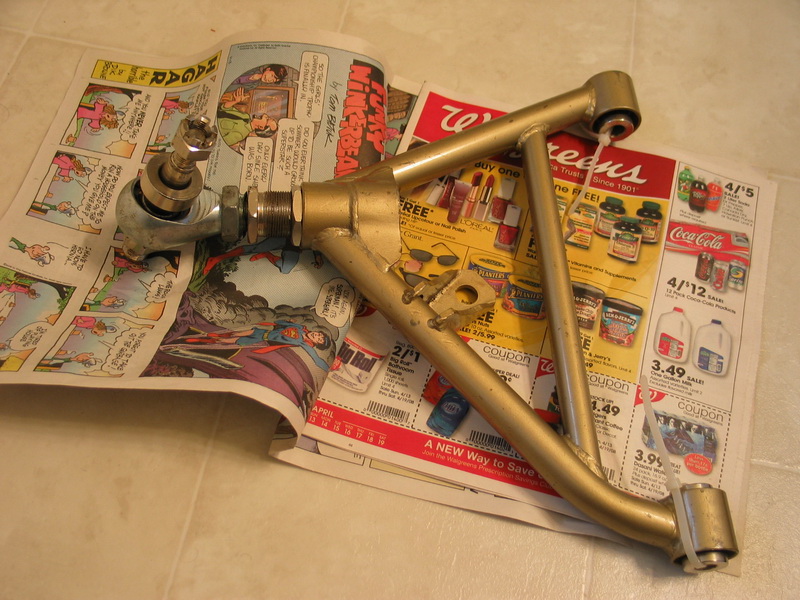
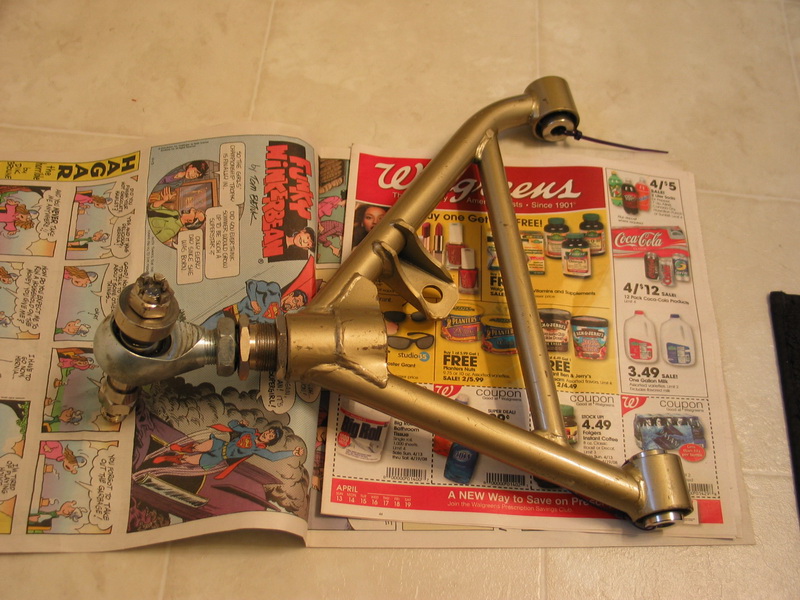
Battle Version Rear Lower Control Arms
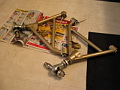
Arm 01
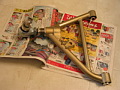
Arm 02
More pix here as always.
These weren't a part of the game plan at all but I got a great deal on these piece slightly used. These arms along with the rest I have planned, the entire rear end will have all spherical bushings.
I have no idea how the hell I'll ever get the alignment back together properly without taking it to a professional shop.
This may be my last update for a bit. My wallet is bleeding from all these recent purchases. Taking a break.
Battle Version Rear Lower Control Arms
Arm 01
Arm 02
More pix here as always.
Last edited by Bumnah; Dec 29, 2008 at 10:01 PM.
Thread Starter
Registered User
Joined: Dec 2006
Posts: 434
From: VA
Another couple pieces of the puzzle.
I've decided to tone back the suspension build. I'm cutting out the powder coating, I'm cutting out the aftermarket front control arms. I'm also cutting out some of the spherical bushings that are suppose to go in the uprights.
I was debating on doing an oil pump and timing belt change. That's another $400 to the build price. I was also debating on sending my injectors off to RC to have cleaned and spray pattern analyzed. I may still do the RC injector cleaning, but I may delay the timing chain and oil pump replacement.
Throttle body over boring and port matching of the intake manifold are both being delayed or canceled.
Too much $ and with this economy I can't justify the purchases. I'll have the suspension 85% they way I want it after this build.
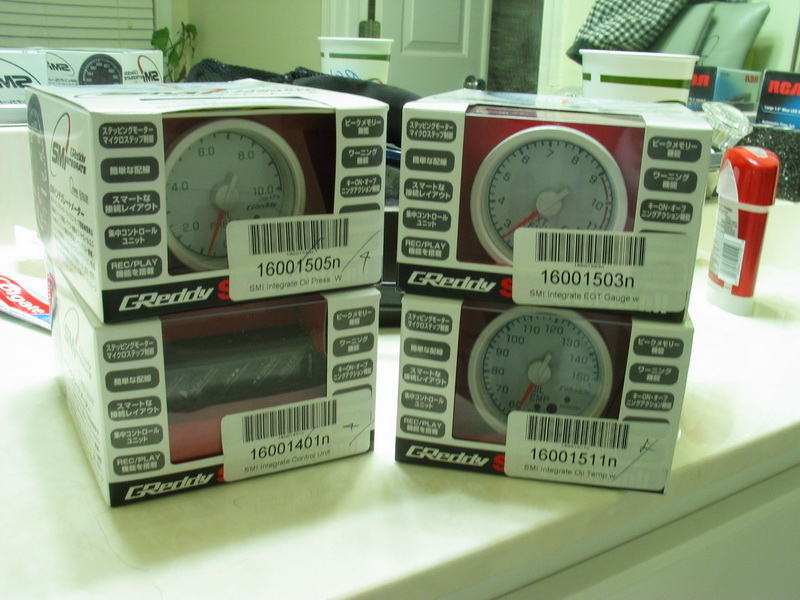
New goodies:
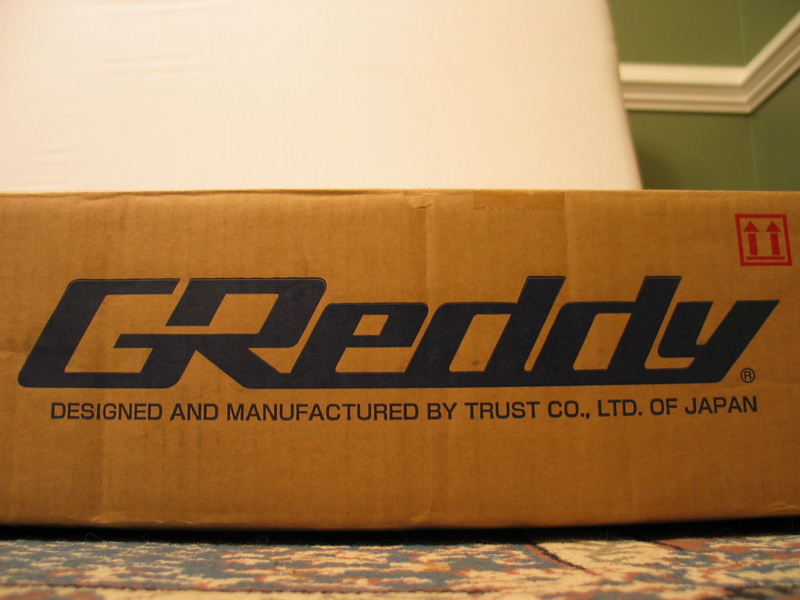
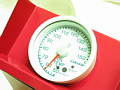
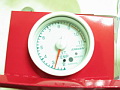
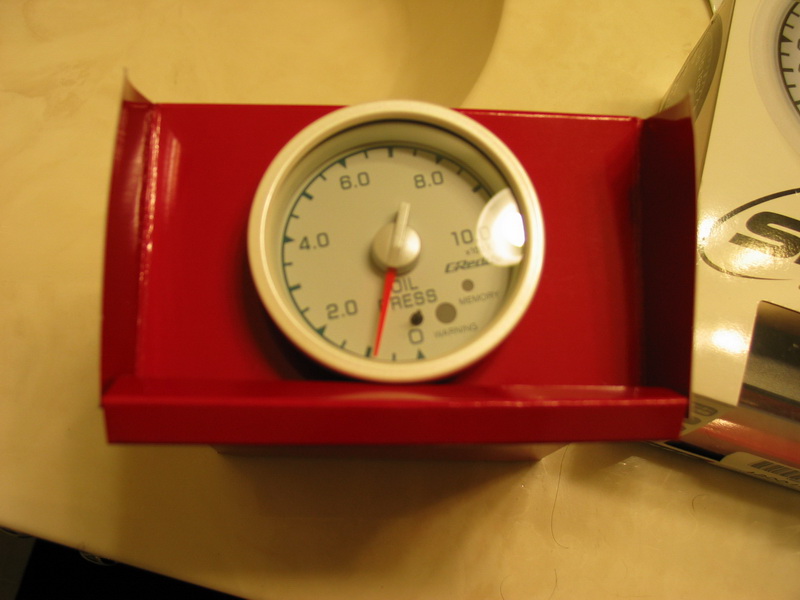
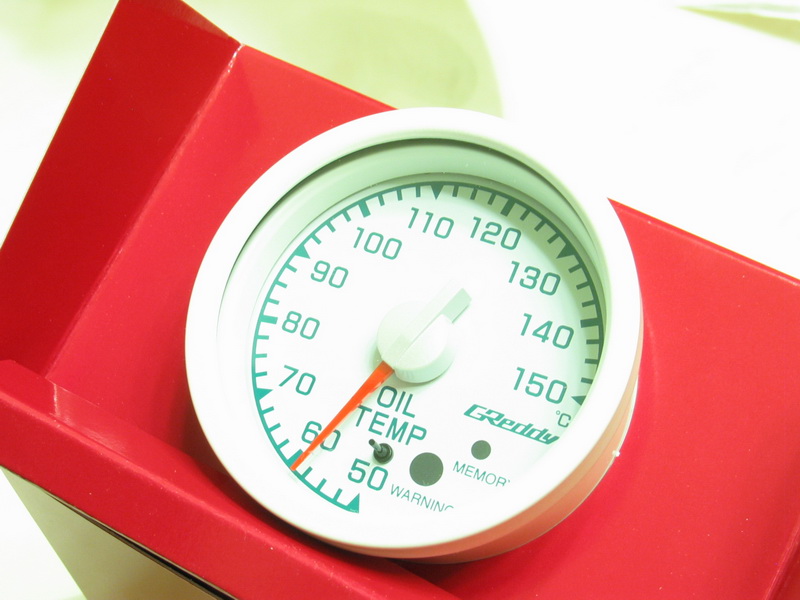
GReddy gauges SMI with the control module. These things are being discontinued, so I grabbed the ones I wanted and got it over with. It took close to 3 weeks for the them to come in. I ordered the EGT gauge from FRsport and according to them I got the last one GReddy had at their NJ plant.

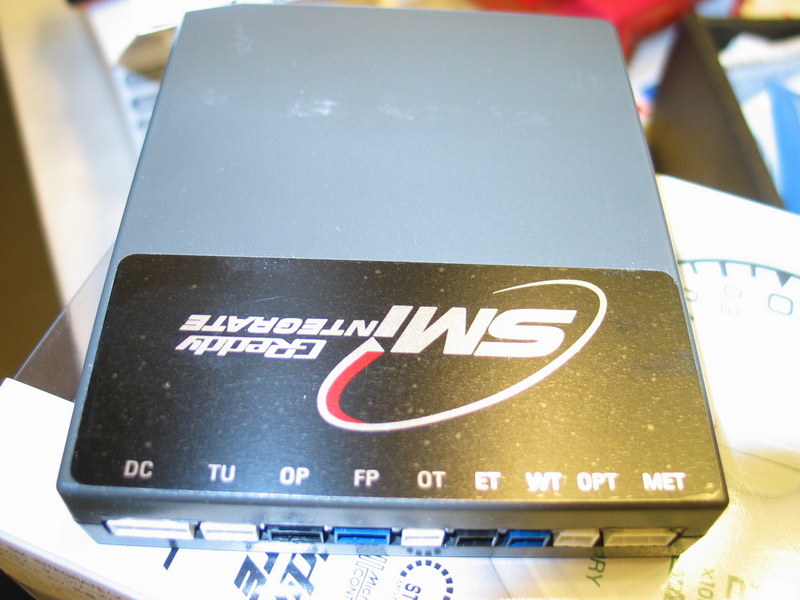
The control module has the peak hold function as well as 40 seconds of playback options. I primarily wanted the peak hold feature particularly for the EGT gauge. I also wanted to stick with GReddy since I already have my turbo manifold tapped for their temperature probe.
SMI control module
Oil Pressure gauge:

Oil Temp gauge:
EGT gauge I already have a 52 mm GReddy EGT gauge, but I'm replacing it with this guy:
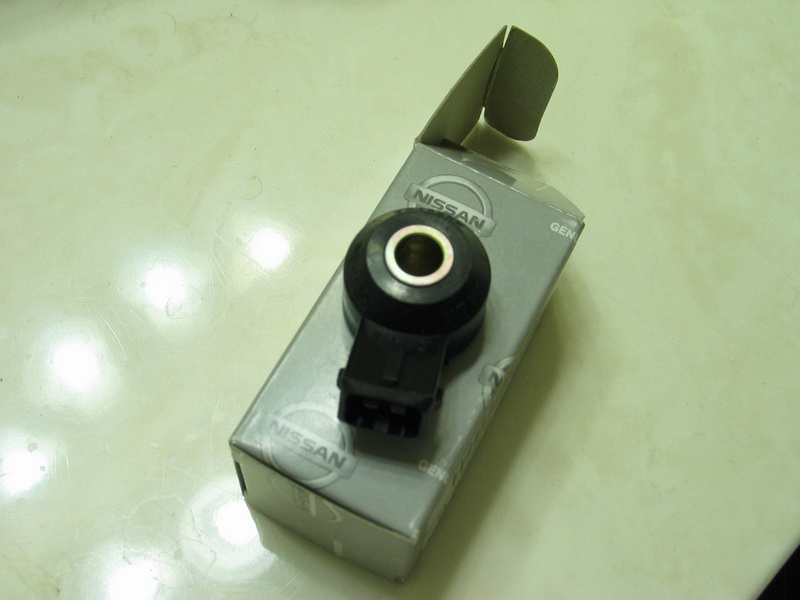
Lastly, a new knock sensor. I got a fair price on it, and it's new, figured a decade old motor swap could use new sensors.

I'm going to hopefully get the car up on jack stands this weekend and start taking it apart. I've been waiting for the gauges to arrive so I can get started.
Next up will be the rest of the rear suspension.
Thanks for looking.
More pix here.
I've decided to tone back the suspension build. I'm cutting out the powder coating, I'm cutting out the aftermarket front control arms. I'm also cutting out some of the spherical bushings that are suppose to go in the uprights.
I was debating on doing an oil pump and timing belt change. That's another $400 to the build price. I was also debating on sending my injectors off to RC to have cleaned and spray pattern analyzed. I may still do the RC injector cleaning, but I may delay the timing chain and oil pump replacement.
Throttle body over boring and port matching of the intake manifold are both being delayed or canceled.
Too much $ and with this economy I can't justify the purchases. I'll have the suspension 85% they way I want it after this build.
New goodies:
GReddy gauges SMI with the control module. These things are being discontinued, so I grabbed the ones I wanted and got it over with. It took close to 3 weeks for the them to come in. I ordered the EGT gauge from FRsport and according to them I got the last one GReddy had at their NJ plant.
The control module has the peak hold function as well as 40 seconds of playback options. I primarily wanted the peak hold feature particularly for the EGT gauge. I also wanted to stick with GReddy since I already have my turbo manifold tapped for their temperature probe.
SMI control module
Oil Pressure gauge:
Oil Temp gauge:
EGT gauge I already have a 52 mm GReddy EGT gauge, but I'm replacing it with this guy:

Lastly, a new knock sensor. I got a fair price on it, and it's new, figured a decade old motor swap could use new sensors.
I'm going to hopefully get the car up on jack stands this weekend and start taking it apart. I've been waiting for the gauges to arrive so I can get started.
Next up will be the rest of the rear suspension.
Thanks for looking.
More pix here.
Last edited by Bumnah; Dec 29, 2008 at 10:02 PM.
Thread Starter
Registered User
Joined: Dec 2006
Posts: 434
From: VA
Minor update.
I finally had some free time and I got the car on jackstands this weekend.
Sounds simple enough but I had a ton of clean up to do.
I've been working on another project on my spare time as well, my friend suspension rehaul on his 95 Civic. I had been working in the garage previously pressing, burning and hammer out bushings.
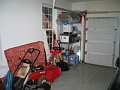
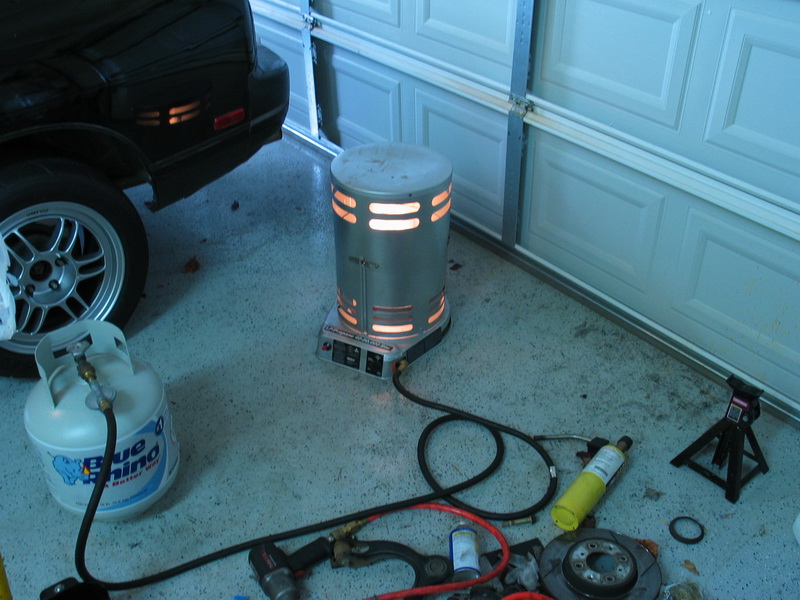
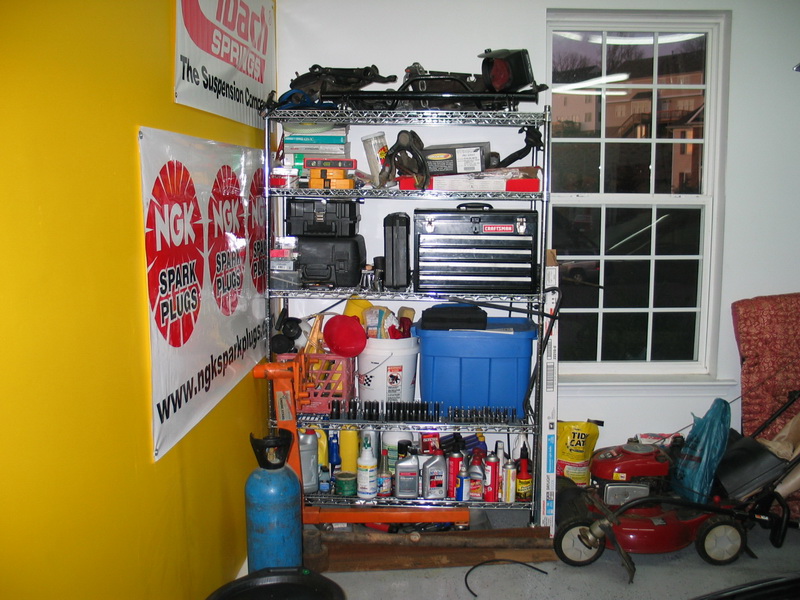
The first step was getting the garage cleaned up.
Here's how it looked:
First thing I did was fire up the heat since it was cool 16 degrees F in the garage (yay winter builds).

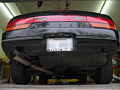
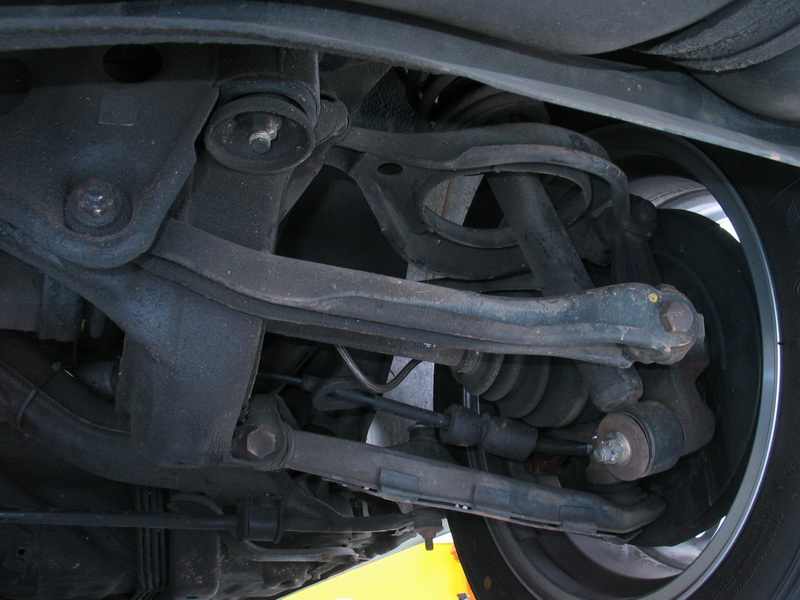
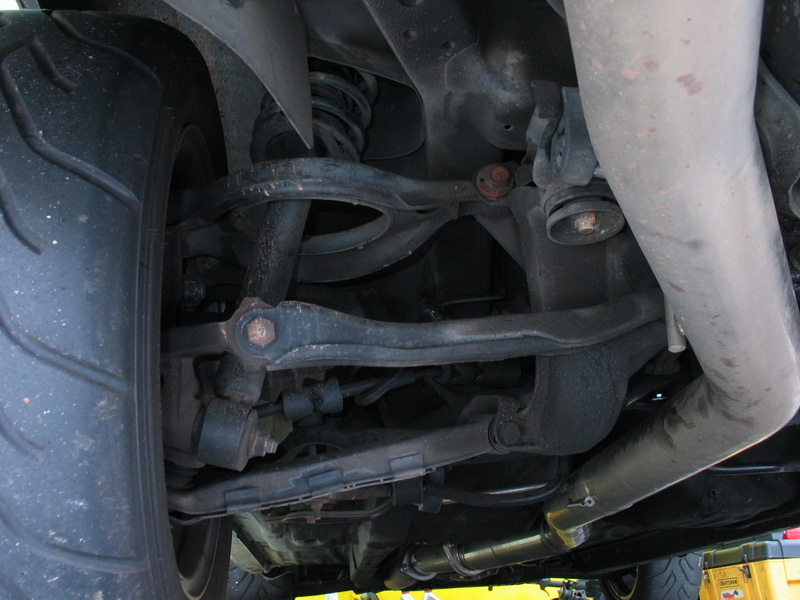
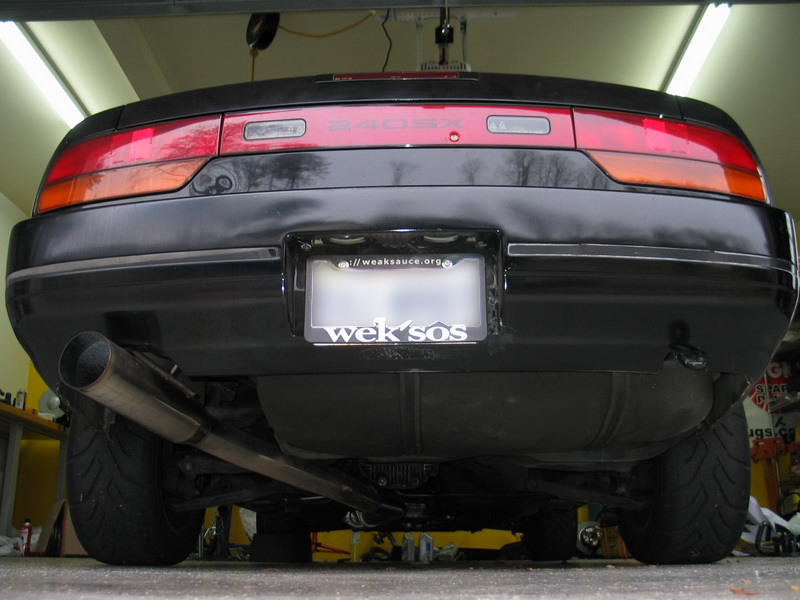
I also took some profile pictures of the rear suspension to reference when all the new arms go in.
Rear Passenger side suspension:

Rear Driver side suspension:

Rear overview:
I had to throw away a ton of crap that was sitting in the garage. I wound up sweeping 3 times to get all the bushing dust off the ground. It was everywhere.
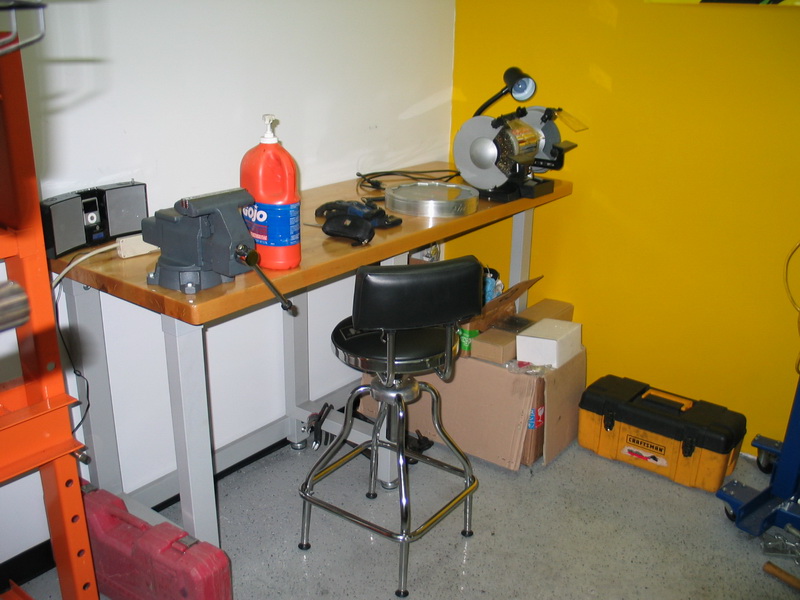
Cleaned up the table:
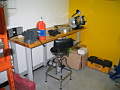
Had to make room for my friends remaining suspension arms and his parts. It's off the floor it's all that matters.

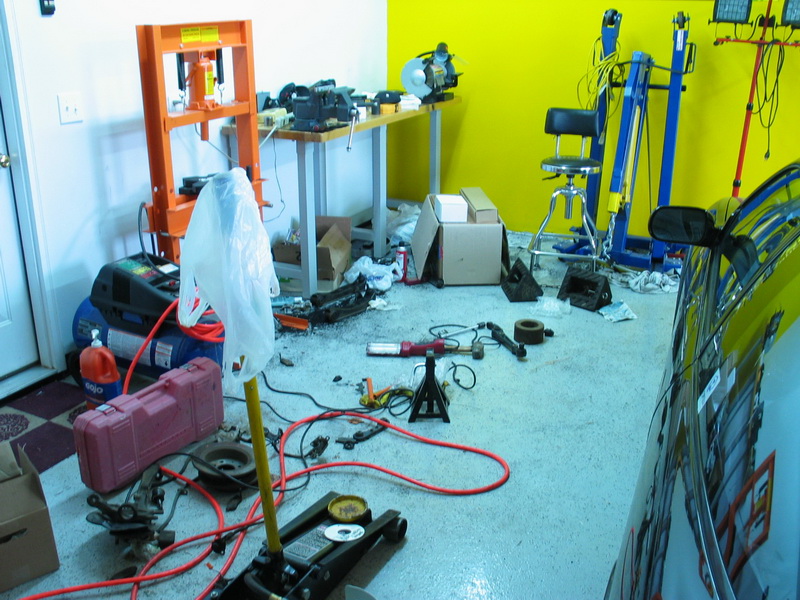
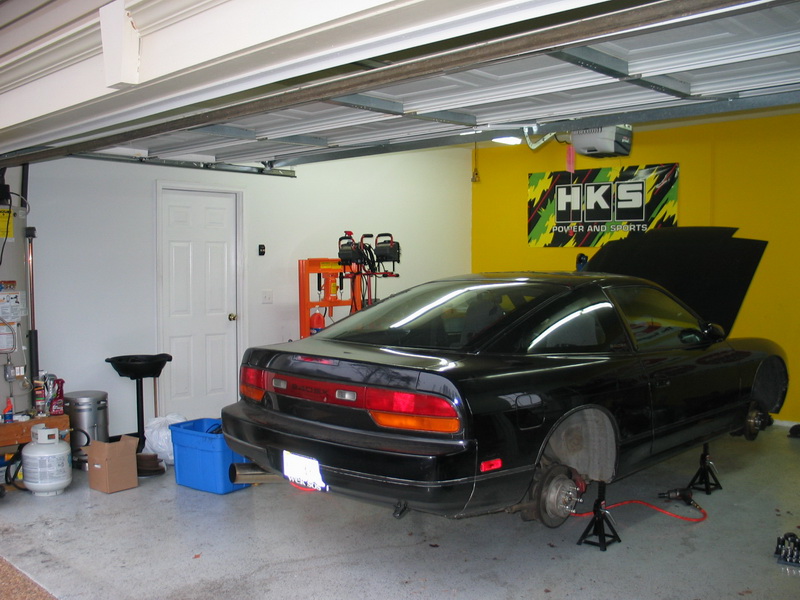
There was so much crap on the floor the car barely fit in the garage. Now, plenty of room. >=]
End result. It had to get on jackstands soon anyways. The cold temps were killing my tires. Now they're in the house in the nice warm heat.

Overall the car is ready to get worked on now. Tools are organized and there's plenty of room to work around.
Hopefully this week I will get the front bumper off, take off the OEM side mount intercoooler, and drain all the fluids. With any luck I can start removing the intake manifold.
Hope you enjoyed the minor update.
More pix can be found: here.
I finally had some free time and I got the car on jackstands this weekend.
Sounds simple enough but I had a ton of clean up to do.
I've been working on another project on my spare time as well, my friend suspension rehaul on his 95 Civic. I had been working in the garage previously pressing, burning and hammer out bushings.
The first step was getting the garage cleaned up.
Here's how it looked:
First thing I did was fire up the heat since it was cool 16 degrees F in the garage (yay winter builds).
I also took some profile pictures of the rear suspension to reference when all the new arms go in.
Rear Passenger side suspension:
Rear Driver side suspension:
Rear overview:
I had to throw away a ton of crap that was sitting in the garage. I wound up sweeping 3 times to get all the bushing dust off the ground. It was everywhere.
Cleaned up the table:
Had to make room for my friends remaining suspension arms and his parts. It's off the floor it's all that matters.
There was so much crap on the floor the car barely fit in the garage. Now, plenty of room. >=]

End result. It had to get on jackstands soon anyways. The cold temps were killing my tires. Now they're in the house in the nice warm heat.
Overall the car is ready to get worked on now. Tools are organized and there's plenty of room to work around.
Hopefully this week I will get the front bumper off, take off the OEM side mount intercoooler, and drain all the fluids. With any luck I can start removing the intake manifold.
Hope you enjoyed the minor update.
More pix can be found: here.
Last edited by Bumnah; Dec 29, 2008 at 10:03 PM.
Thread Starter
Registered User
Joined: Dec 2006
Posts: 434
From: VA
.25 of an actual update.
I haven't had much time to work on the car recently. I wasn't going to update this thread so early, but what the hell. I was taking pictures of parts I'm trying to sell so I decide to post them in here as well.
I drained the oil. Removed the battery. Disconnected the throttle cable and the fuel injector harness. I start draining the oil, and I took off the front bumper. I'm going to drain the radiator fluid soon, but I have to get rid of all my old oil first.
I'm selling the OEM SMIC and OEM tension rods with poly bushings since I won't be needing them anymore.
Here's one pic for the hell of it

Thread Starter
Registered User
Joined: Dec 2006
Posts: 434
From: VA
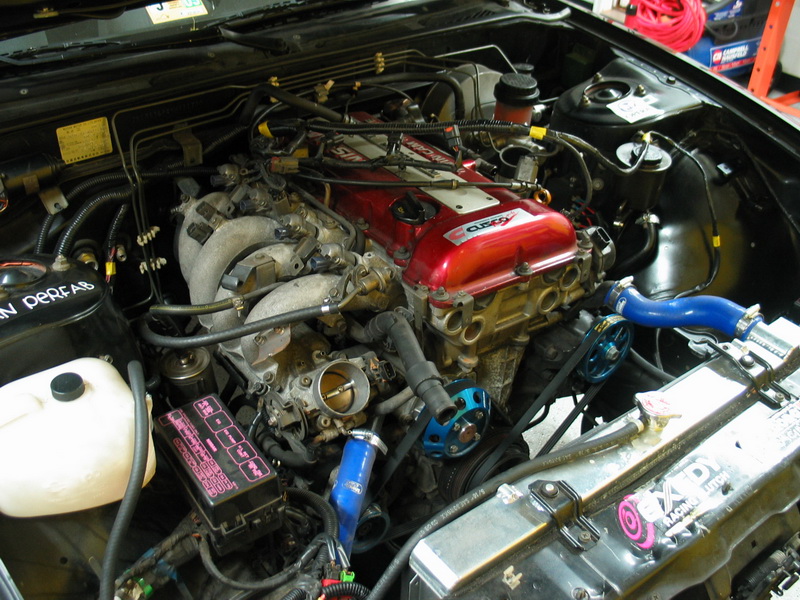
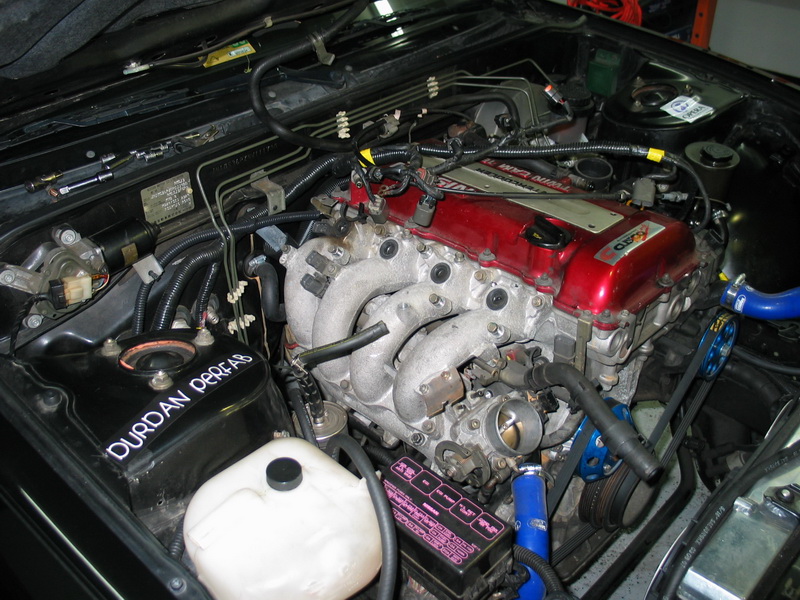
I finally got my lazy *** in the garage and wrenched on the car. Not so much as to really get a lot done, but just to escape the every day problems and wrench on the car for a while.
I got the following done:
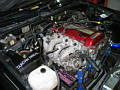
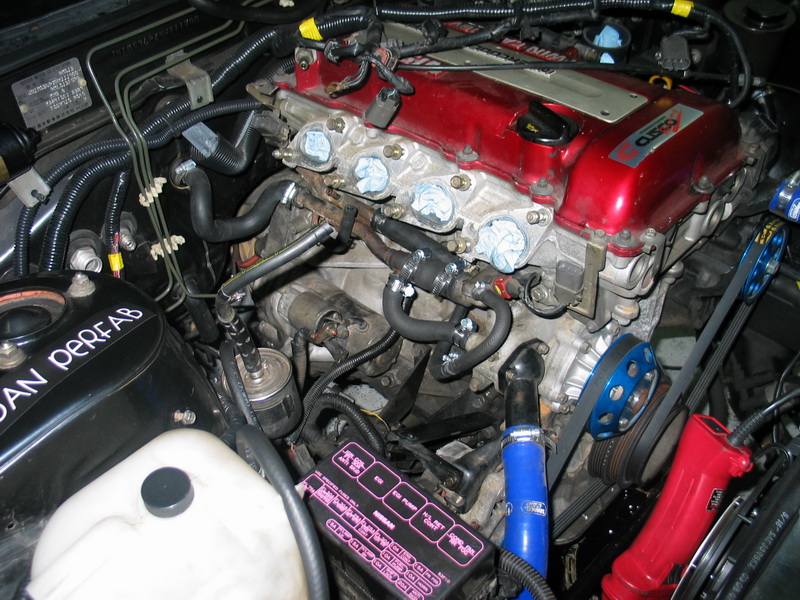
How she looks right now:

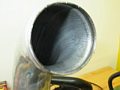
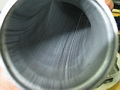
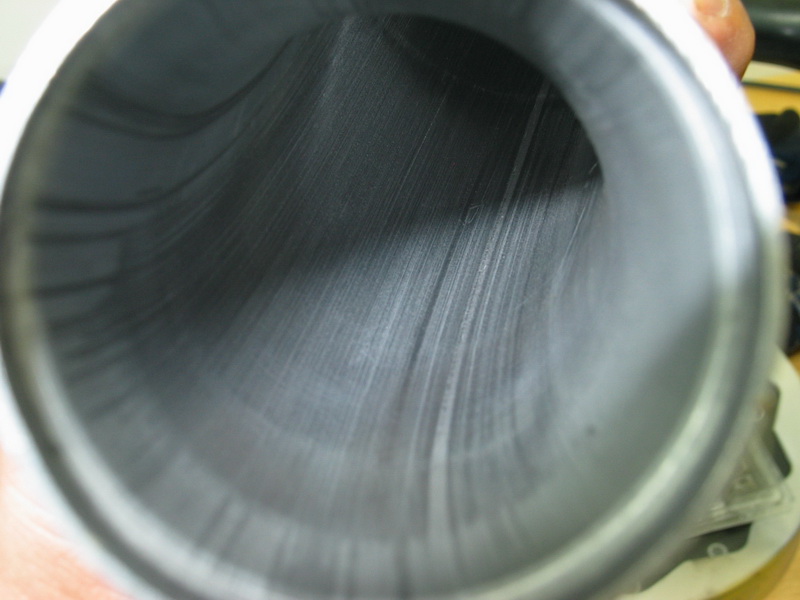
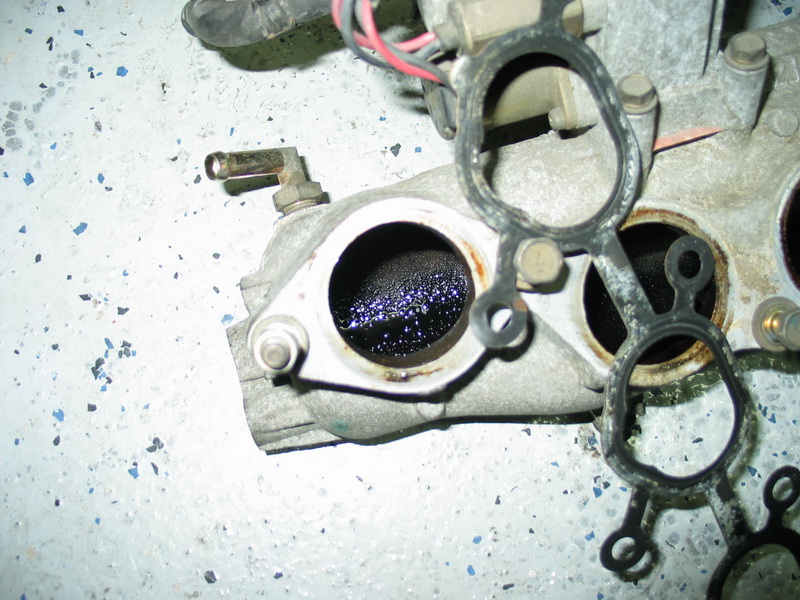
After taking the piping out I took the couplers off and looked to see if there was any oil in the piping. Sadly there was. I suspected there to be some; is this much oil in the piping normal or too much?
Oil by the MAF. The pipe from the "T" on the valve cover comes in before the MAF.

The intake pipe after the MAF before the turbo:

Hot pipe:
I'm going to take the old oil and dump it at advance auto, and then I'm going to drain all the radiator fluid and get the manifold off.
A few more parts came in as well:
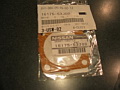
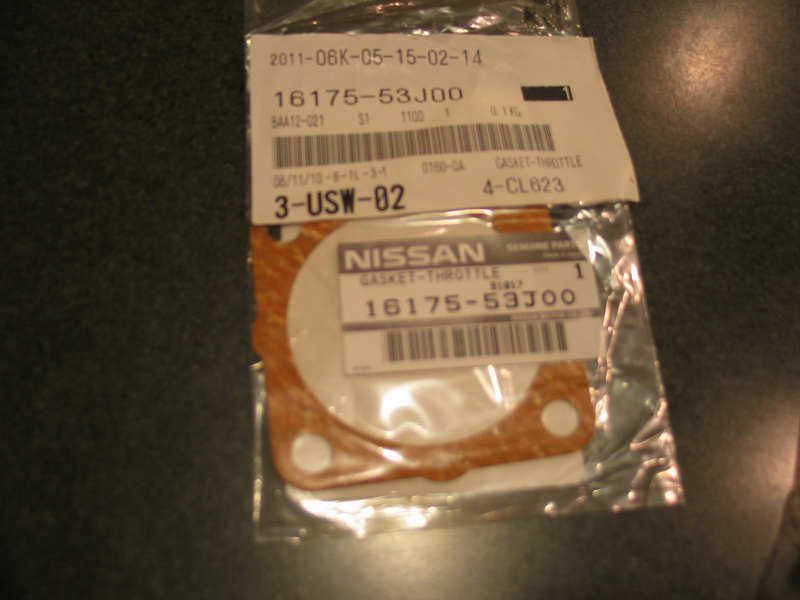
SR throttle body gasket:
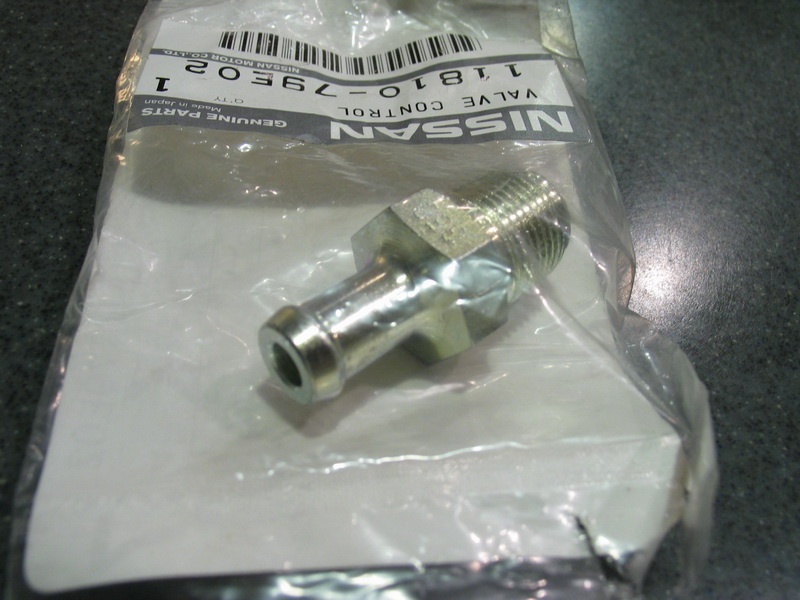
New PCV valve:
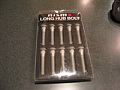
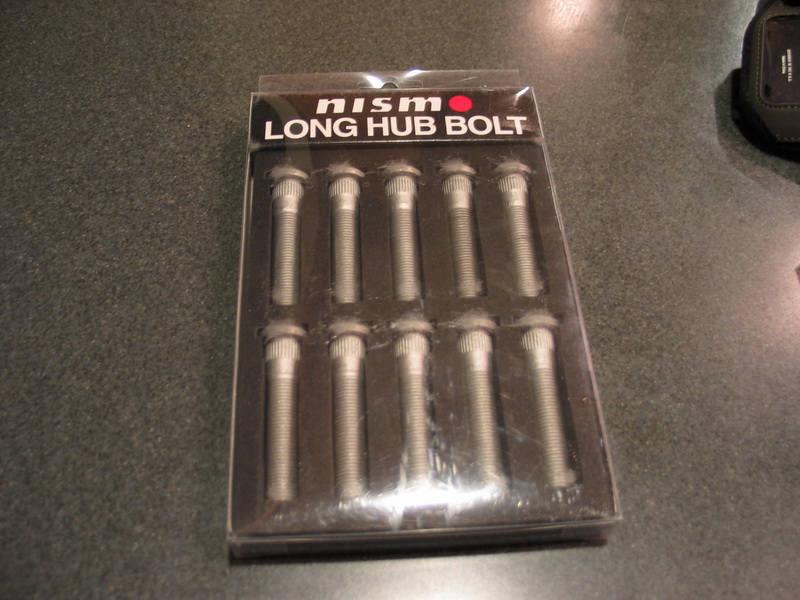
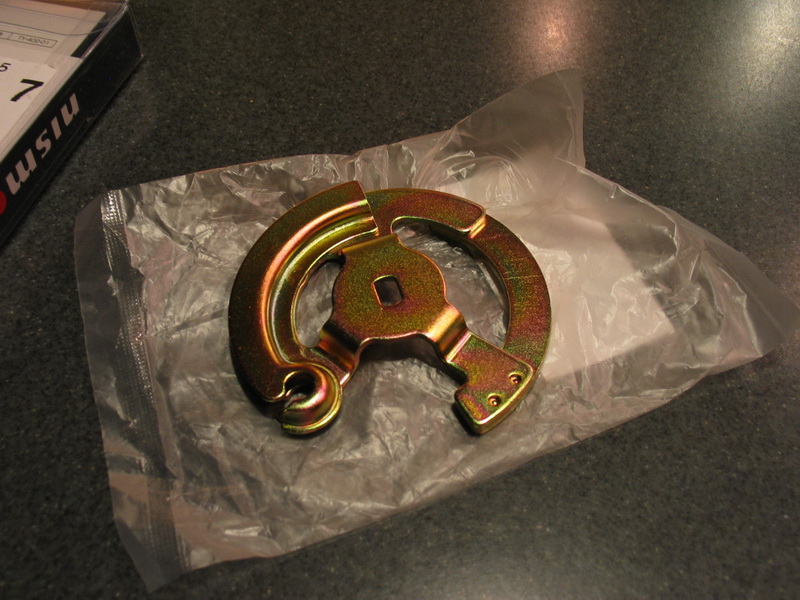
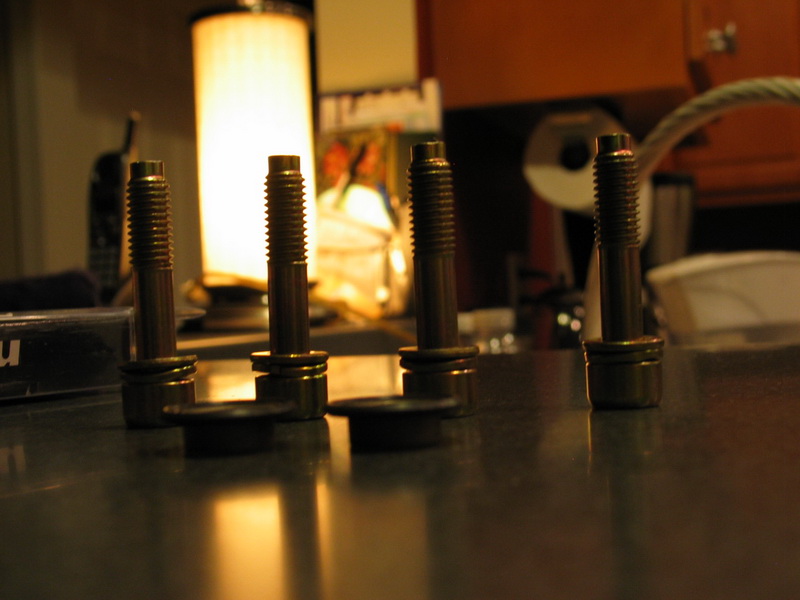
Nismo long wheel studs for my rear hubs. (Long painful and expensive story).
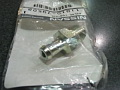
S14 Throttle Body Pulley. I didn't think it was needed, but a write up on how to install the GReddy intake manifold stated to get this pulley. At $10 for the pulley rather have it in case I do need it.
Oil block bolts and 0 rings to go on the block. Last piece of the oil system puzzle.
Hopefully after the new years I'll have some time to really wrench on the car. We'll see.
Thanks for reading.
More pix here.
I got the following done:
- Removed the side mount intercooler
- Removed the intake tube.
- Removed the charge pipe & coild pipe
- Disconnected the wiring harness running along the intake manifold.
- Removed the vacuum lines and brake booster line to the manifold
- Removed the throttle cable.
How she looks right now:
After taking the piping out I took the couplers off and looked to see if there was any oil in the piping. Sadly there was. I suspected there to be some; is this much oil in the piping normal or too much?
Oil by the MAF. The pipe from the "T" on the valve cover comes in before the MAF.
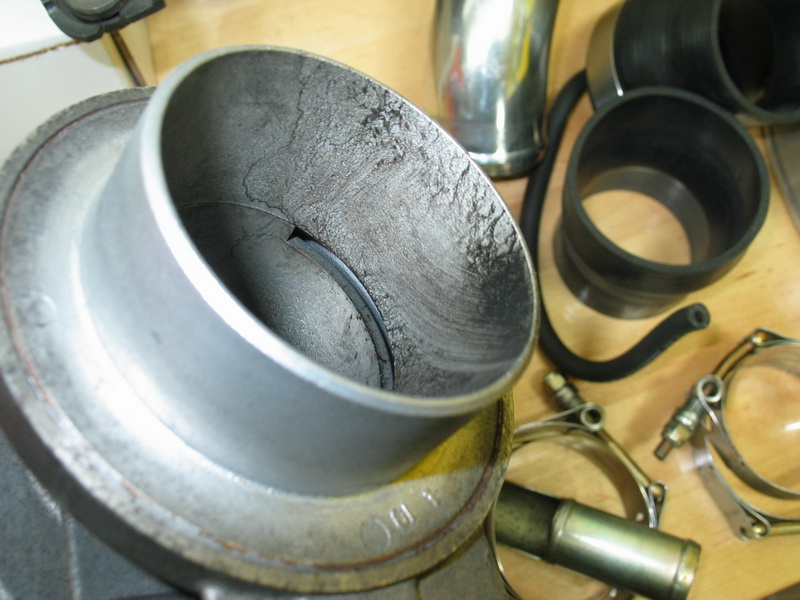
The intake pipe after the MAF before the turbo:

Hot pipe:

I'm going to take the old oil and dump it at advance auto, and then I'm going to drain all the radiator fluid and get the manifold off.
A few more parts came in as well:
SR throttle body gasket:
New PCV valve:
Nismo long wheel studs for my rear hubs. (Long painful and expensive story).
S14 Throttle Body Pulley. I didn't think it was needed, but a write up on how to install the GReddy intake manifold stated to get this pulley. At $10 for the pulley rather have it in case I do need it.
Oil block bolts and 0 rings to go on the block. Last piece of the oil system puzzle.
Hopefully after the new years I'll have some time to really wrench on the car. We'll see.
Thanks for reading.
More pix here.
Thread Starter
Registered User
Joined: Dec 2006
Posts: 434
From: VA
I went back in the garage tonight. Needed another escape from reality.
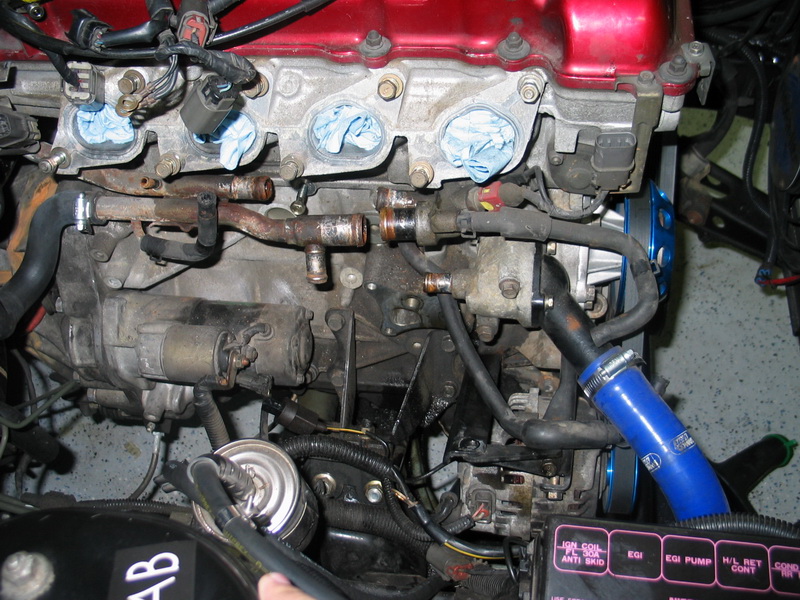
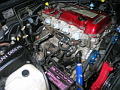
Continued work on the intake manifold. I'd list everything I did, but it's easier to sum it up as I disconnected everything linked to the intake manifold, and I removed the intake manifold.
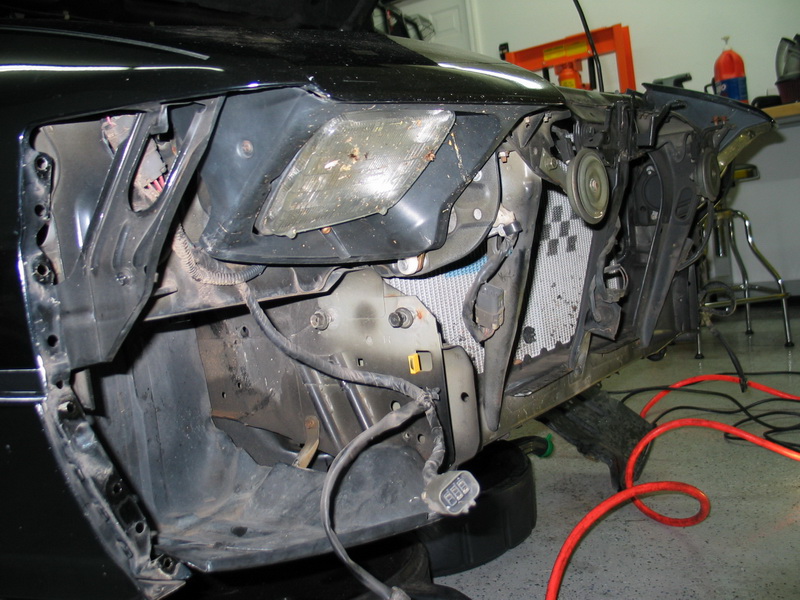
After I removed the intake manifold I went hog wild and removed the front bumper support as well.
There is a lot of oil in the intake system. A catch can is def. getting installed.
Pix!
Fuel system removed:
#4 injector seal is an issue. Probably send the injectors off have them cleaned and get new seal in the process.

Manifold completely removed. 3 support brackets holding the damn thing on. So annoying.
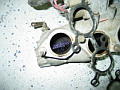
I've tracked the oil all the way to it's home; in my intake manifold.
Spent a total of 5 mins and removed the bumper support. I'll cut it to clear my intercooler and then reinstall it. I like my bumper support.

Next up remove the oem oil block and replace a lot of the rubber hoses hiding under the intake manifold.
Is the amount of oil I'm seeing normal or could this be a clue to a larger issue?
As always, more pix here.
Continued work on the intake manifold. I'd list everything I did, but it's easier to sum it up as I disconnected everything linked to the intake manifold, and I removed the intake manifold.
After I removed the intake manifold I went hog wild and removed the front bumper support as well.
There is a lot of oil in the intake system. A catch can is def. getting installed.
Pix!
Fuel system removed:
#4 injector seal is an issue. Probably send the injectors off have them cleaned and get new seal in the process.

Manifold completely removed. 3 support brackets holding the damn thing on. So annoying.

I've tracked the oil all the way to it's home; in my intake manifold.
Spent a total of 5 mins and removed the bumper support. I'll cut it to clear my intercooler and then reinstall it. I like my bumper support.
Next up remove the oem oil block and replace a lot of the rubber hoses hiding under the intake manifold.
Is the amount of oil I'm seeing normal or could this be a clue to a larger issue?
As always, more pix here.
oil in the intake is very common especially from an older sr with non bb cartridge. If there is any oil in the charge pipes, compressor housing, or exhaust housing you might have something to worry about though. Nice progress on the car btw
Thread Starter
Registered User
Joined: Dec 2006
Posts: 434
From: VA
Wrenched for a bit tonight. Hopefully hit it up again tomorrow night and Sunday as well.
I removed the rubber hoses under the intake manifold. Going to go to the auto store on Saturday and find suitable pieces. I'm also going to route the coolant lines so they do not go into the throttle body.
I removed the OEM oil block as well.
I removed the OEM knock sensor.
Seperated the TB from the old intake manifold.
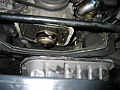
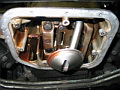
I also removed all the bolts holding the oem oil plan to the block. The grey silicone sealant is apparently like cement, because I can't get the damn thing to separate. I banged on it with my hammer; no dice.
Next up larger hammer, and if push comes to shove, I'll jam a thick screw driver in the oil drain bolt and leverage it left to right and hopefully breaking the seal lose.
A bit frustrating I didn't get the oil pan off but it'll come. I was hoping to get the exhaust unmounted as well, but it'll have to wait for another day.
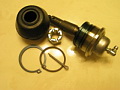
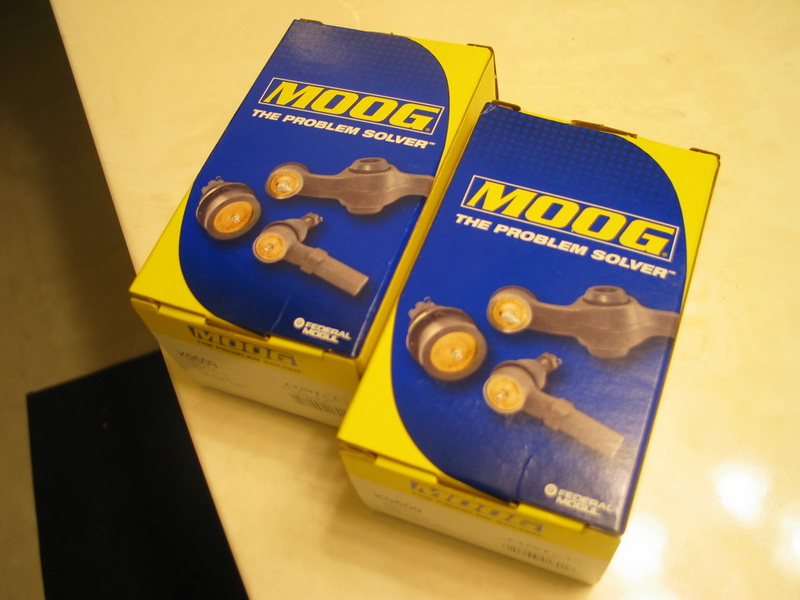
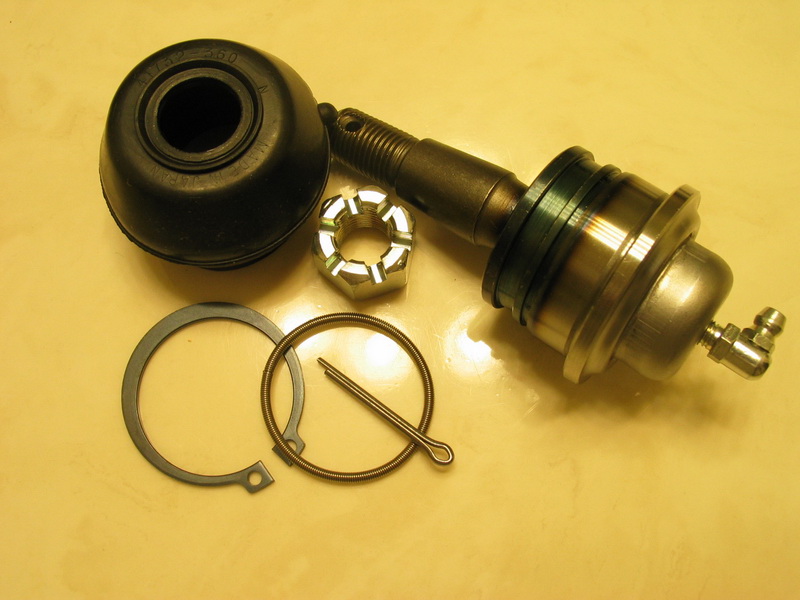
Lastly my new ball joints for the front lower control arms showed up.
Pix!
Everything off. Once I get the vacuum lines replaced I can start installing the aftermarket parts.

MOOG balljoints. They have grease fittings. Nice little bonus.

I removed the rubber hoses under the intake manifold. Going to go to the auto store on Saturday and find suitable pieces. I'm also going to route the coolant lines so they do not go into the throttle body.
I removed the OEM oil block as well.
I removed the OEM knock sensor.
Seperated the TB from the old intake manifold.
I also removed all the bolts holding the oem oil plan to the block. The grey silicone sealant is apparently like cement, because I can't get the damn thing to separate. I banged on it with my hammer; no dice.
Next up larger hammer, and if push comes to shove, I'll jam a thick screw driver in the oil drain bolt and leverage it left to right and hopefully breaking the seal lose.
A bit frustrating I didn't get the oil pan off but it'll come. I was hoping to get the exhaust unmounted as well, but it'll have to wait for another day.
Lastly my new ball joints for the front lower control arms showed up.
Pix!
Everything off. Once I get the vacuum lines replaced I can start installing the aftermarket parts.
MOOG balljoints. They have grease fittings. Nice little bonus.
Thread Starter
Registered User
Joined: Dec 2006
Posts: 434
From: VA
Well I made some more progress tonight.
Installed the new knock sensor
Went to Advance Auto and spent a good hour finding hoses that would be close enough to replace the old coolant hoses.
I also bypassed the throttle body for one of the coolants lines.
The lines were a bit annoying but the process didn't take too long.
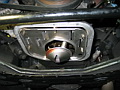
Took off the oil pan as well. Thanks Andy for the tip! Someone else mentioned the same technique on removal, worked very well.
Took off the old IACV for the bolts, took off the OEM oil pressure sensor as well. Once I get the NPT > BSPT converter I can put in the new oil block, and the lines and plumb the oil system.
Pix:
New hoses on. I'm clamped 'em on tight! Just like your mother Trebek.
Oil pan OFF!
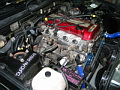
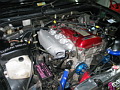
Test fitted the intake manifold. Damn it looks nice!

More schtuff here.
Installed the new knock sensor
Went to Advance Auto and spent a good hour finding hoses that would be close enough to replace the old coolant hoses.
I also bypassed the throttle body for one of the coolants lines.
The lines were a bit annoying but the process didn't take too long.
Took off the oil pan as well. Thanks Andy for the tip! Someone else mentioned the same technique on removal, worked very well.
Took off the old IACV for the bolts, took off the OEM oil pressure sensor as well. Once I get the NPT > BSPT converter I can put in the new oil block, and the lines and plumb the oil system.
Pix:
New hoses on. I'm clamped 'em on tight! Just like your mother Trebek.
Oil pan OFF!

Test fitted the intake manifold. Damn it looks nice!


More schtuff here.
Thread Starter
Registered User
Joined: Dec 2006
Posts: 434
From: VA
Finally got a chance to go out in the garage and tool a bit.
Removed the s13 oil pick up
Installed the s14 oil pick up
Cleaned and reinstalled the baffle
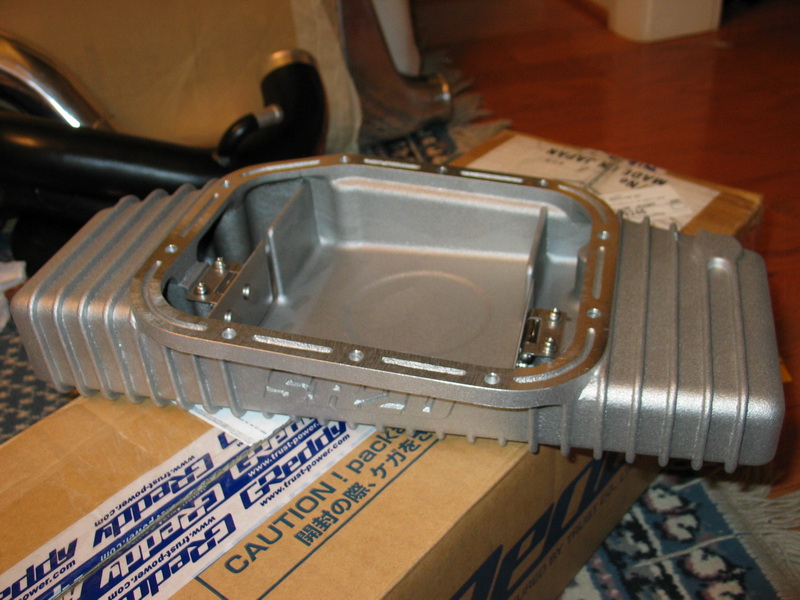
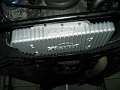
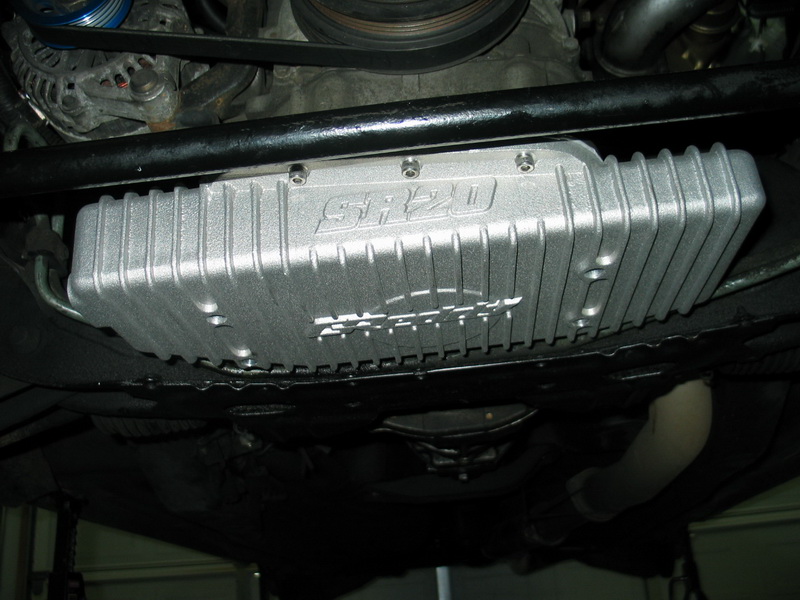
Installed the greddy oil pan.
I torqued the pan bolts to 5.5 ft/lbs per FSM. GReddy paperwork said the same thing. I'm sure it's fine, just a bit low I feel.
Pix:
S14 Oil Pickup installed. The bolt for the bracket was a nightmare, but it finally went.
Clean *** baffle!
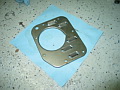
BAFFLE BACK ON!
Oil Pan on. I F'n love this oil pan!
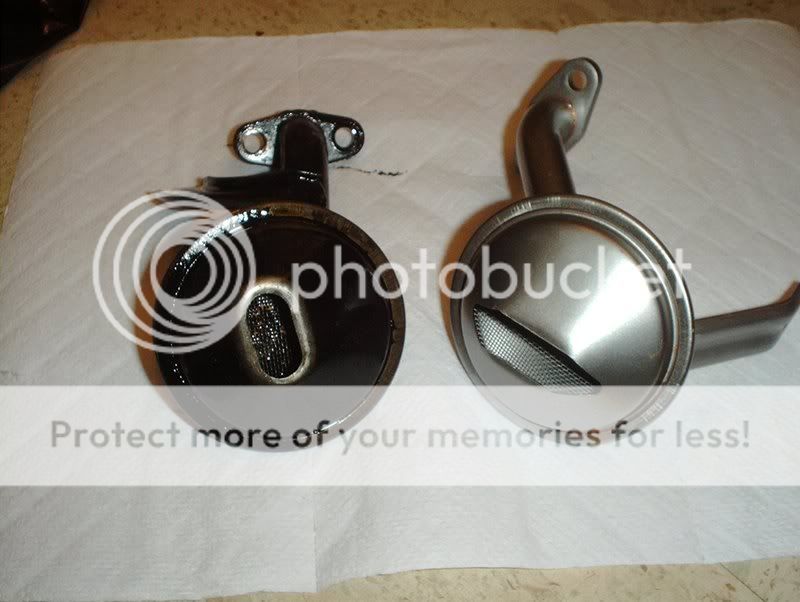
Here is a comparison of the S13 oil pickup VS the S14 oil pickup. S13 pickup on the left, S14 on the right. Image thanks to Positron:
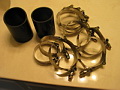
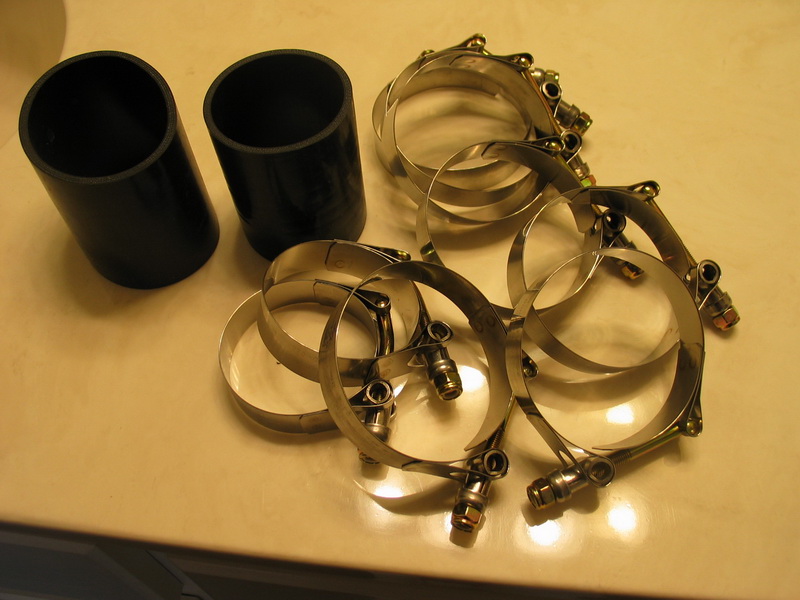
Last of the intercooler parts showed up:
T clamps
2 Silicone couplers.
I purchased them from atpturbo.com, well priced and they do the job.
Pix:
I may go in the garage and take apart the exhaust system.
Next week I should have the polyurethane bushings for my front LCA's. Then they are sent off to get boxed in and sand blasted, paint and put back together.
Can't wait!
As always pix here.
Removed the s13 oil pick up
Installed the s14 oil pick up
Cleaned and reinstalled the baffle
Installed the greddy oil pan.
I torqued the pan bolts to 5.5 ft/lbs per FSM. GReddy paperwork said the same thing. I'm sure it's fine, just a bit low I feel.
Pix:
S14 Oil Pickup installed. The bolt for the bracket was a nightmare, but it finally went.
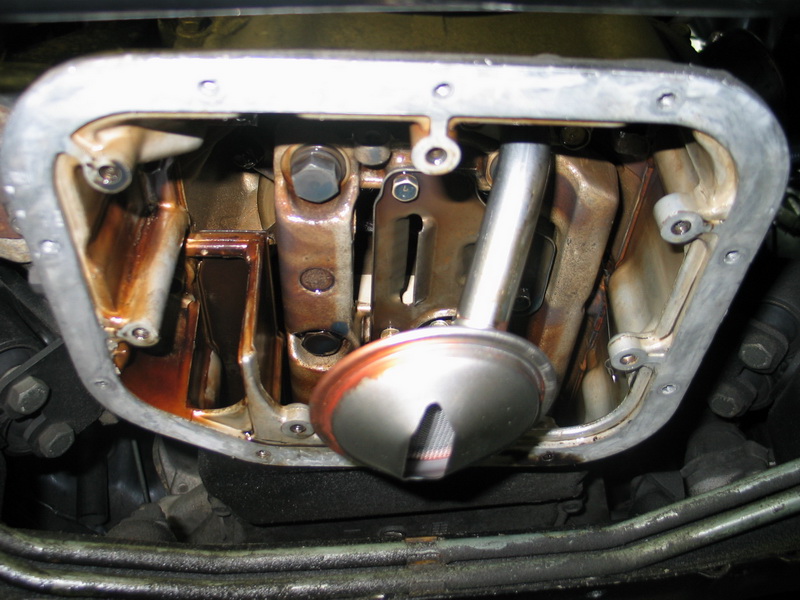
Clean *** baffle!
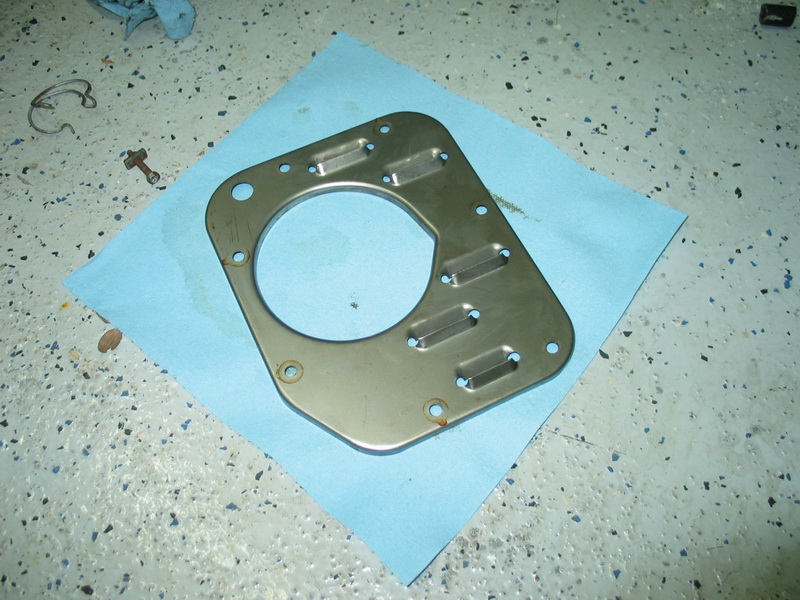
BAFFLE BACK ON!
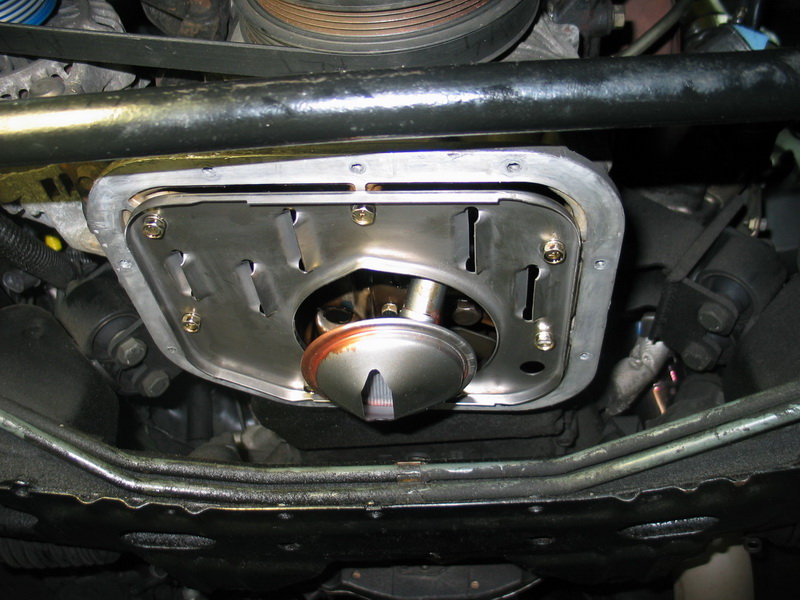
Oil Pan on. I F'n love this oil pan!
Here is a comparison of the S13 oil pickup VS the S14 oil pickup. S13 pickup on the left, S14 on the right. Image thanks to Positron:
Last of the intercooler parts showed up:
T clamps
2 Silicone couplers.
I purchased them from atpturbo.com, well priced and they do the job.
Pix:
I may go in the garage and take apart the exhaust system.
Next week I should have the polyurethane bushings for my front LCA's. Then they are sent off to get boxed in and sand blasted, paint and put back together.
Can't wait!
As always pix here.
Last edited by Bumnah; Jan 17, 2009 at 11:57 AM.