
How to solder like a man


How to solder like a man
Ok... heres how i like to solder. which is man style, which means its the right way. haha
actually, this is the most efficient way to solder i have found. strongest holds, lowest resistance... (i.e. ballertastic)
Weapons of mass destruction:
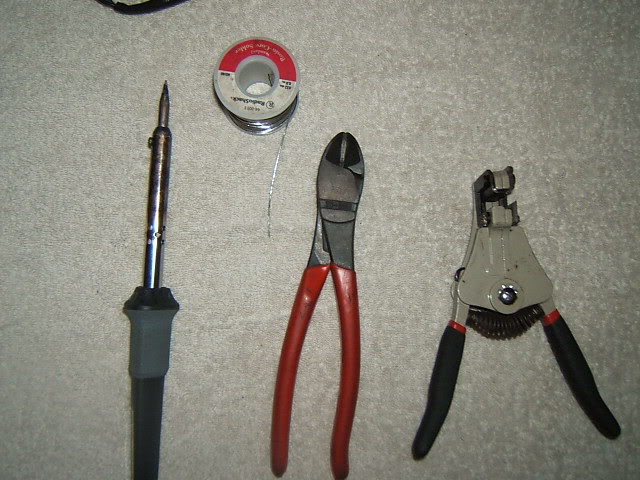
includes:
40watt soldering iron (needed for thicker wires-dont cheap out-go 40w)
.032 Rosin-core solder (.032 melts quick, draws in nicely)
Knipex side cutters (these things can cut through a house)
Mechanical wire stripper (found at home depot)
Wire strippers:
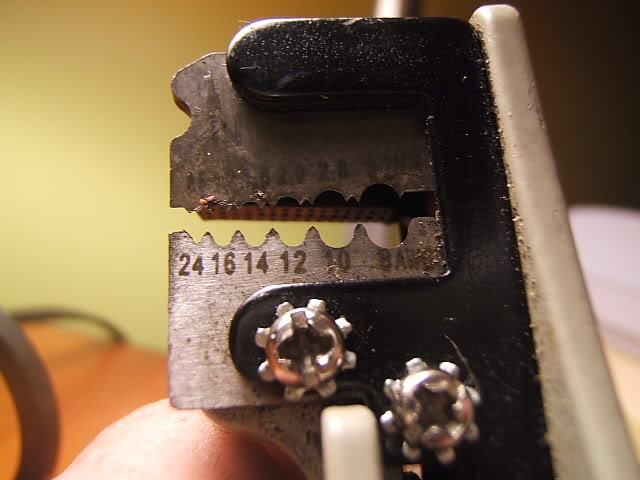
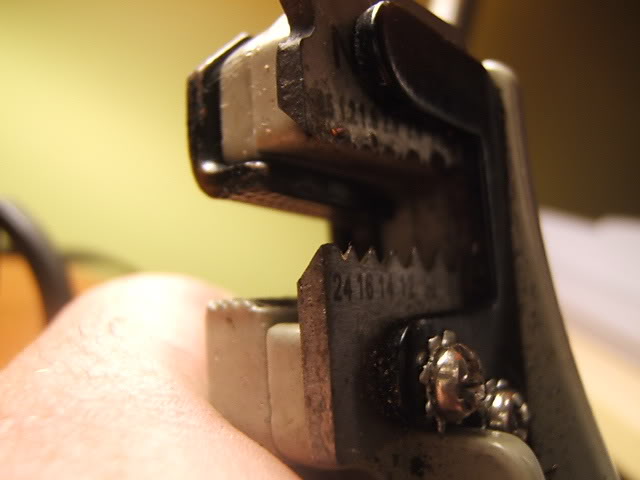
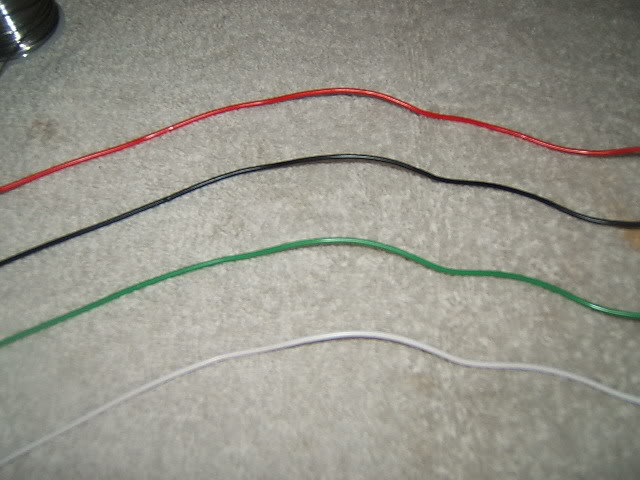
our victims for tonights procedure:
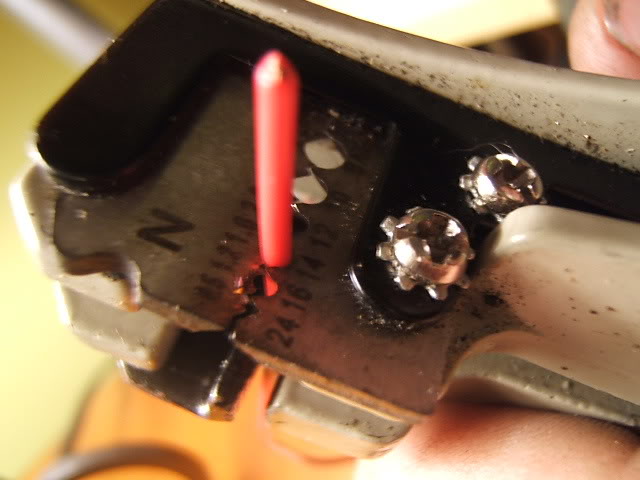
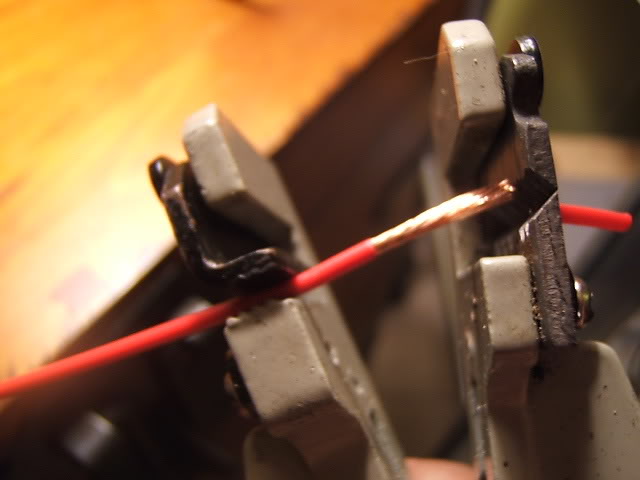
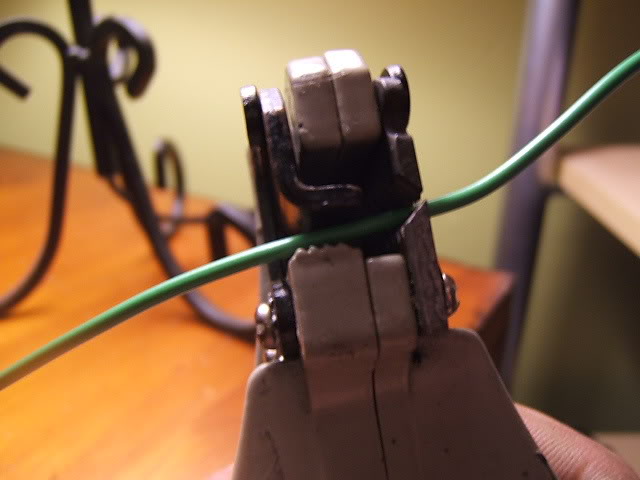
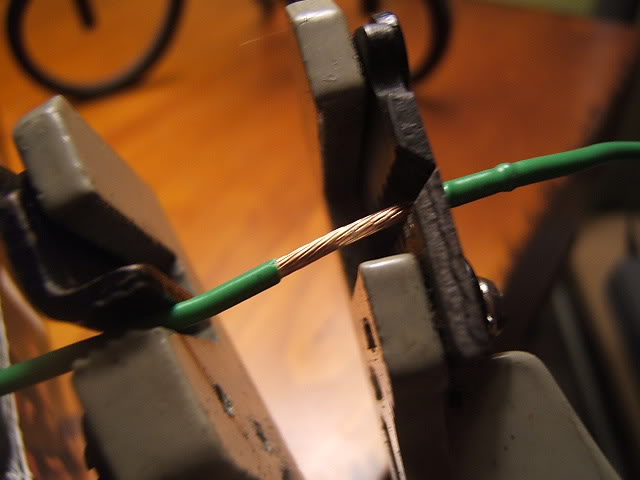
pick your size, insert wire, squeeze handles:
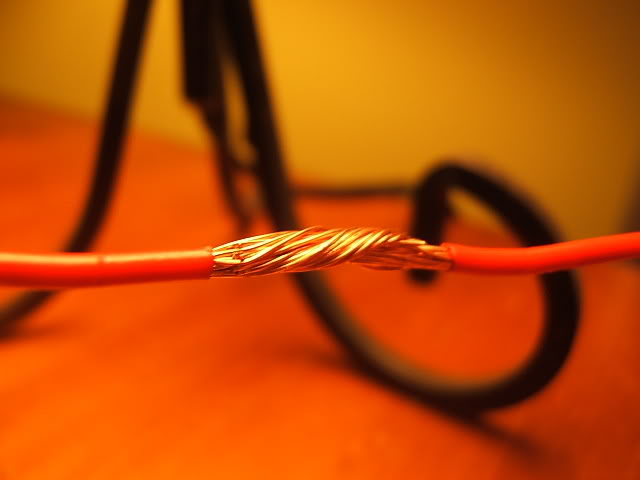
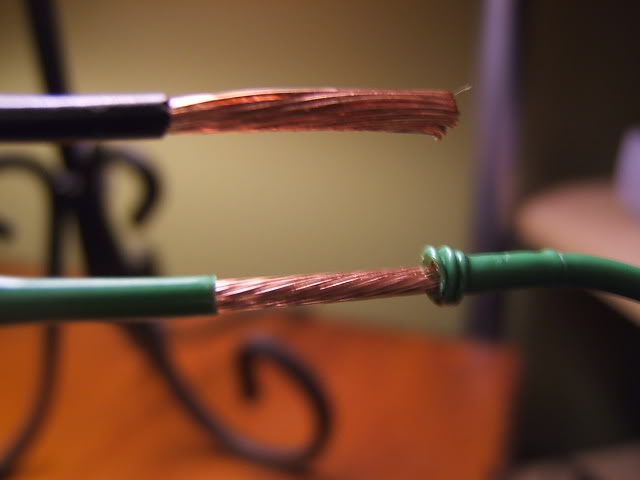
This is how you join two wire ends together (i.e. lengthen). Push the two wire ends togther so the strands mesh well. you want copper on copper contact!! DO NOT 'TIN' EACH WIRE AND MELT TOGETHER!!

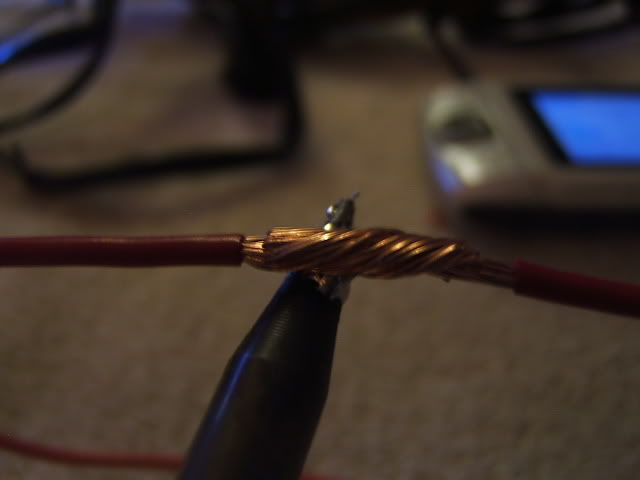
then twist the two so they basically make one wire. pay attention to make sure that the twist is tight and no points are poking out:
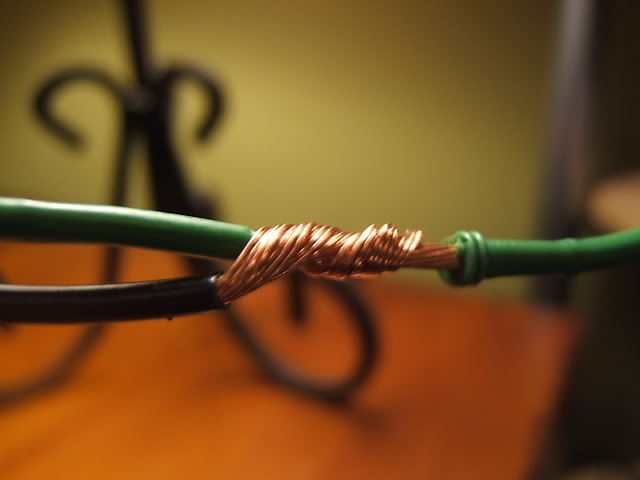
Now, to add a wire to another (i.e. splicing onto like for an SAFC, etc). Strip your signal wire in the middle of the insulation where you would like to make your tap:

line up your wire that is making the tap (stripped like previously explained):
twist on:
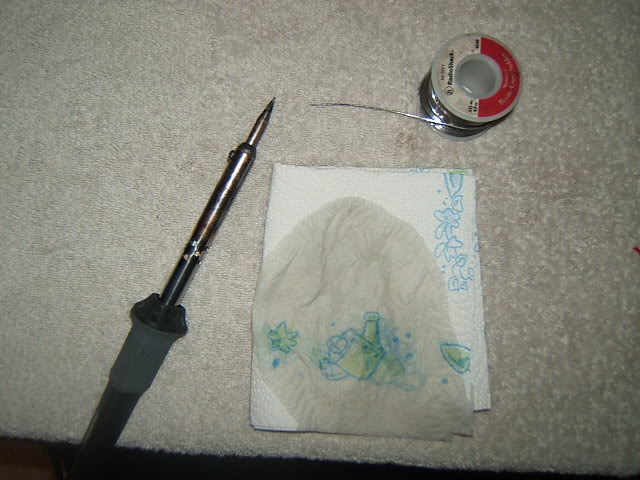
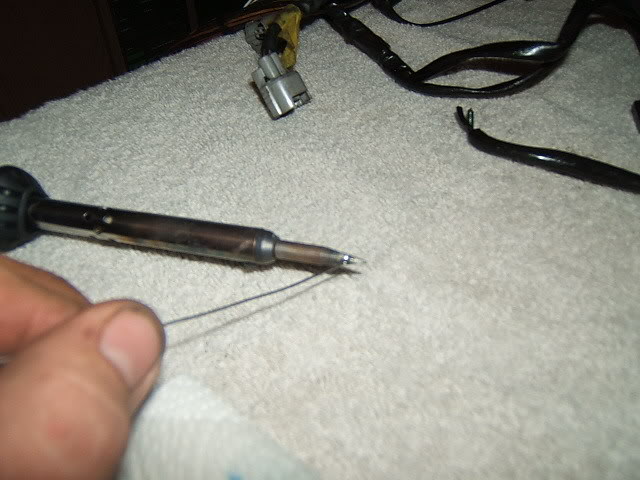
Time to solder! you'll need your iron nice and hot, your solder and a wet papertowel to clean the tip when done:
*Notice: There are many different strategies for soldering. This is the way i do things and it has proved most useful for me*
if you are using a new soldering iron, it takes time for a 'hotspot' to emerge. the iron may be hot, but you eventually form a spot where solder melts the quickest. once you have this spot 'made', soldering becomes extremely quick and efficient.
let me preface with my method explained first, then step by step with pictures.
once you have your wires stripped and twisted, apply solder to your iron's hotspot. this is where the solder will melt, but also stay on the iron as a little bubble. apply this bubble to the twisted bare wire and gently feed more solder to the bubble. after seconds, you will see the solder soak into the wire. this is how you know that you have heated the wire to the proper temperature. add solder to the wire and watch it melt into the nooks and crannies until the joint is covered uniformly. let cool before disturbing the joint (they can pull apart while hot). i even like to soak some solder into the ends of the wire going into the insulation for extra joint strength.
NEVER APPLY A "COLD JOINT"!! this is when you melt solder ONTO the wire without the wires being heated up. always heat from under, with the wire in constant contact with the solder bubble on the iron. the bubble is essential for heat transfer as it allows more surface area for heat to flow. if you were to just lay the wire onto the bare iron with no presolder it would take forever to heat; if at all!
now the pics!
adding the solder 'bubble' to the iron:
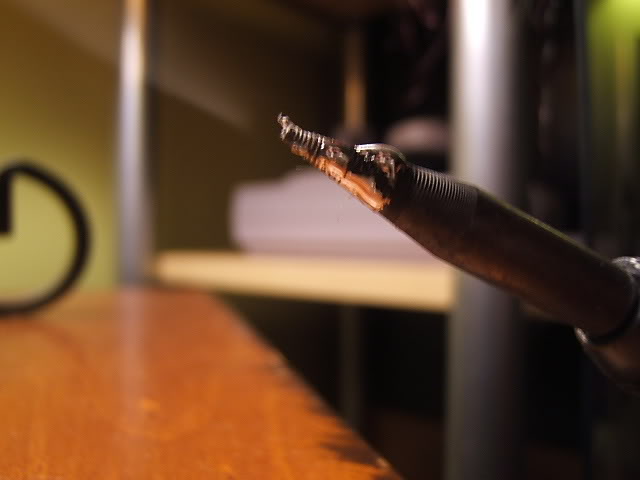
the bubble:
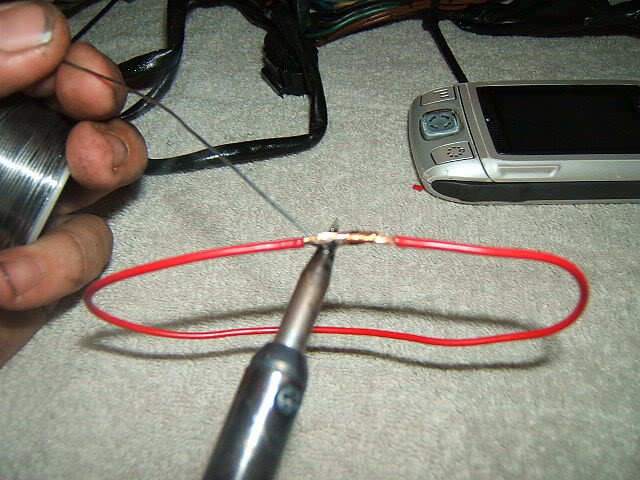
applying the bubble to the underside of the wire and holding it there during soldering:
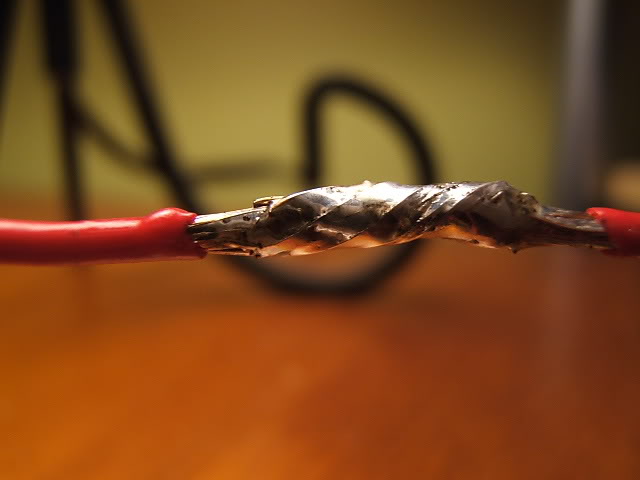
apply solder to the bubble and to the wire until the entire joint is saturated. you want the solder IN the connection... not ON it..:
1st joint "end to end":
2nd joint "the tap splice"

hope this helps
actually, this is the most efficient way to solder i have found. strongest holds, lowest resistance... (i.e. ballertastic)
Weapons of mass destruction:
includes:
40watt soldering iron (needed for thicker wires-dont cheap out-go 40w)
.032 Rosin-core solder (.032 melts quick, draws in nicely)
Knipex side cutters (these things can cut through a house)
Mechanical wire stripper (found at home depot)
Wire strippers:
our victims for tonights procedure:
pick your size, insert wire, squeeze handles:
This is how you join two wire ends together (i.e. lengthen). Push the two wire ends togther so the strands mesh well. you want copper on copper contact!! DO NOT 'TIN' EACH WIRE AND MELT TOGETHER!!
then twist the two so they basically make one wire. pay attention to make sure that the twist is tight and no points are poking out:
Now, to add a wire to another (i.e. splicing onto like for an SAFC, etc). Strip your signal wire in the middle of the insulation where you would like to make your tap:
line up your wire that is making the tap (stripped like previously explained):
twist on:
Time to solder! you'll need your iron nice and hot, your solder and a wet papertowel to clean the tip when done:
*Notice: There are many different strategies for soldering. This is the way i do things and it has proved most useful for me*
if you are using a new soldering iron, it takes time for a 'hotspot' to emerge. the iron may be hot, but you eventually form a spot where solder melts the quickest. once you have this spot 'made', soldering becomes extremely quick and efficient.
let me preface with my method explained first, then step by step with pictures.
once you have your wires stripped and twisted, apply solder to your iron's hotspot. this is where the solder will melt, but also stay on the iron as a little bubble. apply this bubble to the twisted bare wire and gently feed more solder to the bubble. after seconds, you will see the solder soak into the wire. this is how you know that you have heated the wire to the proper temperature. add solder to the wire and watch it melt into the nooks and crannies until the joint is covered uniformly. let cool before disturbing the joint (they can pull apart while hot). i even like to soak some solder into the ends of the wire going into the insulation for extra joint strength.
NEVER APPLY A "COLD JOINT"!! this is when you melt solder ONTO the wire without the wires being heated up. always heat from under, with the wire in constant contact with the solder bubble on the iron. the bubble is essential for heat transfer as it allows more surface area for heat to flow. if you were to just lay the wire onto the bare iron with no presolder it would take forever to heat; if at all!
now the pics!
adding the solder 'bubble' to the iron:
the bubble:
applying the bubble to the underside of the wire and holding it there during soldering:
apply solder to the bubble and to the wire until the entire joint is saturated. you want the solder IN the connection... not ON it..:
1st joint "end to end":
2nd joint "the tap splice"
hope this helps


but lets not get off on the wrong foot here great job on the write up.
Registered User
Joined: Dec 2006
Posts: 434
From: VA
where's the heat shrink?! amateur night over here!
my friend taught me to solder when I did my car alarm. i was forced to pinch the soldered joint with my thumb and index finger "it dissipated heated better." BS. he made me do it to torture me. I did so many solders like that, I always pinch the solder when I'm done now. I can't help myself.
Now I know what a lab monkey feels like.

Contributing Member
Joined: Oct 2004
Posts: 886
From: Woodbridge
I myself use a soldering gun, a bit easier for me, and I don't have to keep it on all the time.
Just to add to what Airman Jackson's write-up; you want to be sure that the solder isn't shiny when it's on the wire. That's called "cold solder"--that means it didn't go all the way through the wire and is merely on the outside. You want to be sure that it is inside and outside the wire, binding it to prevent carbon build-up between the wiring.
Just to add to what Airman Jackson's write-up; you want to be sure that the solder isn't shiny when it's on the wire. That's called "cold solder"--that means it didn't go all the way through the wire and is merely on the outside. You want to be sure that it is inside and outside the wire, binding it to prevent carbon build-up between the wiring.
Just to add to what Airman Jackson's write-up; you want to be sure that the solder isn't shiny when it's on the wire. That's called "cold solder"--that means it didn't go all the way through the wire and is merely on the outside. You want to be sure that it is inside and outside the wire, binding it to prevent carbon build-up between the wiring.
Originally Posted by Durdan
you will see the solder soak into the wire. this is how you know that you have heated the wire to the proper temperature. add solder to the wire and watch it melt into the nooks and crannies until the joint is covered uniformly. let cool before disturbing the joint (they can pull apart while hot). i even like to soak some solder into the ends of the wire going into the insulation for extra joint strength.
NEVER APPLY A "COLD JOINT"!! this is when you melt solder ONTO the wire without the wires being heated up. always heat from under, with the wire in constant contact with the solder bubble on the iron. the bubble is essential for heat transfer as it allows more surface area for heat to flow.
NEVER APPLY A "COLD JOINT"!! this is when you melt solder ONTO the wire without the wires being heated up. always heat from under, with the wire in constant contact with the solder bubble on the iron. the bubble is essential for heat transfer as it allows more surface area for heat to flow.
it was mentioned.