
S13 Rear Brake Rotor Install

Thread Starter
Contributing Member
Joined: Sep 2002
Posts: 1,192
From: Starkville, MS.
S13 Rear Brake Rotor Install
I installed some rear rotors yesterday, here's the pics.
Tools needed:
Jack
Jackstands
Socket wrench
17mm socket
14mm socket
Wire brush
Anti-sieze
Brake cleaner
Torque wrench
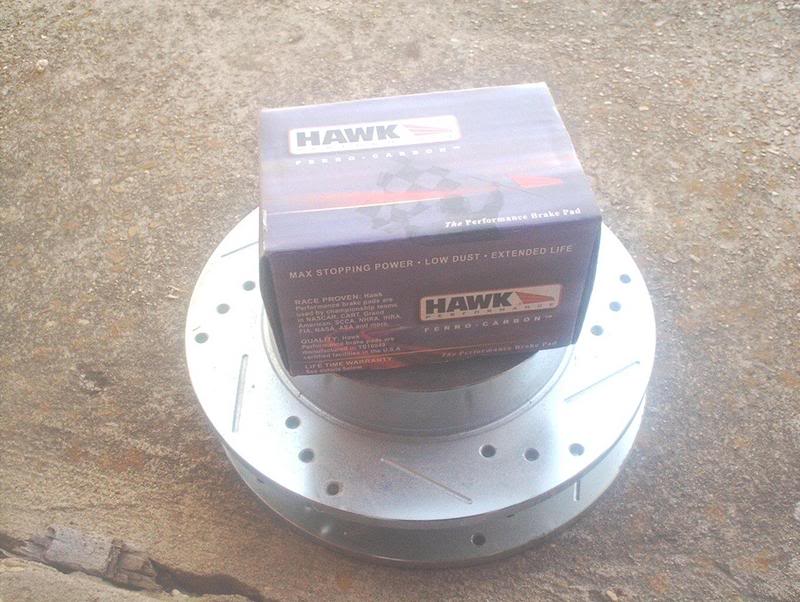
I got these rear and a front set of Brembro's some time ago and just never got around to putting the rears on. Drilled and slotted is overkill for what I do with the car but I didn't know it at the time. Could have saved some money with a plain set of regular rotors with no drilling or slotting.
They should feel and look alot better than my stock 13+ year old factory rear rotors.
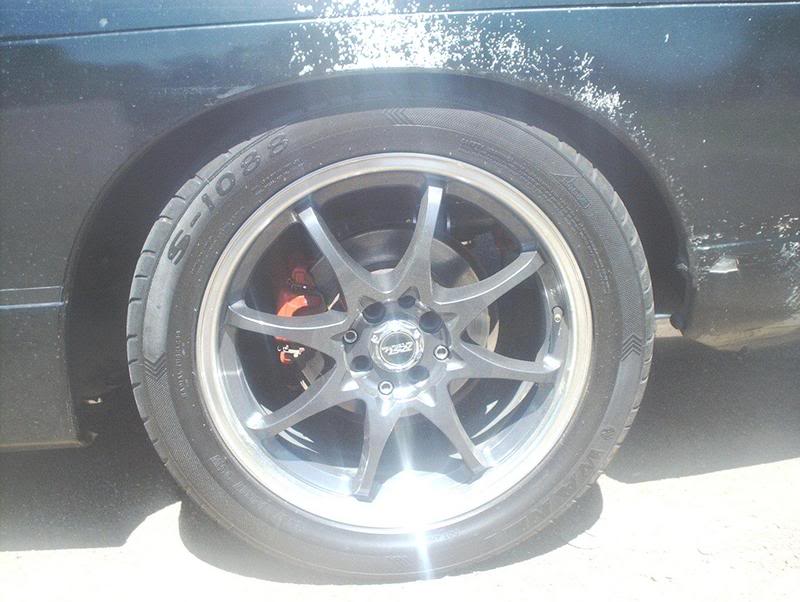
First, you put the car on jackstands and remove the wheels.
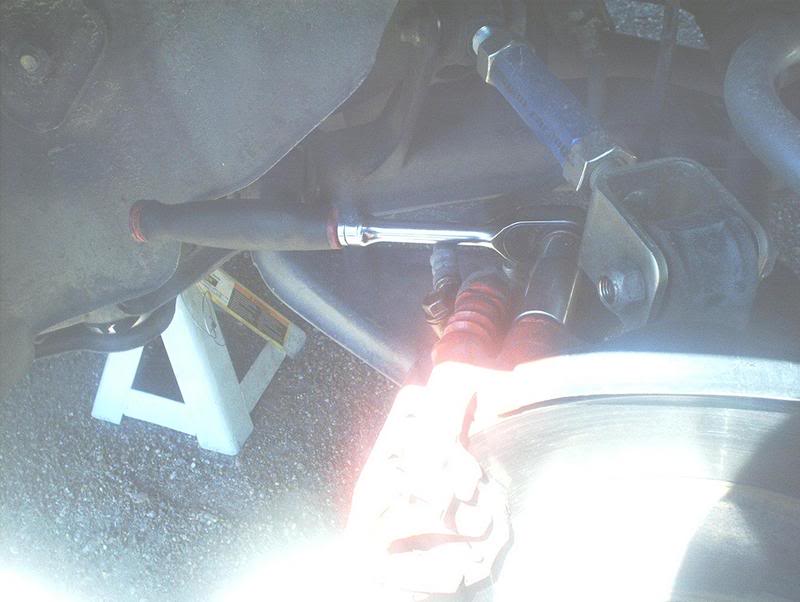
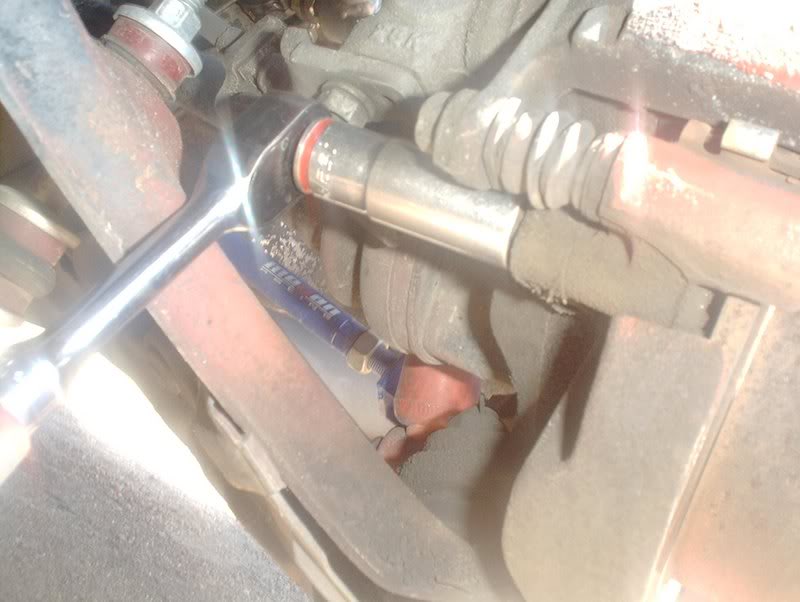
In order to get the rotors on and off you'll need to remove the brake caliper. You start by removing the torque member bolt with a 17mm socket. There are two bolts on the torque member, top and bottom. This is the top bolt.
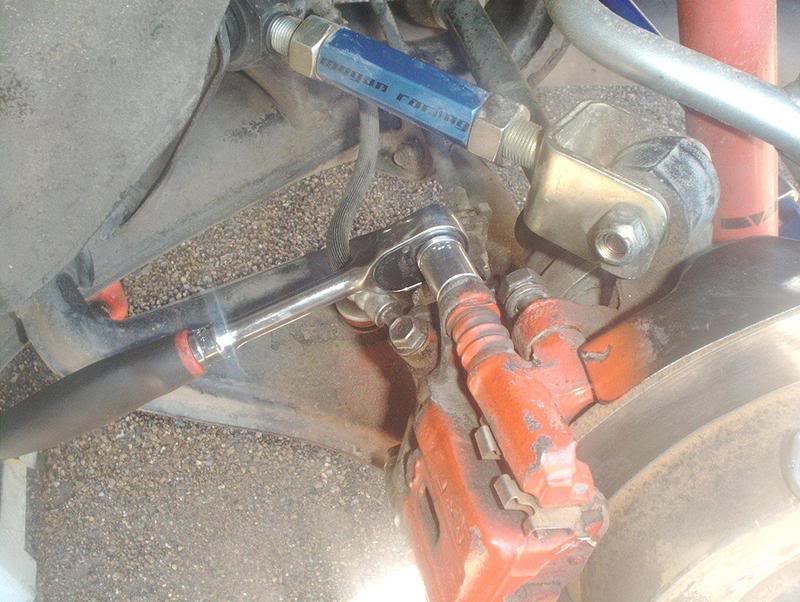
This is the bottom torque member bolt.
Torque member bolt-top.
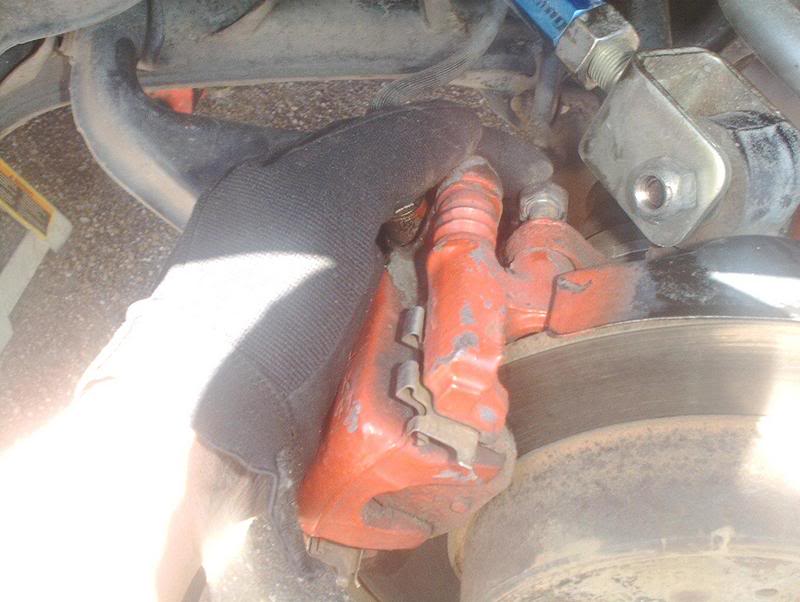
If you can't wriggle the caliper off then you may need to slightly loosen the pin bolts. There are two pin bolts. This is the top pin bolt.
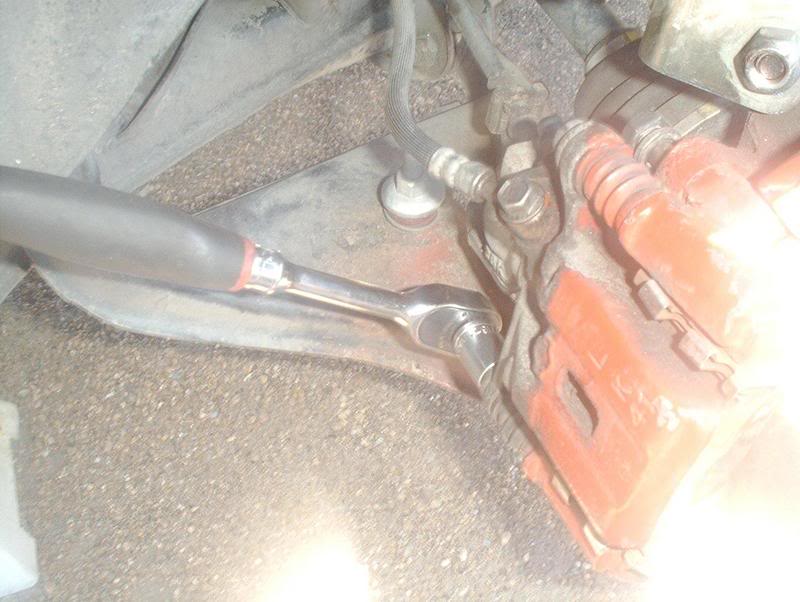
This is the bottom pin bolt.
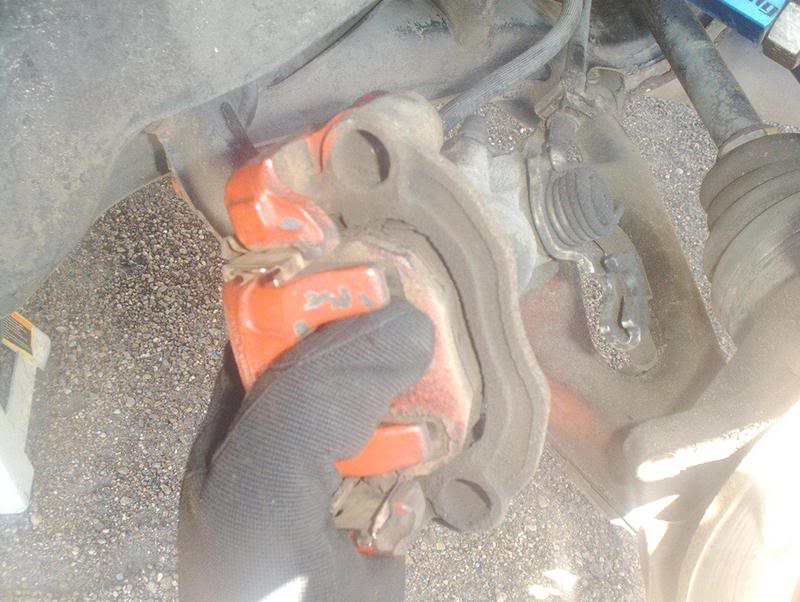
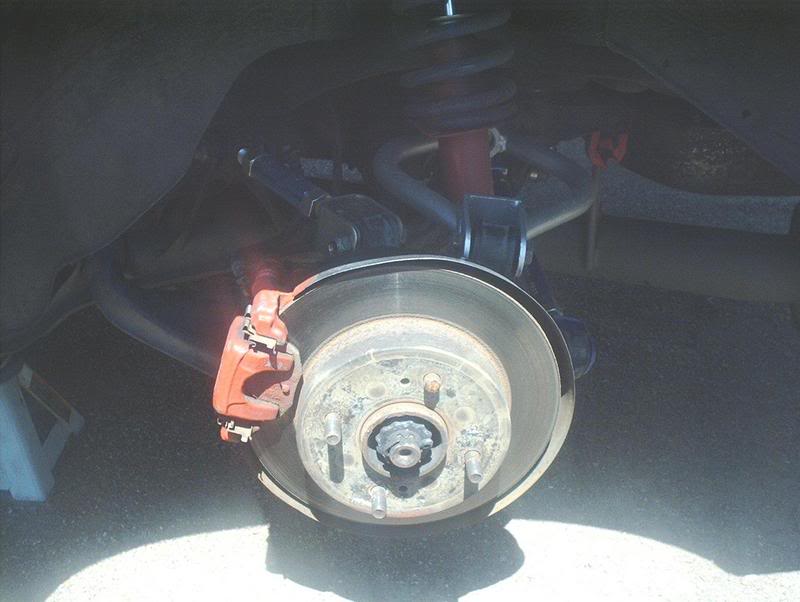
Here's the caliper.

Here's the torque member that it bolts to.
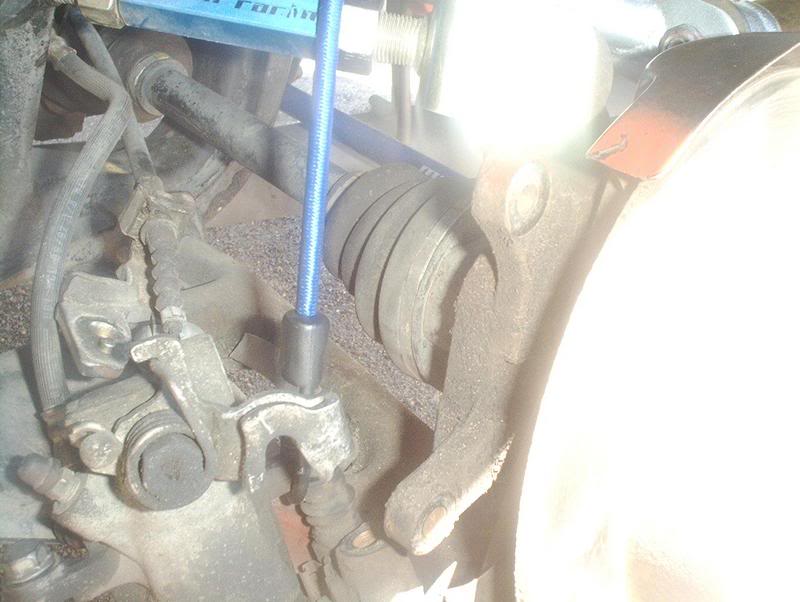
You don't want the caliper hanging by the brake line, which could damage the line, so you use something to hold the caliper with while keeping stress off the brake line. I didn't have any metal coat hangers so I used a small bungee cord. Put one end on the top of your springs and hang the other on the caliper.
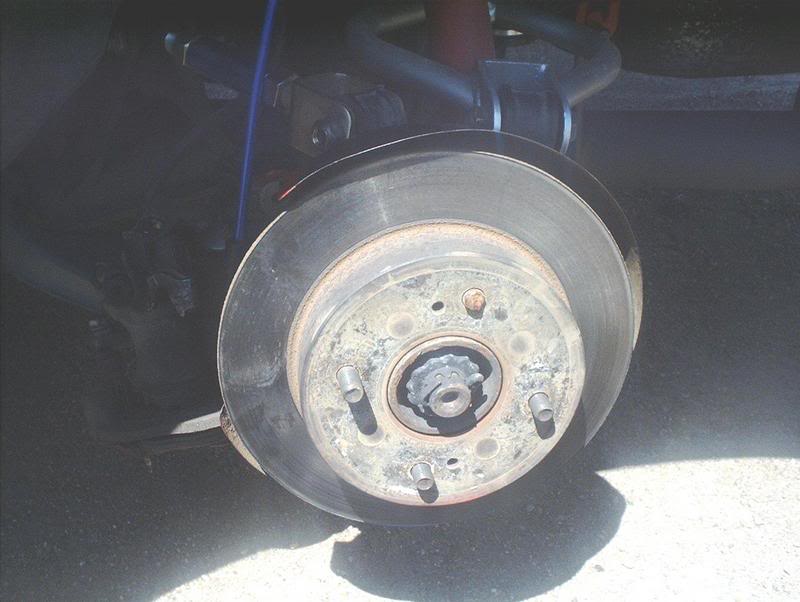
Rotor
The rear rotor is slip-fit so it just comes off when you pull it.
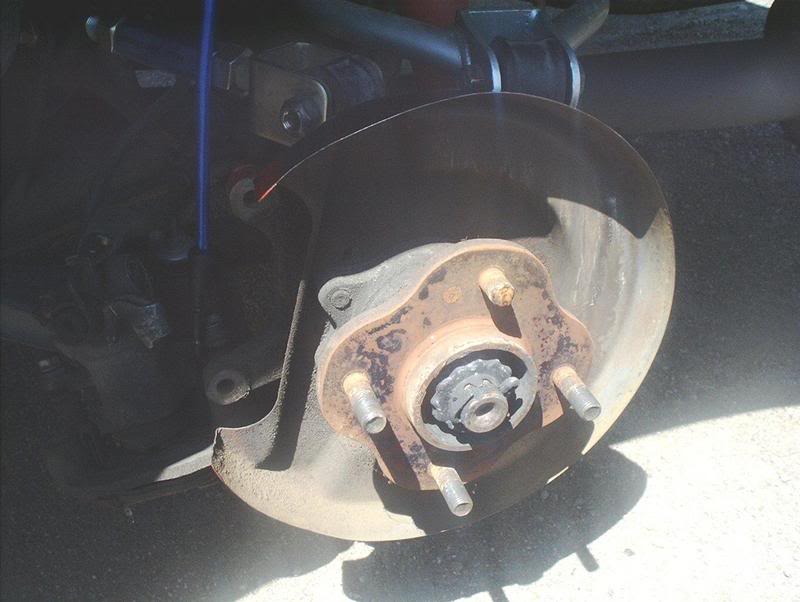
Exposed hub. I'm broke a stud off a couple of months ago. I would have replaced it but I'm shooting for a five-lug conversion real soon.
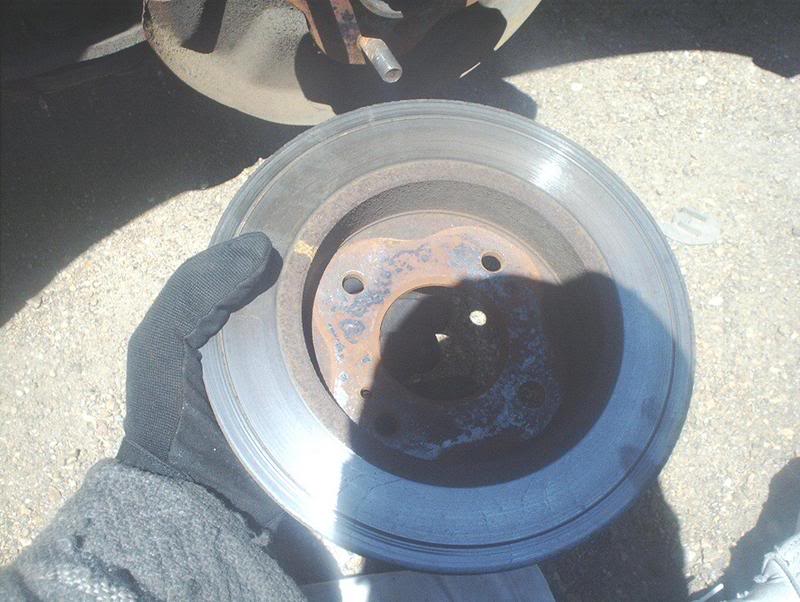
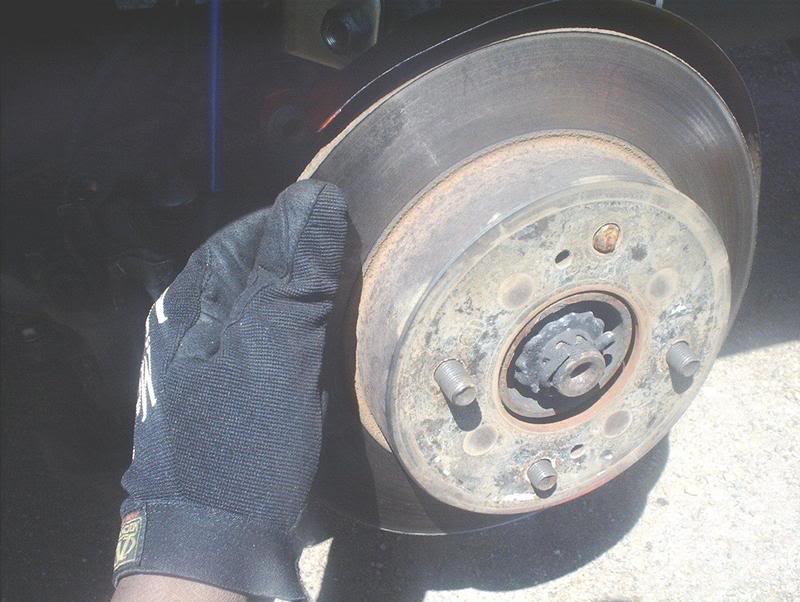
If you look at the back of the old rotor you'll see some rust.
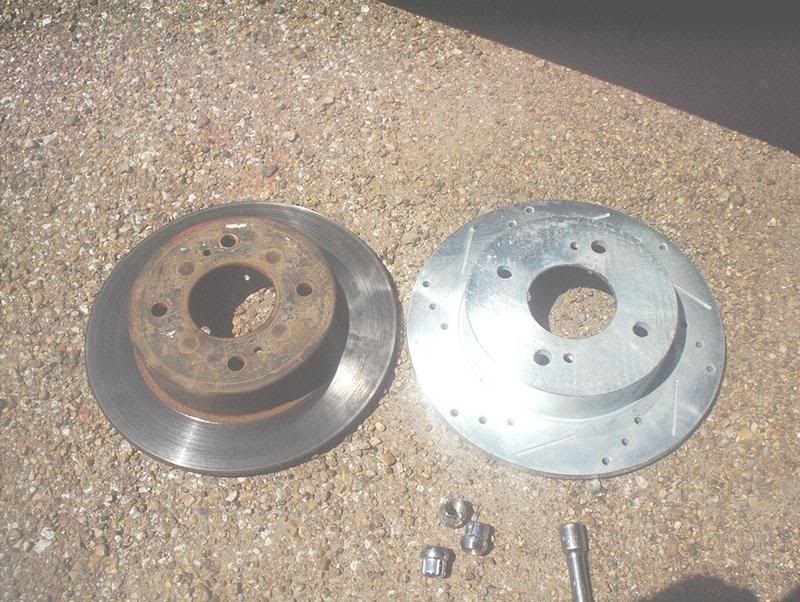
Old and busted. New flyness!
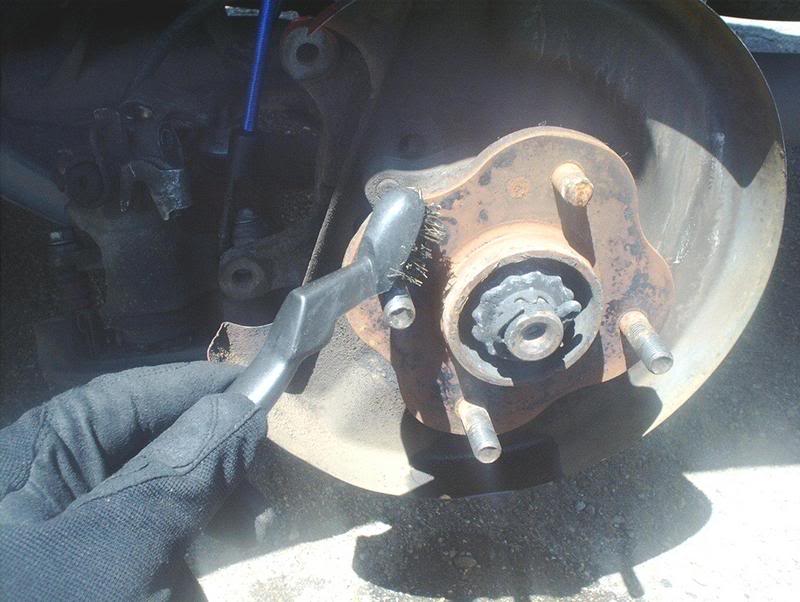
Take a wire brush and scrape the rust off around the hub and the dust shield.
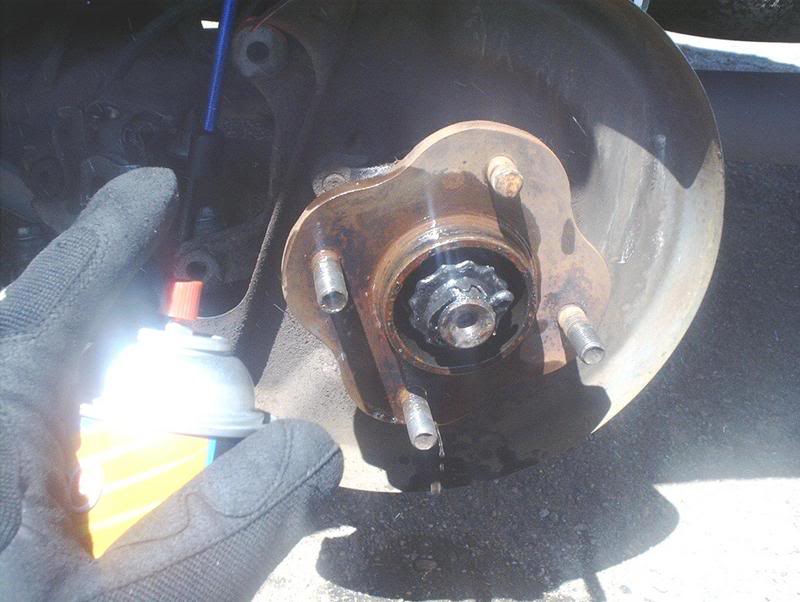
Then, hit it with some brake cleaner!
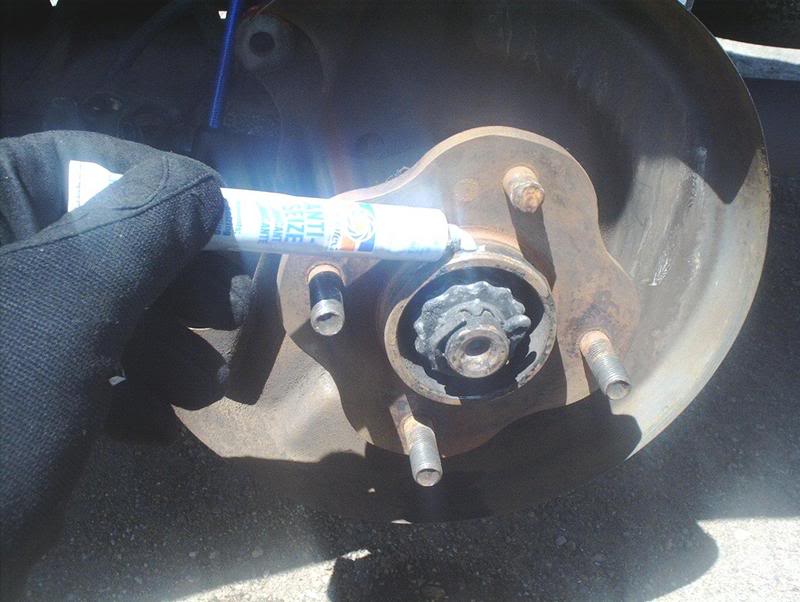
After it dries, brake cleaner dries in seconds, apply a coating of anti-seize to the hub to prevent the new rotor from rusting to the hub in the future.
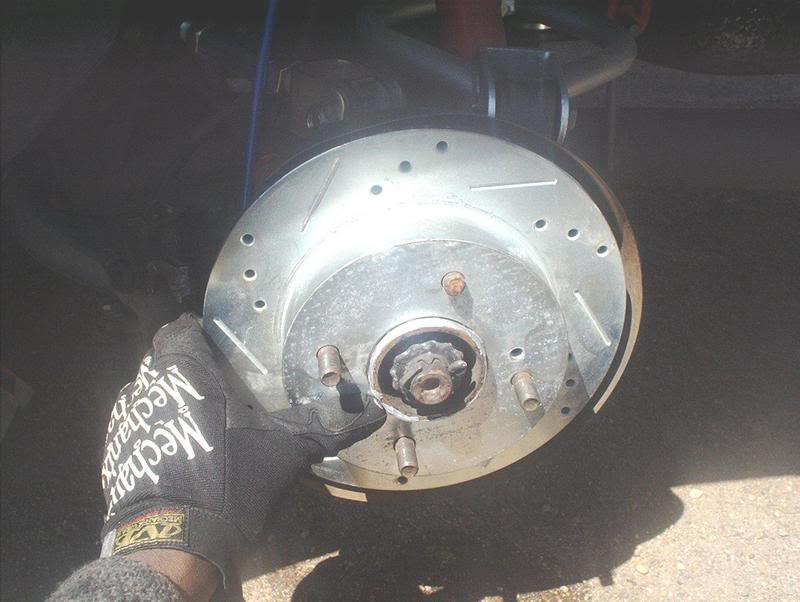
Slide the new rotor on and your're there! Hit the rotor with some brake cleaner. If you're doing this then you're probably putting new pads on too so you just re-install the caliper to the torque member and torque the bolts to 28-38ft. lbs. From there you can change your pads out if necessary.
Tools needed:
Jack
Jackstands
Socket wrench
17mm socket
14mm socket
Wire brush
Anti-sieze
Brake cleaner
Torque wrench
I got these rear and a front set of Brembro's some time ago and just never got around to putting the rears on. Drilled and slotted is overkill for what I do with the car but I didn't know it at the time. Could have saved some money with a plain set of regular rotors with no drilling or slotting.
They should feel and look alot better than my stock 13+ year old factory rear rotors.
First, you put the car on jackstands and remove the wheels.
In order to get the rotors on and off you'll need to remove the brake caliper. You start by removing the torque member bolt with a 17mm socket. There are two bolts on the torque member, top and bottom. This is the top bolt.
This is the bottom torque member bolt.
Torque member bolt-top.
If you can't wriggle the caliper off then you may need to slightly loosen the pin bolts. There are two pin bolts. This is the top pin bolt.
This is the bottom pin bolt.
Here's the caliper.
Here's the torque member that it bolts to.
You don't want the caliper hanging by the brake line, which could damage the line, so you use something to hold the caliper with while keeping stress off the brake line. I didn't have any metal coat hangers so I used a small bungee cord. Put one end on the top of your springs and hang the other on the caliper.
Rotor
The rear rotor is slip-fit so it just comes off when you pull it.
Exposed hub. I'm broke a stud off a couple of months ago. I would have replaced it but I'm shooting for a five-lug conversion real soon.
If you look at the back of the old rotor you'll see some rust.
Old and busted. New flyness!
Take a wire brush and scrape the rust off around the hub and the dust shield.
Then, hit it with some brake cleaner!
After it dries, brake cleaner dries in seconds, apply a coating of anti-seize to the hub to prevent the new rotor from rusting to the hub in the future.
Slide the new rotor on and your're there! Hit the rotor with some brake cleaner. If you're doing this then you're probably putting new pads on too so you just re-install the caliper to the torque member and torque the bolts to 28-38ft. lbs. From there you can change your pads out if necessary.
 anyway good write up even though i never clean off the rust or put anti cease on anything lmao. well like i always say if its rusted hit it with a hammer


Thread
Thread Starter
Forum
Replies
Last Post
jackyliem
Suspension, Chassis, and Brakes
3
Feb 15, 2006 02:31 AM
jackyliem
Suspension, Chassis, and Brakes
11
Dec 19, 2005 03:07 PM