
S13 Walbro Fuel Pump Install

Thread Starter
Contributing Member
Joined: Sep 2002
Posts: 1,192
From: Starkville, MS.
S13 Walbro Fuel Pump Install
I got my new fuel pump yesterday and installed it this morning, here's the step by step.
Tools needed:
Socket wrench
10mm socket
8mm socket
Phillipshead screwdriver
Flathead screwdriver
Wire cutters
Rags(lots of rags)
Needle nose pliers
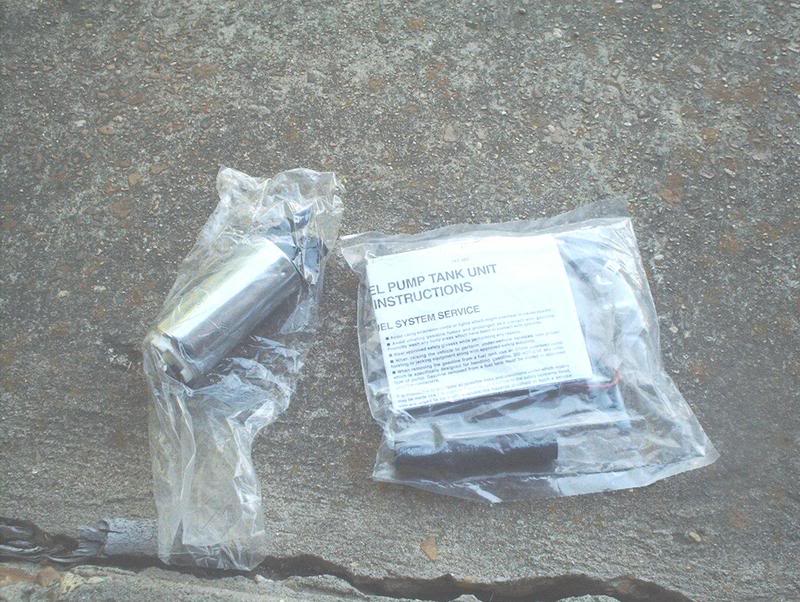
Walbro Hi-Flo fuel pump. My stock fuel pump was on it's way out. I could no longer hear it prime up whenever I turned the ignition. I'm gonna be doing a SR swap very soon so rather than buying a new stock fuel pump and then spending more money to upgrade to a Hi-flow just months later, I figured that was just a waste. I got on the forums and read that you could use a Walbro on a stock car so I decided to get one now.
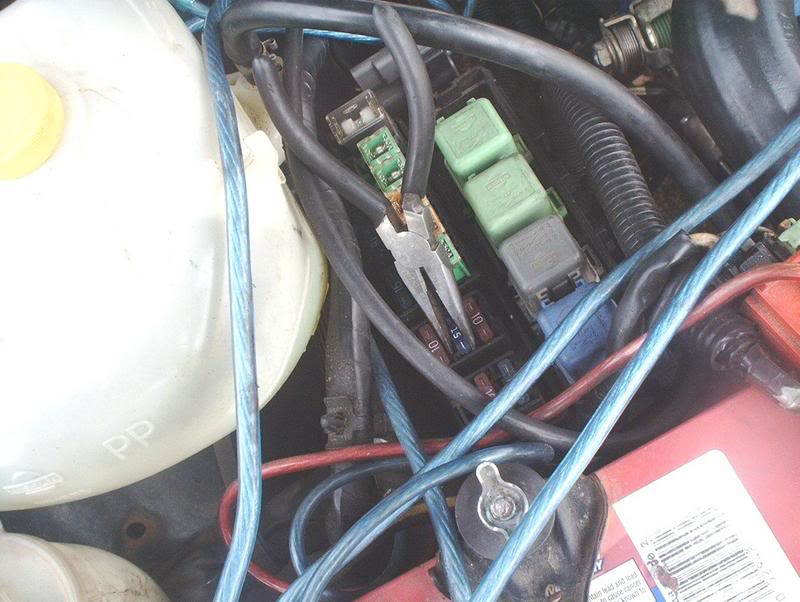
Start by going to your engine bay and removing the fuel pump 15A fuse in the fuse block near the battery. This will relieve the fuel pressure. Now crank the car and run it until it dies out. Remove the negative battery cable and reinstall the fuel pump fuse.
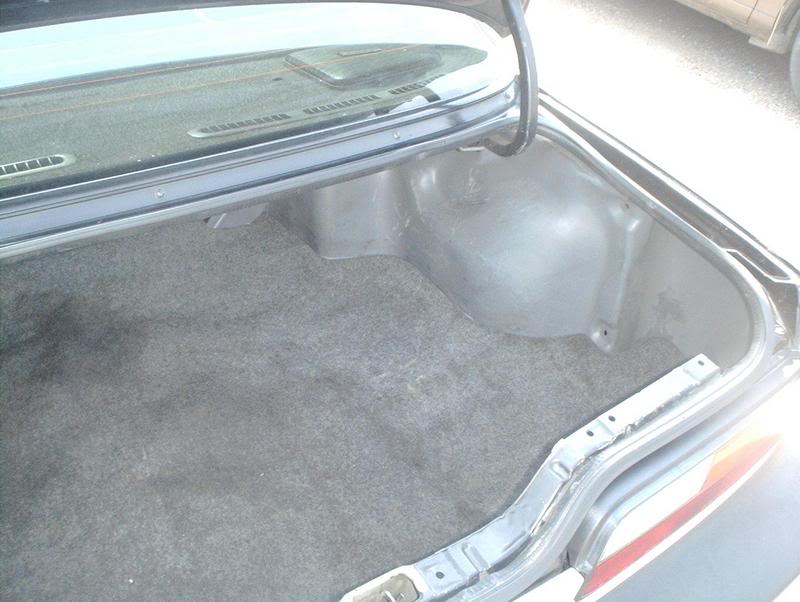
Next clear everything from you trunk to free up some work space.
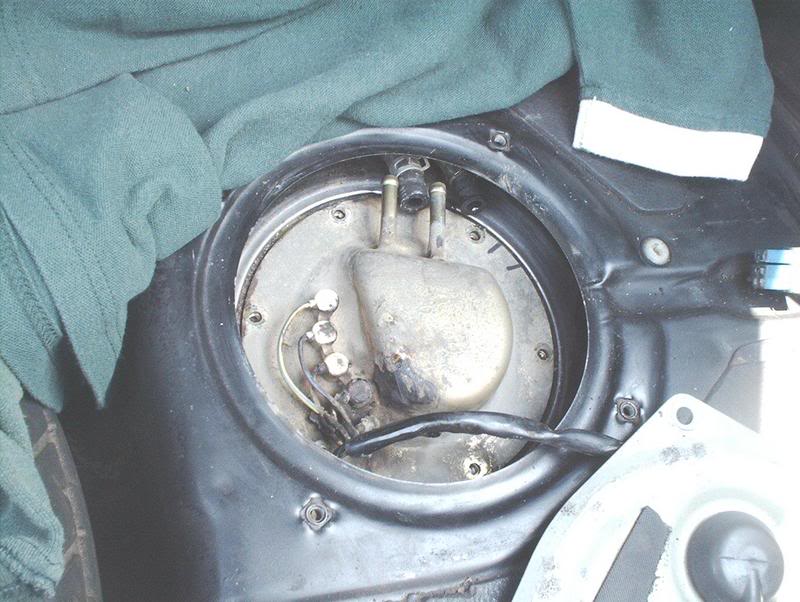
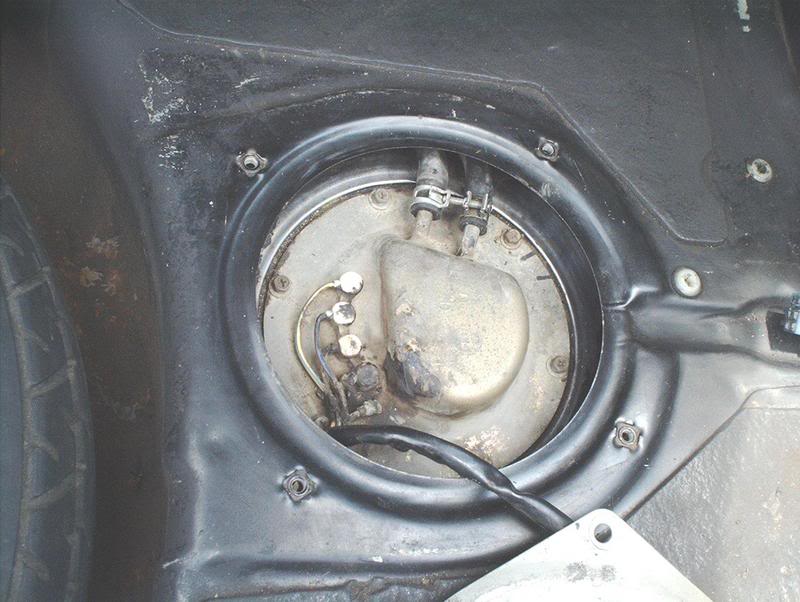
Pull back the trunk carpeting to reveal the fuel pump cover.
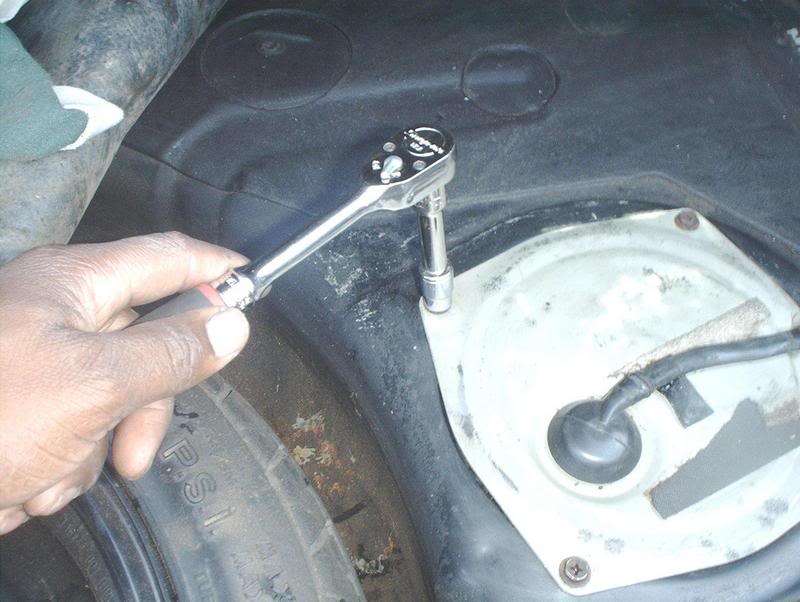
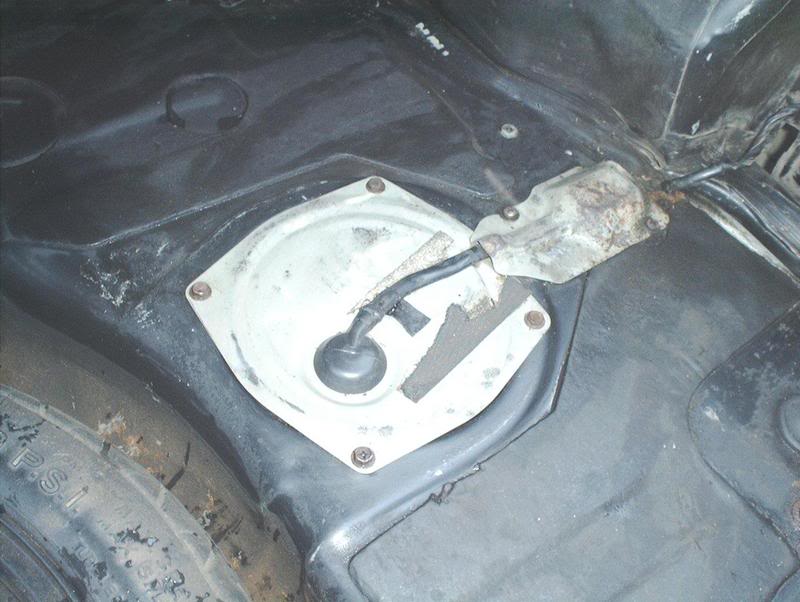
Use the 10mm socket to remove the screws from the fuel pump cover.
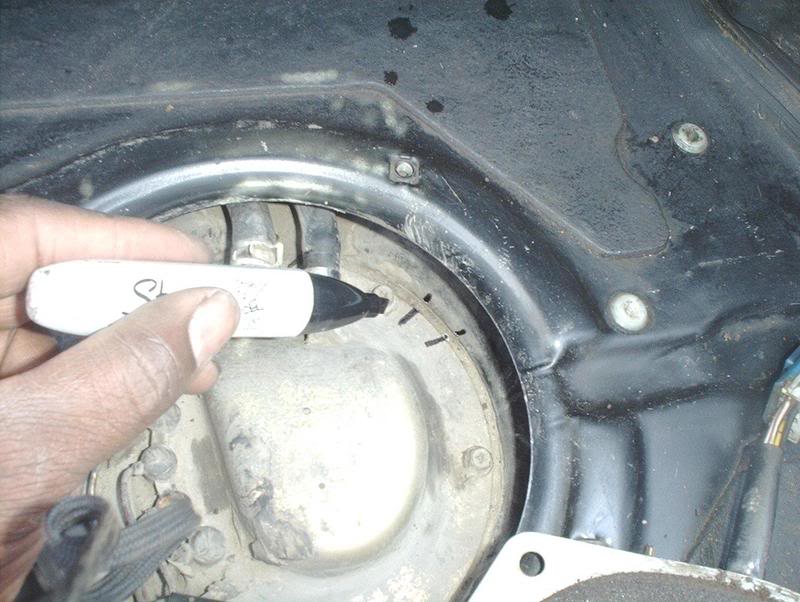
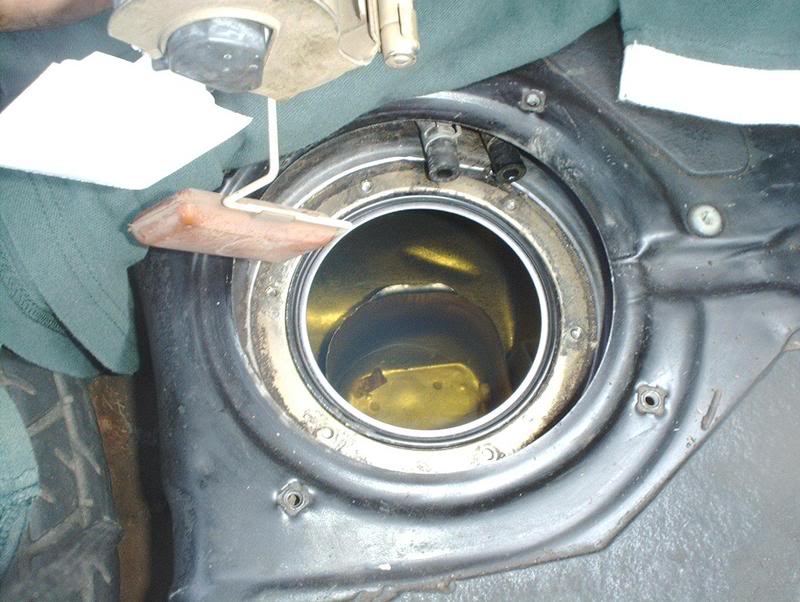
Next, take a Sharpie and matchmark the fuel pump to the locking ring.You better commit the position of the pump to memory because the leaking gas will clear out all your markings.
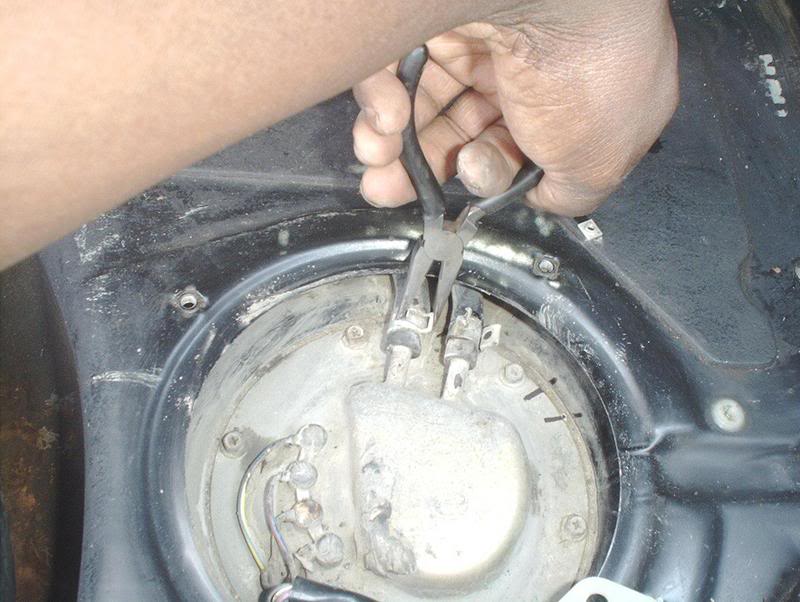
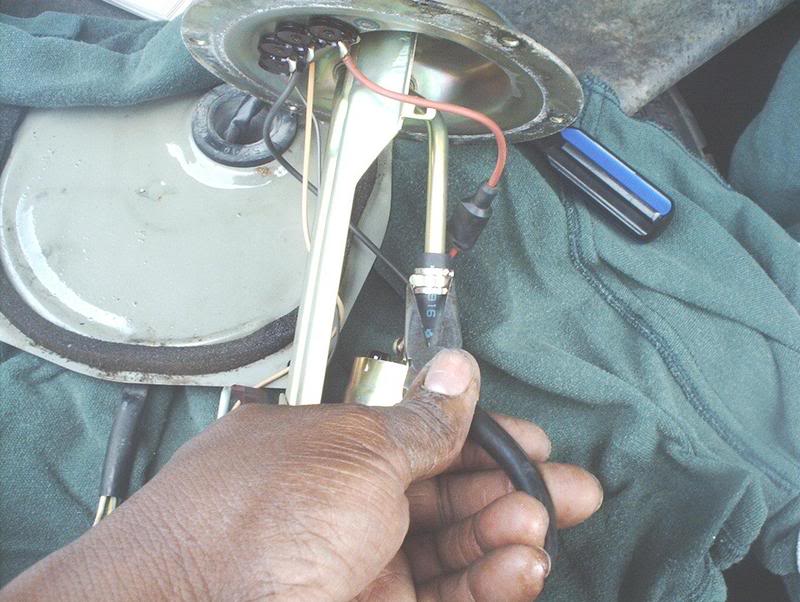
Remove the inlet and outlet hoses from the pump with a pair of needle nose pliers and a phillipshead screwdriver. This part scared the crap out of me. You better grab some rags because when you take off the hoses some fuel will pour and pour and start running down the sides of the fuel tank and below your car.
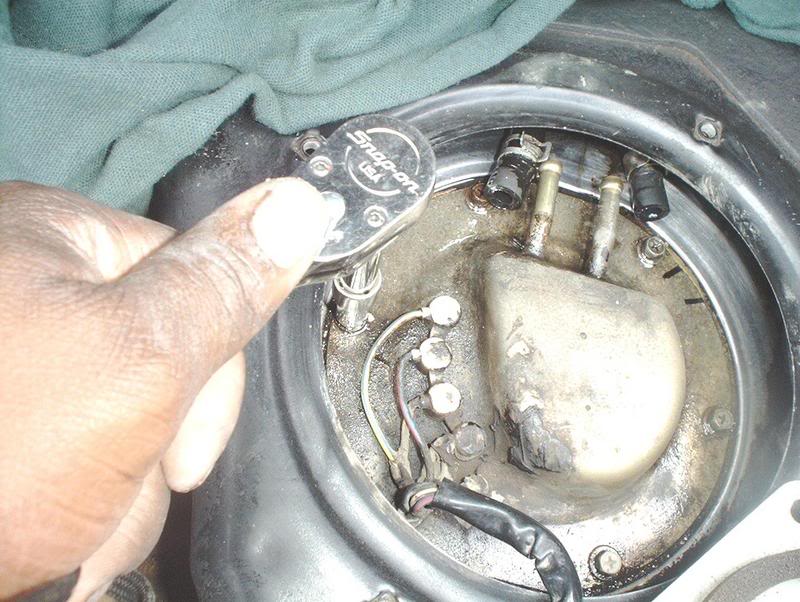
With your locking ring and pump matchmarked, use a 8mm socket to remove the screws holding the fuel pump.
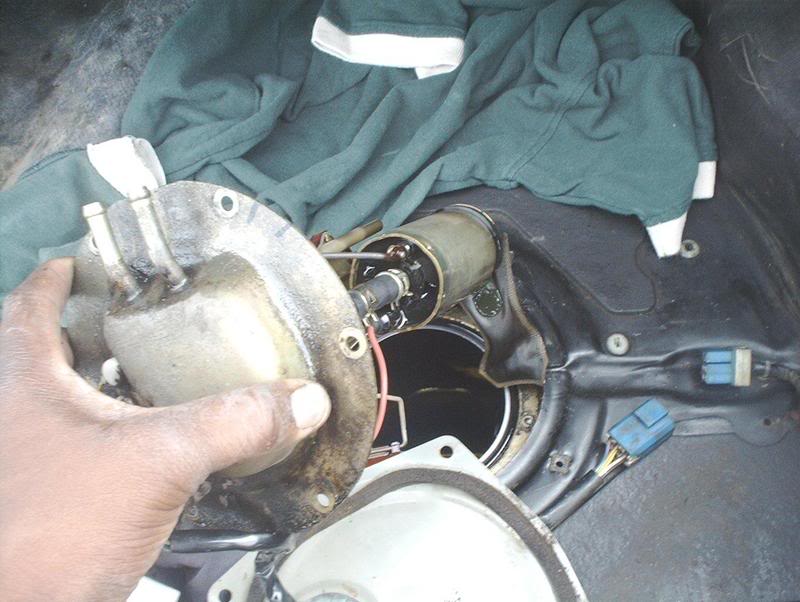
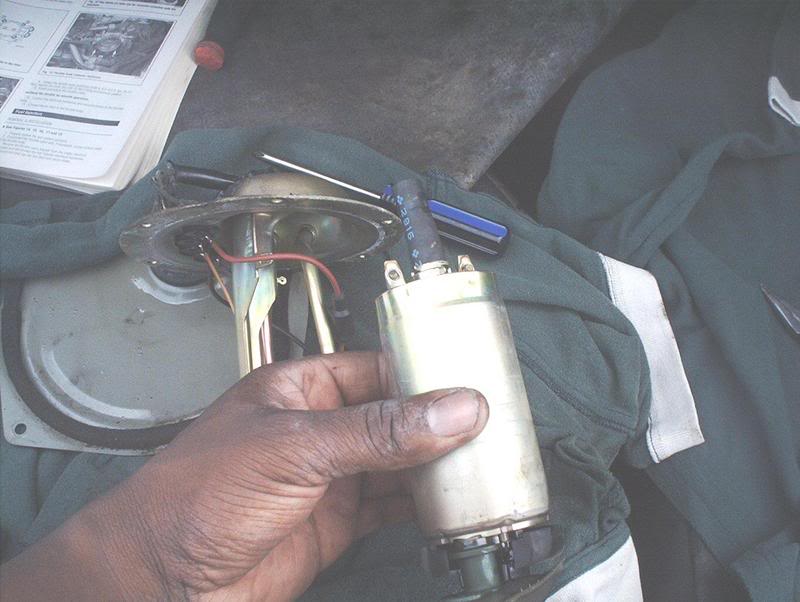
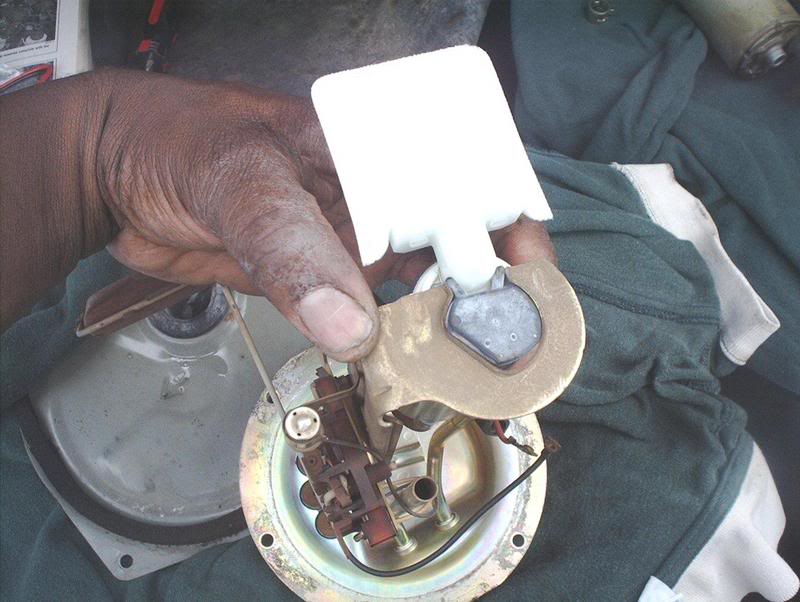
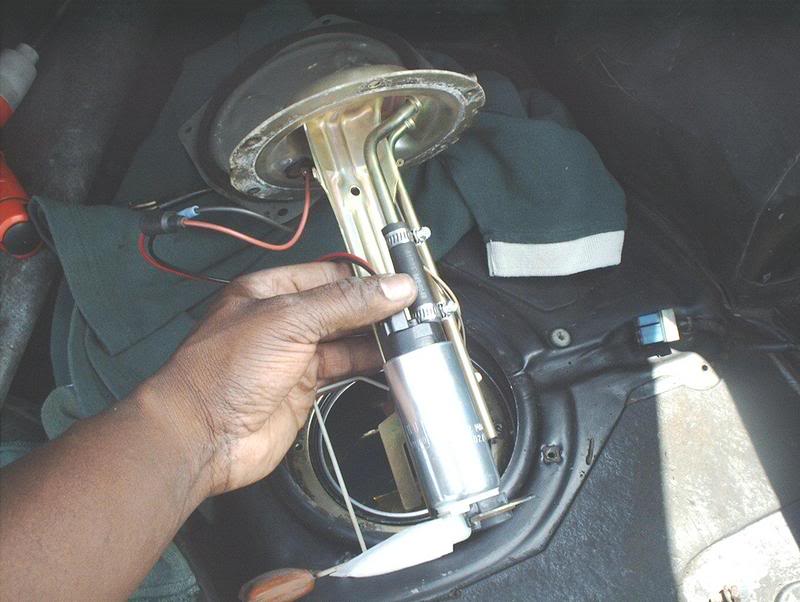
Now you can pull the fuel pump assembly out of the tank, have some rags handy to soak up the excess fuel.
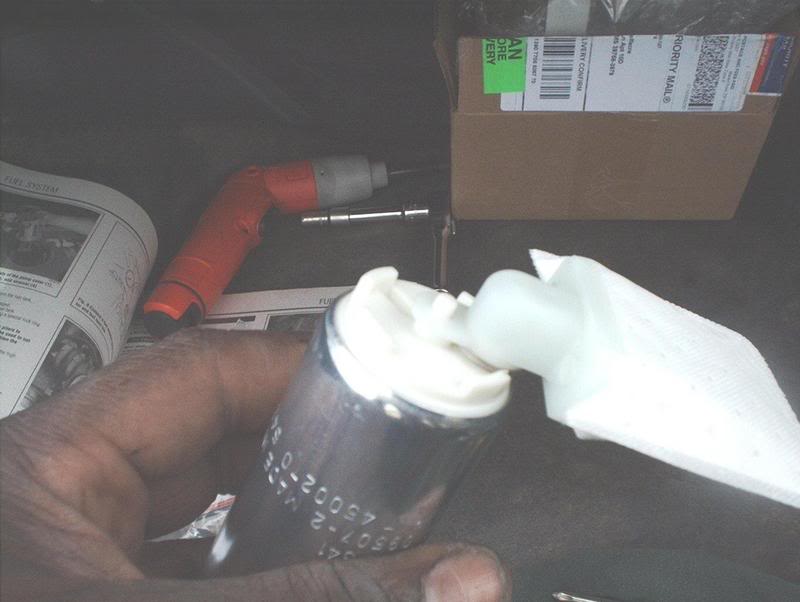
Have something ready to lay the fuel pump assembly on. This is where those old work shirts come in handy.

Use something clean to cover up the exposed fuel tank while you work on the pump.
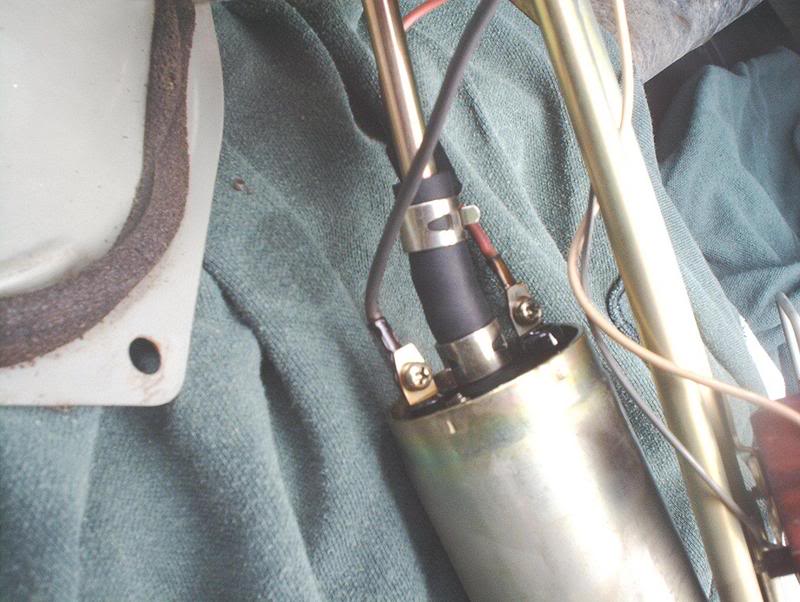
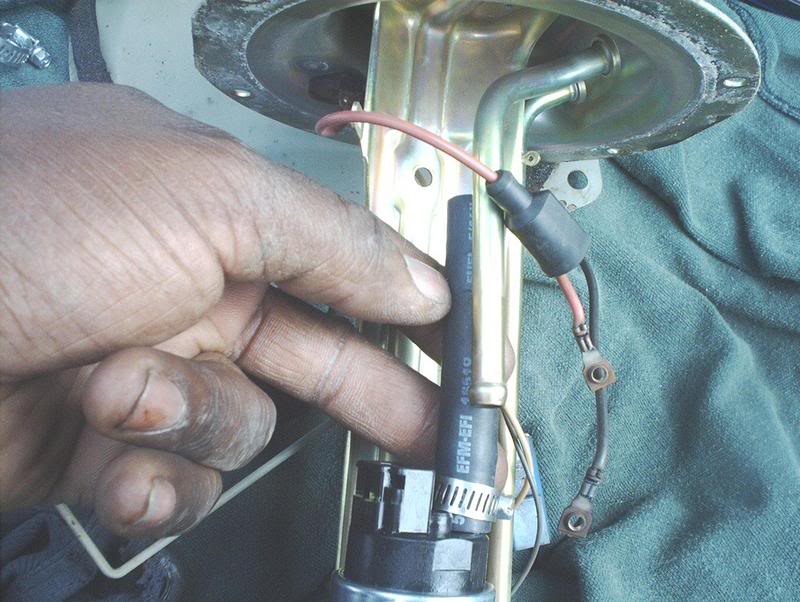
There is a bit of wiring involved in the installation of this pump. These are the two wires that you will be working with.
Use a phillipshead screwdriver to remove the screws holding the wire to the unit.
Now remove the clamps holding the rubber hose to the old fuel pump, top...
and bottom.
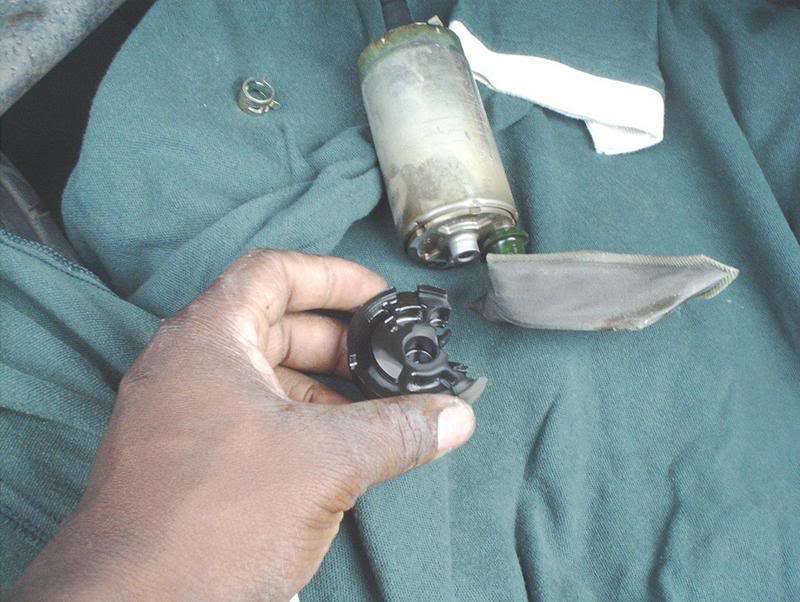
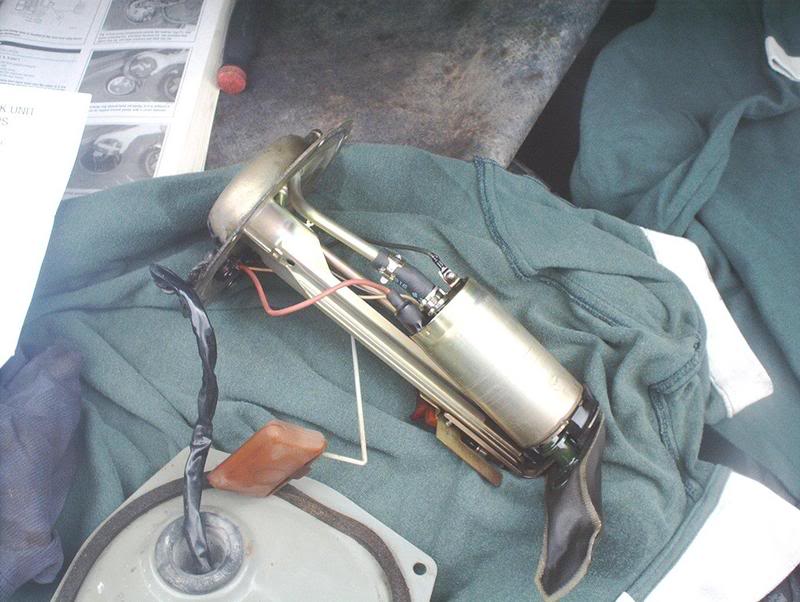
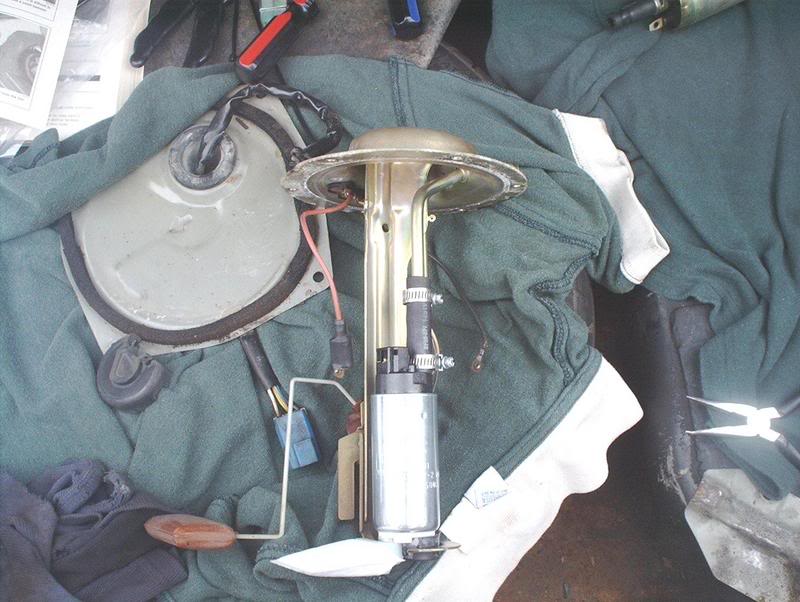
This is the stock fuel pump isolator. With this kit you won't need this.
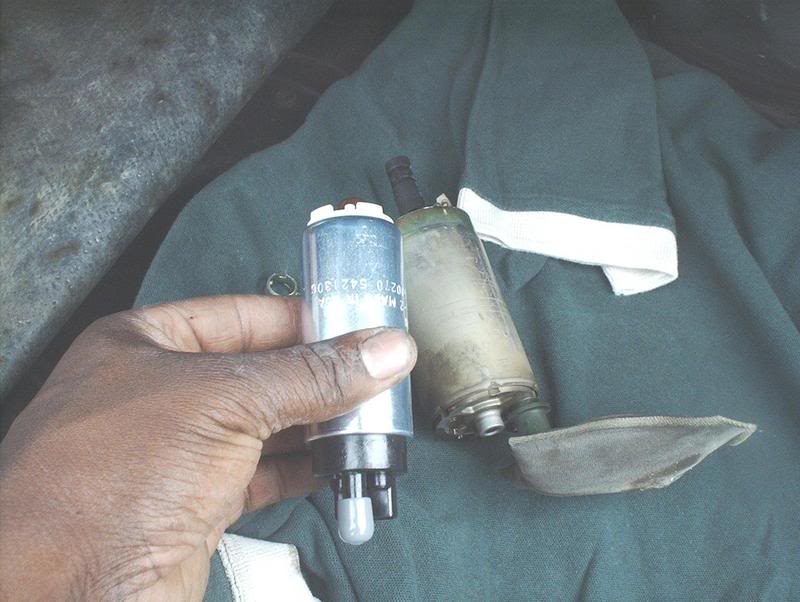
The new pump vs. the old pump. The Walbro is much smaller.
Take the new fuel pump and place the new filter on the bottom.
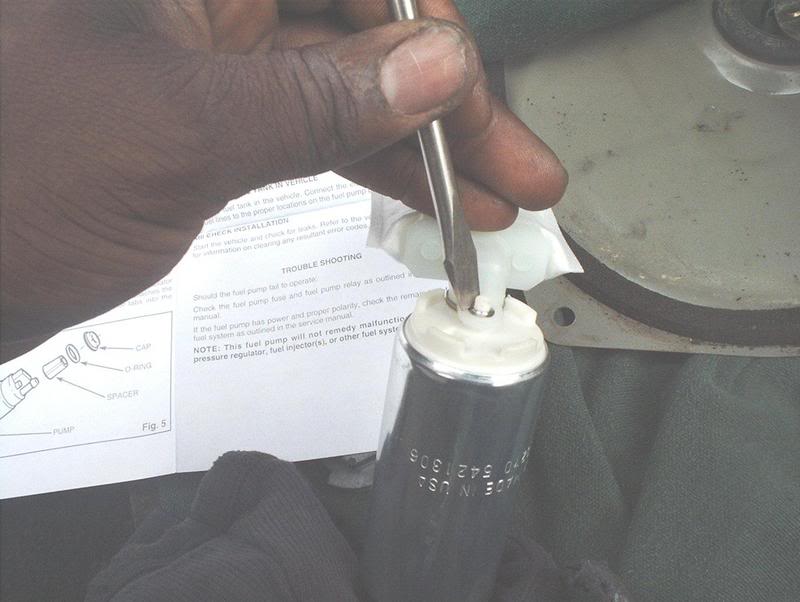
Place the fuel filter retainer on the tab after the fuel filter. I used a flathead screwdriver to push it down all the way.
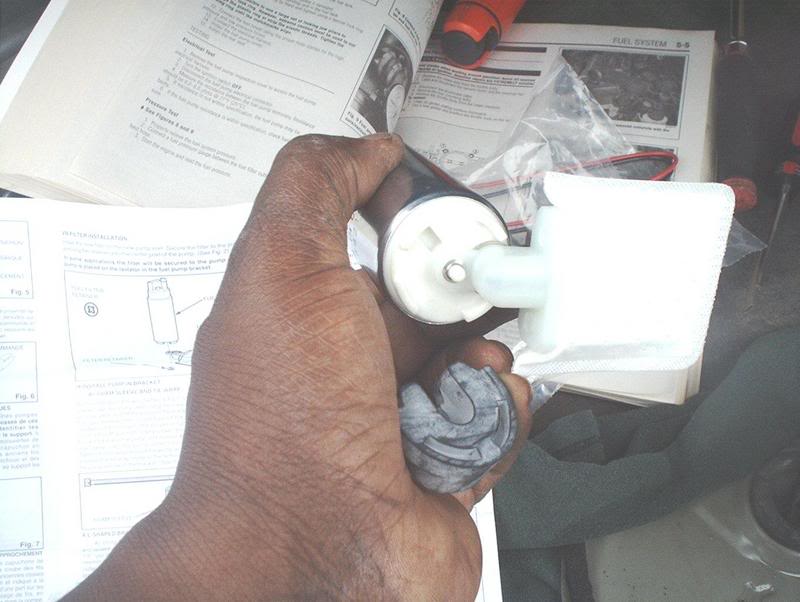
Here's the Walbro isolator.
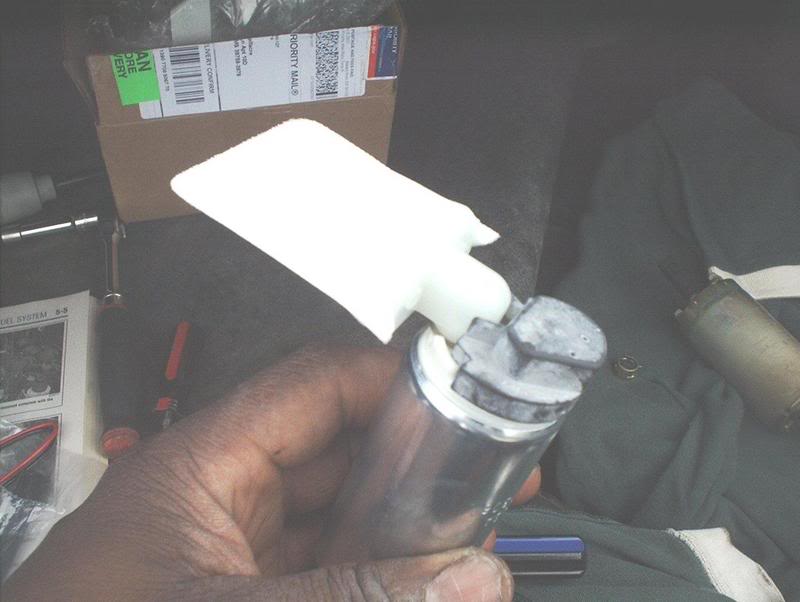
Mount the new isolator on the bottom of the pump.
This is how it will be positioned. It falls in flush.
Next you need to measure how much of the hose needs to be cut to fit the Walbro.

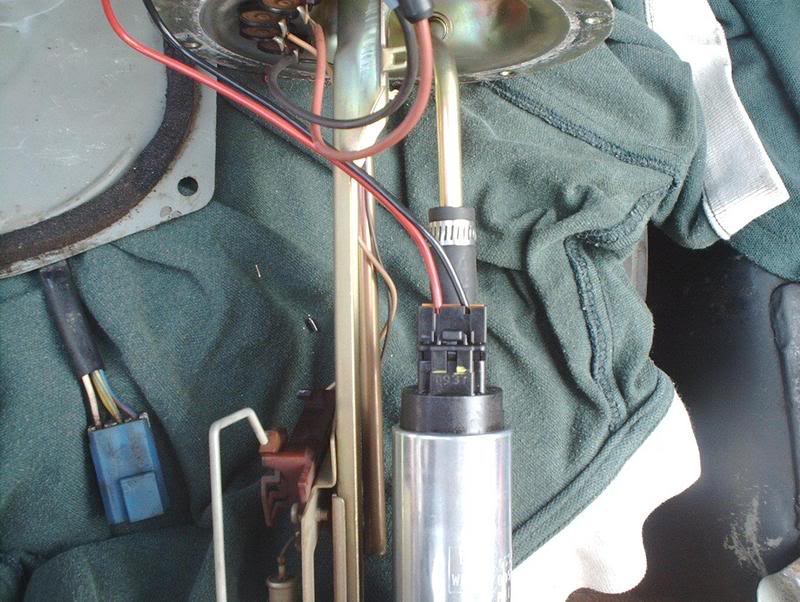
Cut the hose, mount it to the pump and position the pump on the assembly.
Done with that part.
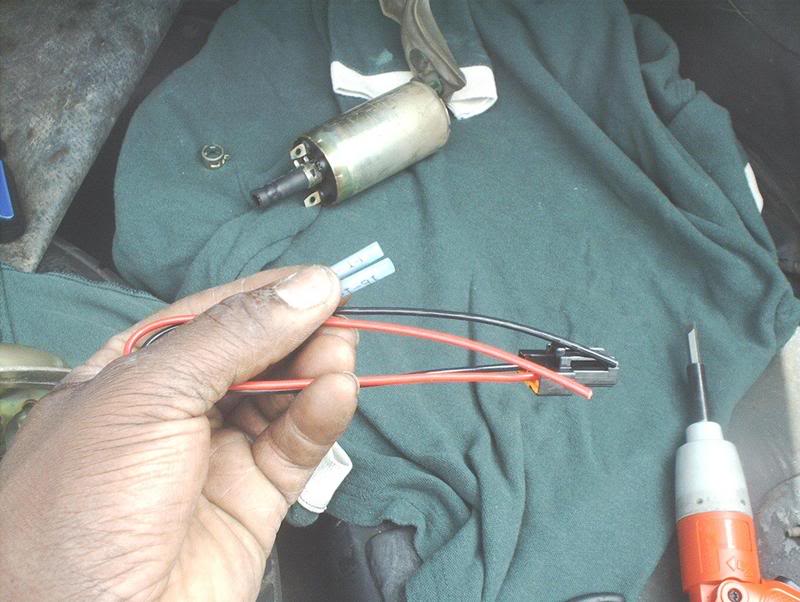
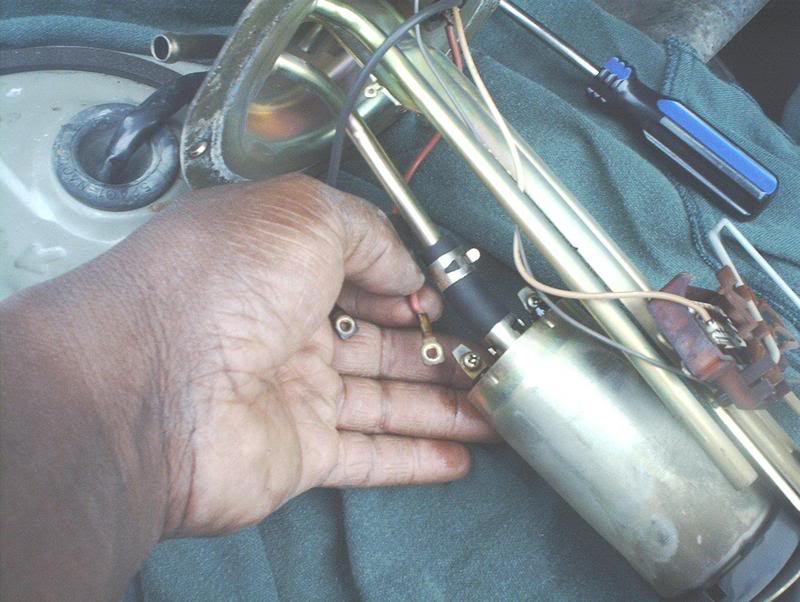
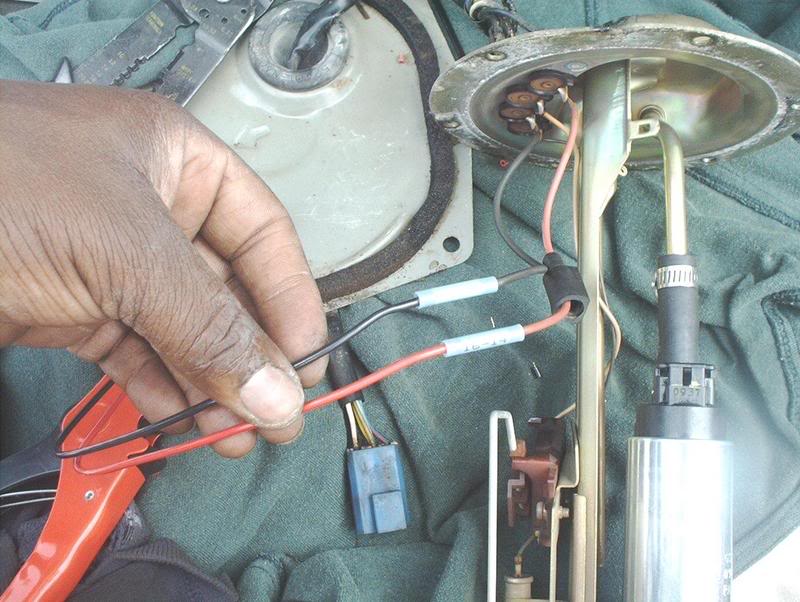
Now comes the rewiring of the fuel pump. Here is the new harness and the butt connectors...."hehe..hehehe....you said butt!"
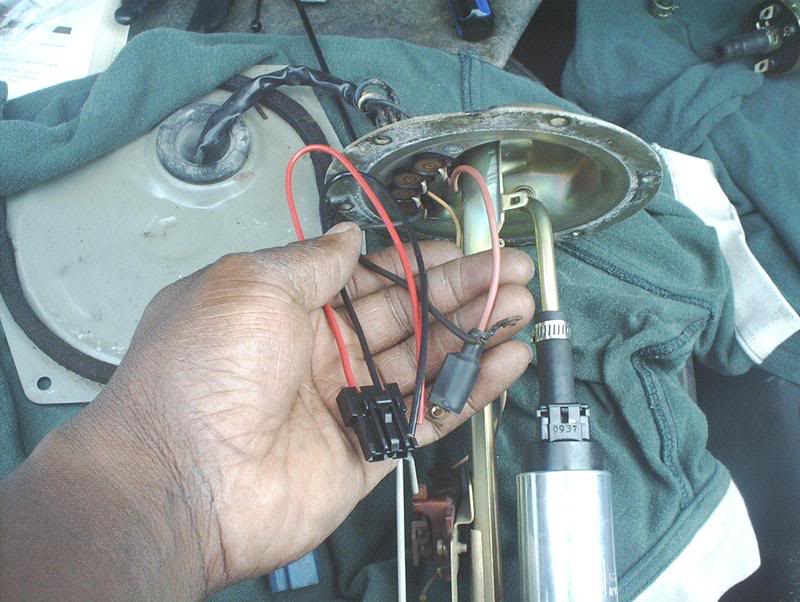
You'll have to mate the black/red wires on the new harness with the black/red wires on the pump assembly.
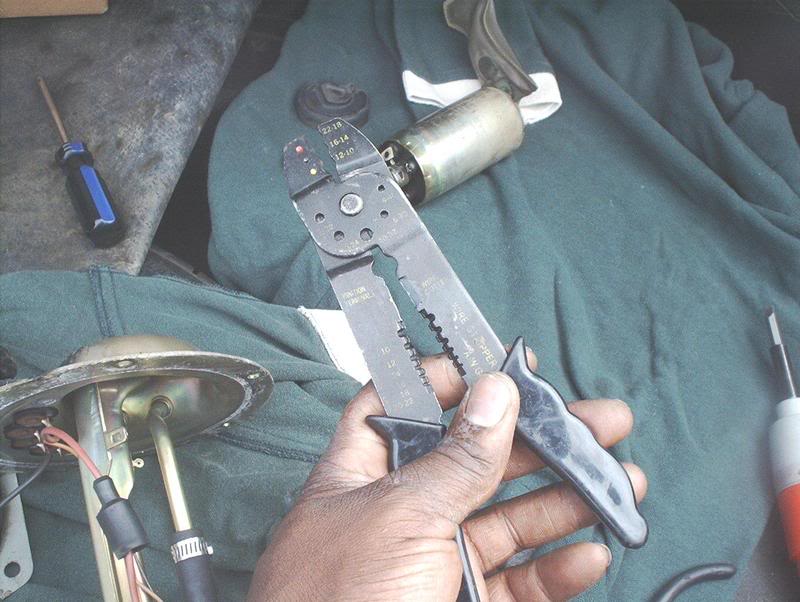
You'll need wire cutters...old school type!
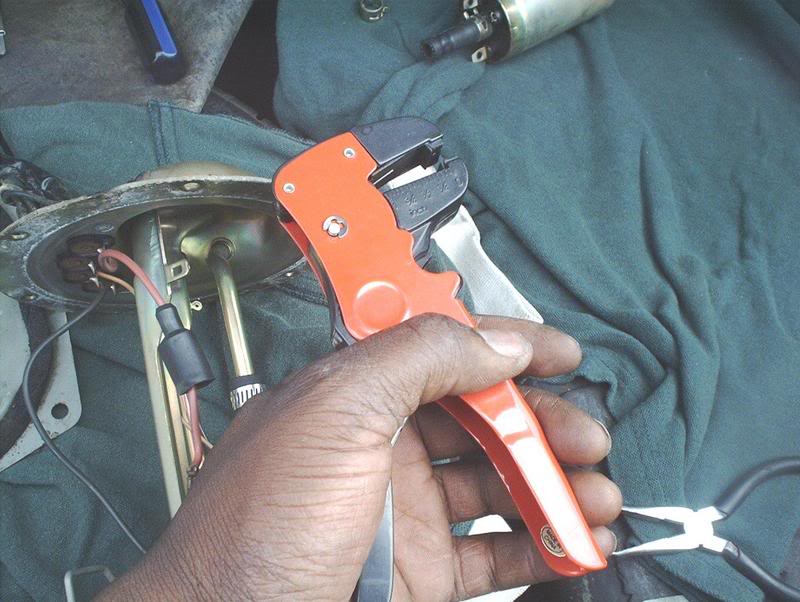
New type!!!
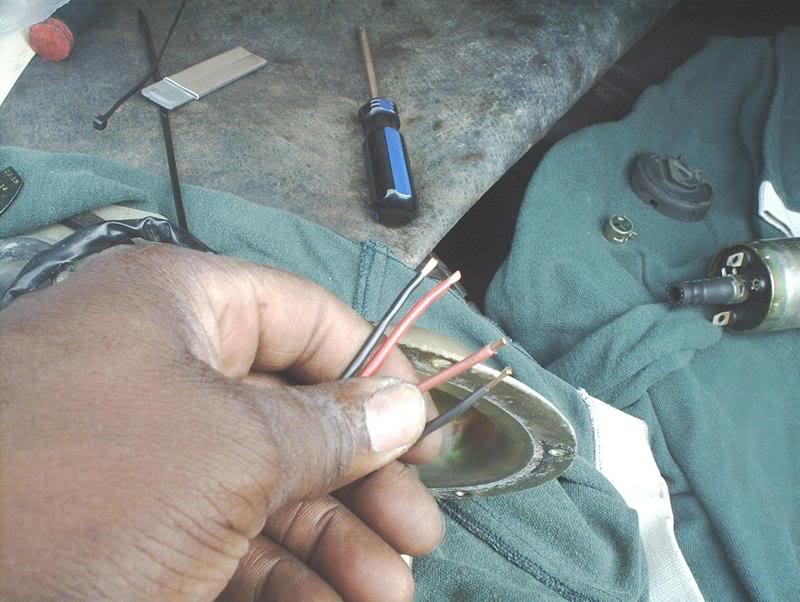
Strip 1/4" from the tips of the wires.
Insert both ends of the wires into the butt connectors. MAKE SURE that you match the wires or you will reverse the polarity of the pump and it won't work!
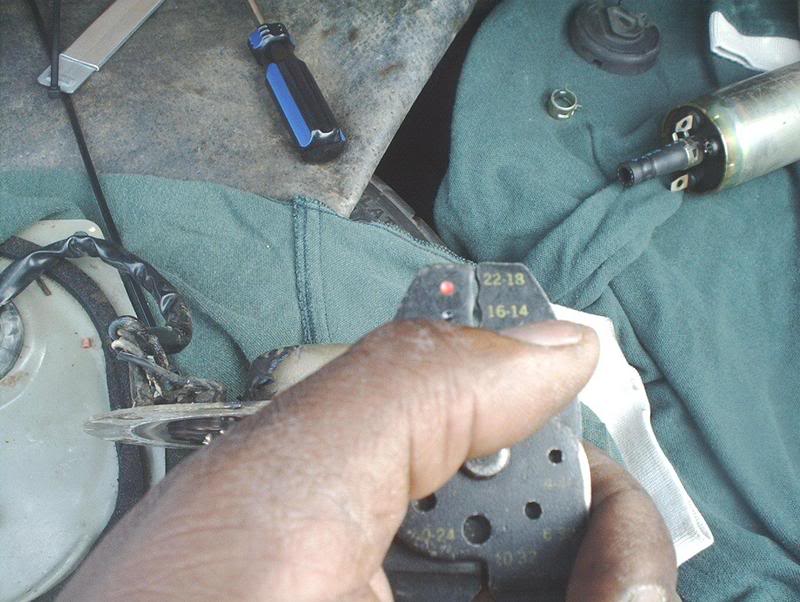
Crimp the butt connectors...
16/14....
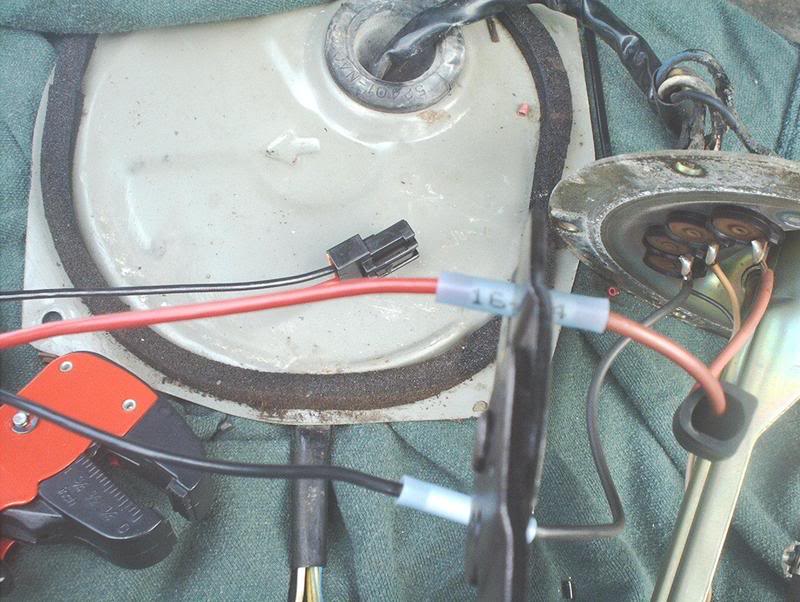
Insert the harness and you're done with the wiring.
Now you are ready to put the pump back into the tank. You can light up a cig now if you want...tehe!!!
Put it back in the position that it was in when you took it out.
Put your mounting screws back in a star formation, put the inlet and outlet fuel hoses back then secure them.
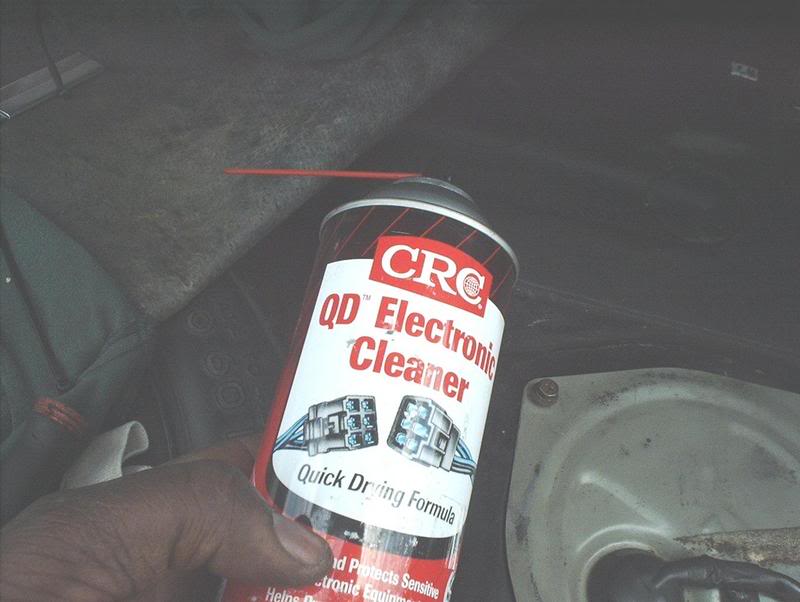
There was some white buildup on the fuel pump harness so I used some electric cleaner to clean it up.
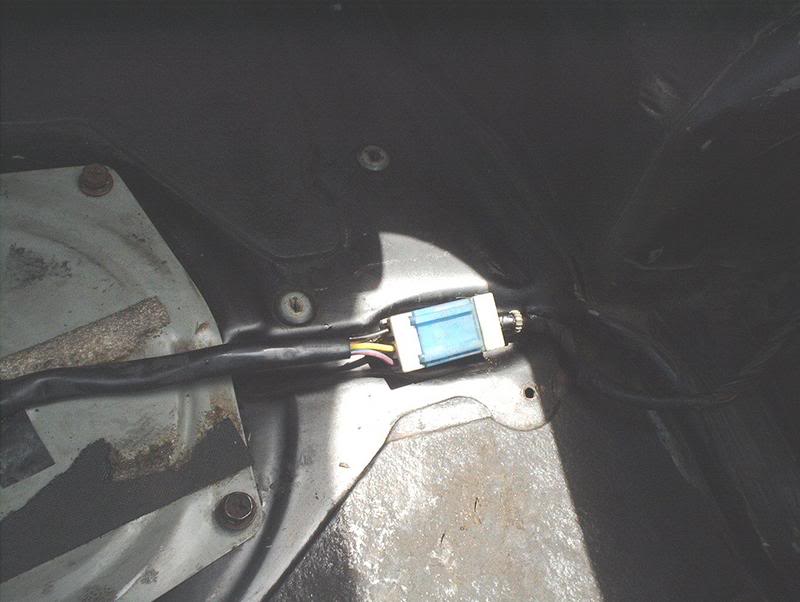
After it dries, connect the fuel pump harness.

Then put the fuel pump cover back and secure it. Put the negative battery cable back on and fire up the car because you are done! When I turned the key to ign, I could hear the new pump priming.

Now I can drive across town to the Baskin Robbins and not worry about my car dying in the middle of traffic...sweet!
Tools needed:
Socket wrench
10mm socket
8mm socket
Phillipshead screwdriver
Flathead screwdriver
Wire cutters
Rags(lots of rags)
Needle nose pliers
Walbro Hi-Flo fuel pump. My stock fuel pump was on it's way out. I could no longer hear it prime up whenever I turned the ignition. I'm gonna be doing a SR swap very soon so rather than buying a new stock fuel pump and then spending more money to upgrade to a Hi-flow just months later, I figured that was just a waste. I got on the forums and read that you could use a Walbro on a stock car so I decided to get one now.
Start by going to your engine bay and removing the fuel pump 15A fuse in the fuse block near the battery. This will relieve the fuel pressure. Now crank the car and run it until it dies out. Remove the negative battery cable and reinstall the fuel pump fuse.
Next clear everything from you trunk to free up some work space.
Pull back the trunk carpeting to reveal the fuel pump cover.
Use the 10mm socket to remove the screws from the fuel pump cover.
Next, take a Sharpie and matchmark the fuel pump to the locking ring.You better commit the position of the pump to memory because the leaking gas will clear out all your markings.
Remove the inlet and outlet hoses from the pump with a pair of needle nose pliers and a phillipshead screwdriver. This part scared the crap out of me. You better grab some rags because when you take off the hoses some fuel will pour and pour and start running down the sides of the fuel tank and below your car.
With your locking ring and pump matchmarked, use a 8mm socket to remove the screws holding the fuel pump.
Now you can pull the fuel pump assembly out of the tank, have some rags handy to soak up the excess fuel.
Have something ready to lay the fuel pump assembly on. This is where those old work shirts come in handy.
Use something clean to cover up the exposed fuel tank while you work on the pump.
There is a bit of wiring involved in the installation of this pump. These are the two wires that you will be working with.
Use a phillipshead screwdriver to remove the screws holding the wire to the unit.
Now remove the clamps holding the rubber hose to the old fuel pump, top...
and bottom.
This is the stock fuel pump isolator. With this kit you won't need this.
The new pump vs. the old pump. The Walbro is much smaller.
Take the new fuel pump and place the new filter on the bottom.
Place the fuel filter retainer on the tab after the fuel filter. I used a flathead screwdriver to push it down all the way.
Here's the Walbro isolator.
Mount the new isolator on the bottom of the pump.
This is how it will be positioned. It falls in flush.
Next you need to measure how much of the hose needs to be cut to fit the Walbro.
Cut the hose, mount it to the pump and position the pump on the assembly.
Done with that part.
Now comes the rewiring of the fuel pump. Here is the new harness and the butt connectors...."hehe..hehehe....you said butt!"
You'll have to mate the black/red wires on the new harness with the black/red wires on the pump assembly.
You'll need wire cutters...old school type!
New type!!!
Strip 1/4" from the tips of the wires.
Insert both ends of the wires into the butt connectors. MAKE SURE that you match the wires or you will reverse the polarity of the pump and it won't work!
Crimp the butt connectors...
16/14....
Insert the harness and you're done with the wiring.
Now you are ready to put the pump back into the tank. You can light up a cig now if you want...tehe!!!
Put it back in the position that it was in when you took it out.
Put your mounting screws back in a star formation, put the inlet and outlet fuel hoses back then secure them.
There was some white buildup on the fuel pump harness so I used some electric cleaner to clean it up.
After it dries, connect the fuel pump harness.
Then put the fuel pump cover back and secure it. Put the negative battery cable back on and fire up the car because you are done! When I turned the key to ign, I could hear the new pump priming.
Now I can drive across town to the Baskin Robbins and not worry about my car dying in the middle of traffic...sweet!
Last edited by positron; Jun 12, 2007 at 01:34 PM.
nice write up let me add its similar for the s14 but the fuel pump is cliped onto a bracket in the gas tank so for s14 make sure you have a quarter tank or less of gas or you will burn up your hands and gloves dont last long lol

Thread Starter
Contributing Member
Joined: Sep 2002
Posts: 1,192
From: Starkville, MS.
Update!!!
A couple things I found out after the fact. After pulling the fuel pump fuse and cranking the car to stall. You should also take off the gas cap to relieve the extra pressure and keep all that fuel that I had from spilling out. Also, the white buildup on the fuel pump harness was dielectric grease to protect it from corrosion. You shouldn't remove it.
Thread Starter
Contributing Member
Joined: Sep 2002
Posts: 1,192
From: Starkville, MS.
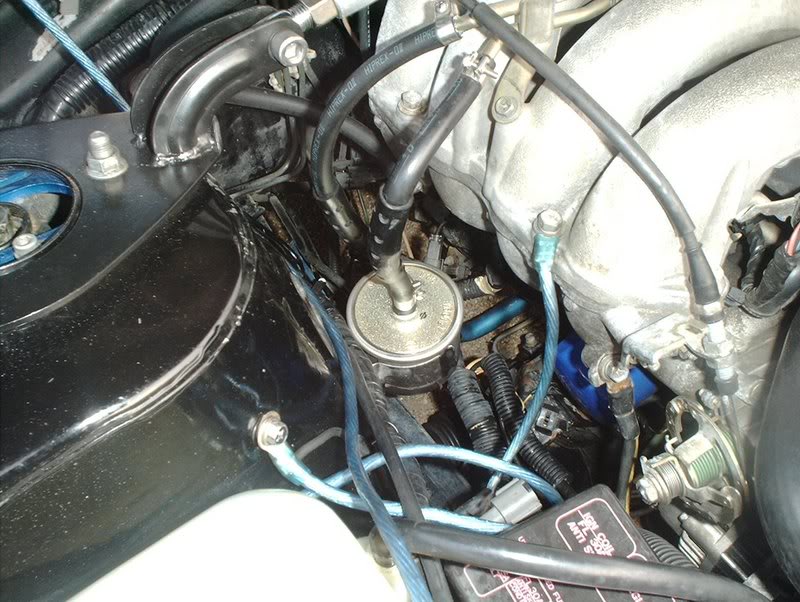
Little problem has me concerned. The bottom hose on my fuel filter is now fat and swollen. It looks like it might bust because it's so big and tight. Anyone else having this problem? I'm thinking I need some better hose because that's freaking me out.
Thread Starter
Contributing Member
Joined: Sep 2002
Posts: 1,192
From: Starkville, MS.
I'm gonna replace the flimsy hose with some high pressure fuel hose but I have a Z32 filter that I bought in anticipation of the SR swap so should I go ahead and put that on as well?
Thread Starter
Contributing Member
Joined: Sep 2002
Posts: 1,192
From: Starkville, MS.
Put the Z32 fuel filter on today and replaced that flimsy lower filter hose with high pressure hose. Also put on some new clamps, now I feel much better about driving without that bulging hose.

Thread
Thread Starter
Forum
Replies
Last Post
extreme_power
Group Buy / Specials Classifieds
20
Feb 9, 2006 07:20 AM