</3er *Henry's S12-----IT RUNS IT RUNS(start up video pg.90)

 08-03-2007, 01:46 PM
#242
Contributing Member
Thread Starter
iTrader: (1)
Join Date: Nov 2006
Location: San Francisco, CA
Posts: 501
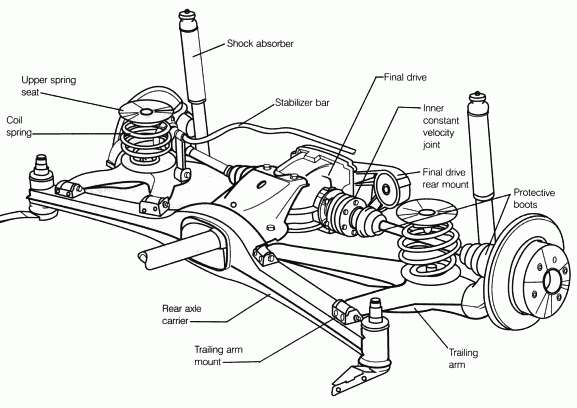
heres the diagram
Last edited by yarou; 08-03-2007 at 01:48 PM.
08-03-2007, 02:40 PM
#244
Contributing Member
Thread Starter
iTrader: (1)
Join Date: Nov 2006
Location: San Francisco, CA
Posts: 501
That's pretty much what it is.. not much more to it. The shock and spring are separate, the spring holds the body's weight while the strut dampens as the spring is compressed. Just happens that the strut is attached to the chassis through one big bolt 
08-03-2007, 04:29 PM
#245
I know that. But the megans are designed for an S13, which uses two bolts for the rear suspension. Did you make some kind of custom bracket for it? I understand how it works stock, just not how you bolted it up.
08-03-2007, 05:49 PM
#247
Contributing Member
Thread Starter
iTrader: (1)
Join Date: Nov 2006
Location: San Francisco, CA
Posts: 501
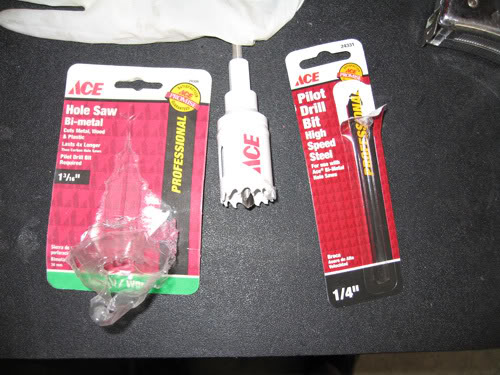
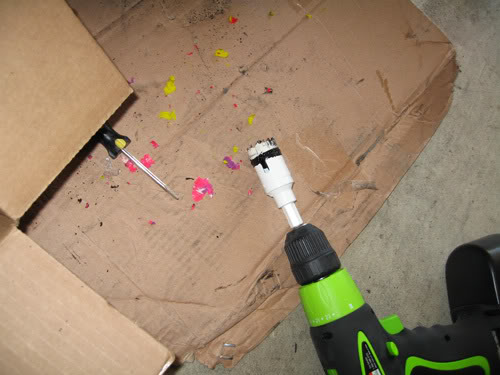
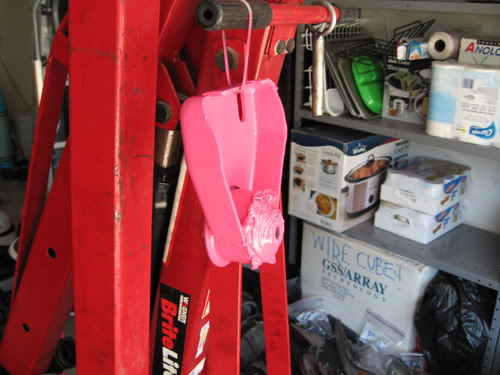
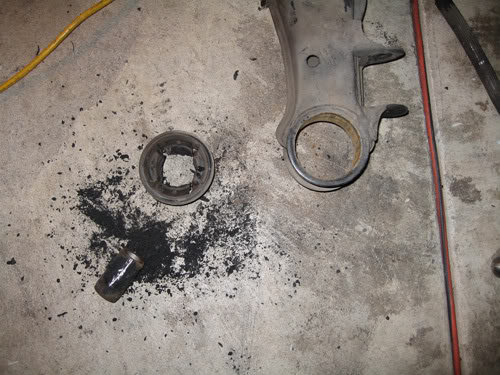
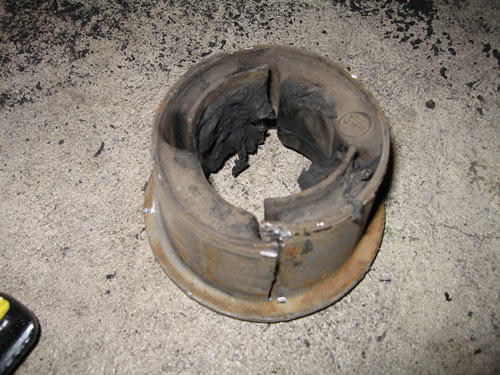
Following Gary Molitor's example, I bought a hole saw to saw out the rubber bushings and it's working out pretty well. Slightly time consuming but a very good alternative to using an oxy/MAPP gas torch.
Here is Gary's writeup
http://www.garymolitor.com/300zx/rear_bush...ing_removal.htm
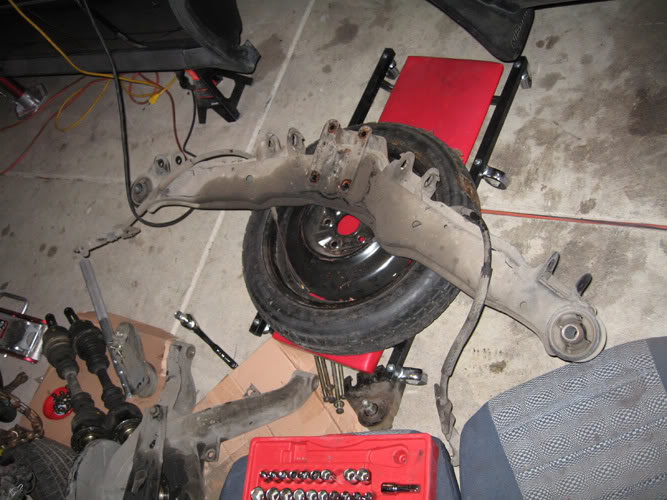
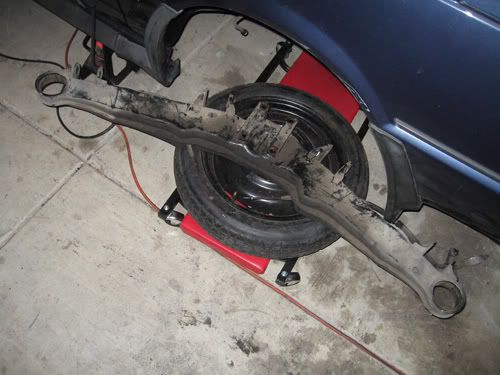
And my current progress
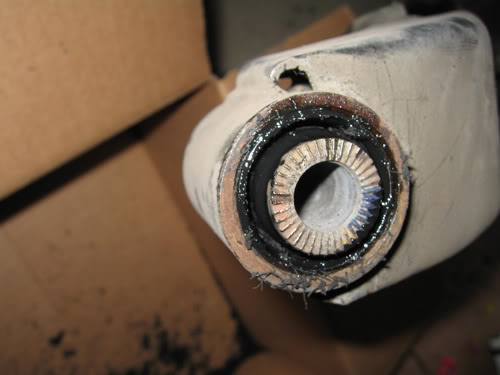
the saw size is 1" 3/16, its the perfect fit around the inner sleeve
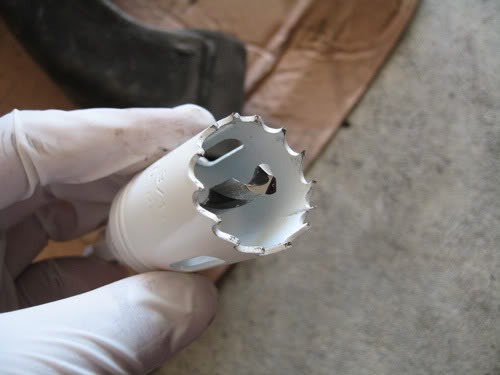
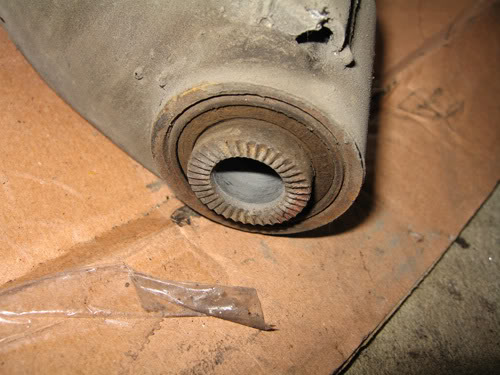
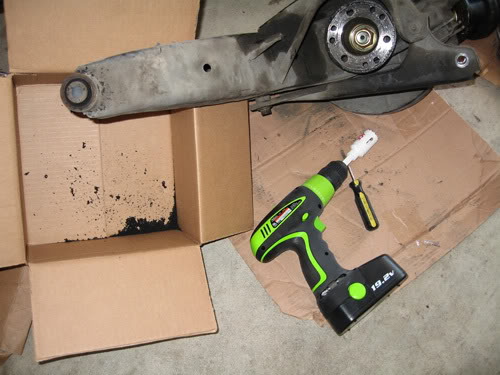

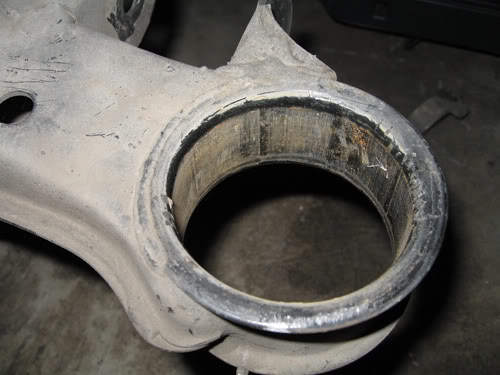
After I got in a bit, there was a lot of friction from the inner rubber rubbing against the saw so I used a little oil to slick it up which worked great. It sawed through a little faster also
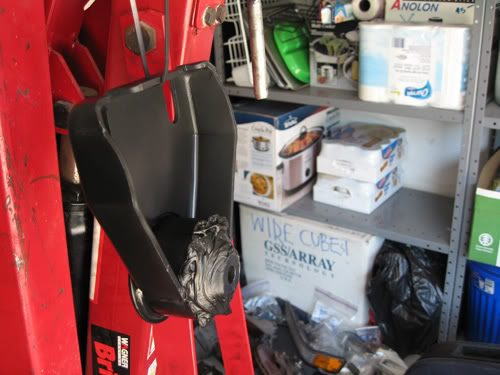
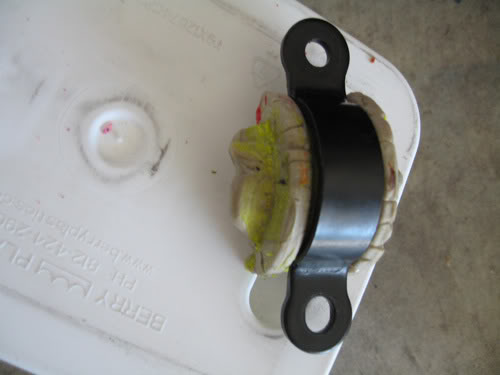
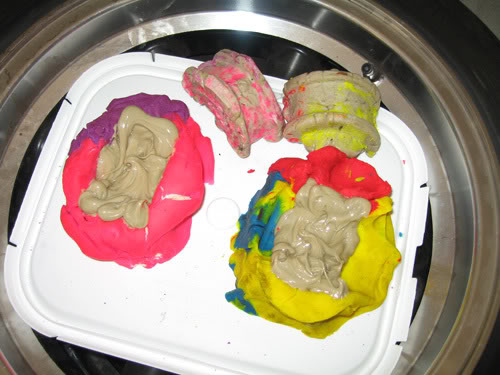
My diff mount has been curing for about 14 hours now and it's STIFF. The dried material is very very hard, and it's not fully cured yet. It takes about 3 days to fully cure
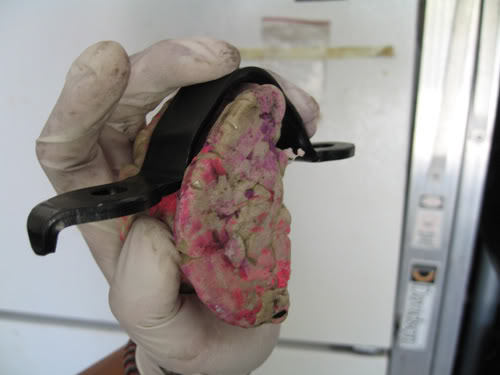
And the bushing halves I made for the steering rack turned out great, I just need to grind it to shape to fit the steering rack and touch it up a bit. They're also very stuff and sturdy
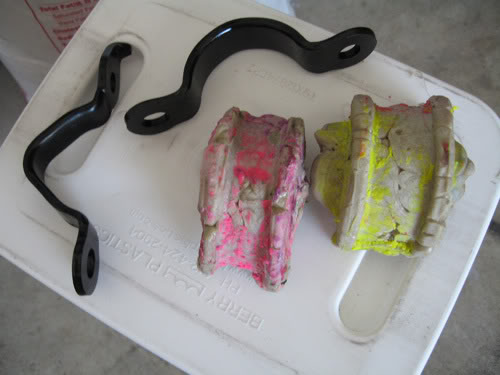
pass. side
driver side
and the other halves are on their way
Here is Gary's writeup
http://www.garymolitor.com/300zx/rear_bush...ing_removal.htm
And my current progress
the saw size is 1" 3/16, its the perfect fit around the inner sleeve
After I got in a bit, there was a lot of friction from the inner rubber rubbing against the saw so I used a little oil to slick it up which worked great. It sawed through a little faster also
My diff mount has been curing for about 14 hours now and it's STIFF. The dried material is very very hard, and it's not fully cured yet. It takes about 3 days to fully cure
And the bushing halves I made for the steering rack turned out great, I just need to grind it to shape to fit the steering rack and touch it up a bit. They're also very stuff and sturdy
pass. side
driver side
and the other halves are on their way
 08-03-2007, 09:09 PM
#250
Contributing Member
Thread Starter
iTrader: (1)
Join Date: Nov 2006
Location: San Francisco, CA
Posts: 501
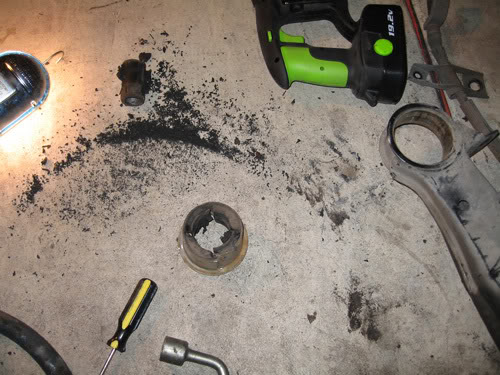
Ok, so I'm pretty ****ing bummed. The drill thing was great for the few couple hours, but it's pretty much impossible to fit the drill with it on the other side of the bushing. Not to mention that it's hard to get it dead center to prevent shaving the outer or inner sleeves which are needed with the prothane kit. Any advice or tips? I'm thinking about going to a shop with a press but I'm unsure of the costs.

 08-04-2007, 04:13 PM
#255
Registered User

Join Date: Aug 2007
Location: kingston
Posts: 0
hoy henry! this is Pat aka blitz from club-s12.org. the site is down  ( I guess we need to donate some money to indy so he can pay the hosting fee). so I registered here to see what's going on with your project. I want to see the end result.
btw, what's the link to the prothane kit?
EDIT: NVM the site is online again
( I guess we need to donate some money to indy so he can pay the hosting fee). so I registered here to see what's going on with your project. I want to see the end result.btw, what's the link to the prothane kit?
EDIT: NVM the site is online again
Last edited by blitz23; 08-04-2007 at 07:04 PM.