
S14dude's 95 Zenki


Thread Starter
Registered User
Joined: Jun 2004
Posts: 435
From: West Covina
Here is what i did in steps.
Materials Needed:
2 Cans of Flat Black paint, preferable wheel paint, you can get these cans of spray paint at autozone for a couple bucks.
4 Cans of Metallic Greyish Wheel paint
2 Cans of Clear Coat
Step 1: Sanding
Sand down wheels using a low grade sandpaper, not sure which grade, im sure there is another thread on here. Then use a higher grade, make sure that the surface of the wheel is nice and smooth otherwise the paint wont stick.
Stpe 2: Preperation
mask off the tires! you dont want paint getting on your tires, if you do get some overspray, just use brake cleaner and it'll come right off. Also make sure to mask off valve stems.
Step 3: Paint The Wheels
Make sure you are painting in an empty garage or place where there is minimal or no wind, you dont want debris getting in your paint. Use big even strokes and spray about 1-2 feet away from the wheel, make sure u do not get paint drips, the trick is to make sure you get even layers. If you Just want your wheels to be flack black, you do not have to use the metallic paint, flat black also looks good. Depending on how long you want your paint to last, do more coats. Make sure you also give adaquete time for your wheels to dry before you slap on another layer, 20-25 mins should be good.
Step 4: Clear Coat
After you have applied 2 coats of flat black, and 4-6 coats of the metallic wheel paint. You should allow at least 1 hour for all wheels to dry before you put clear coat on. Use 2-3 coats.
Step 5: You're Done!
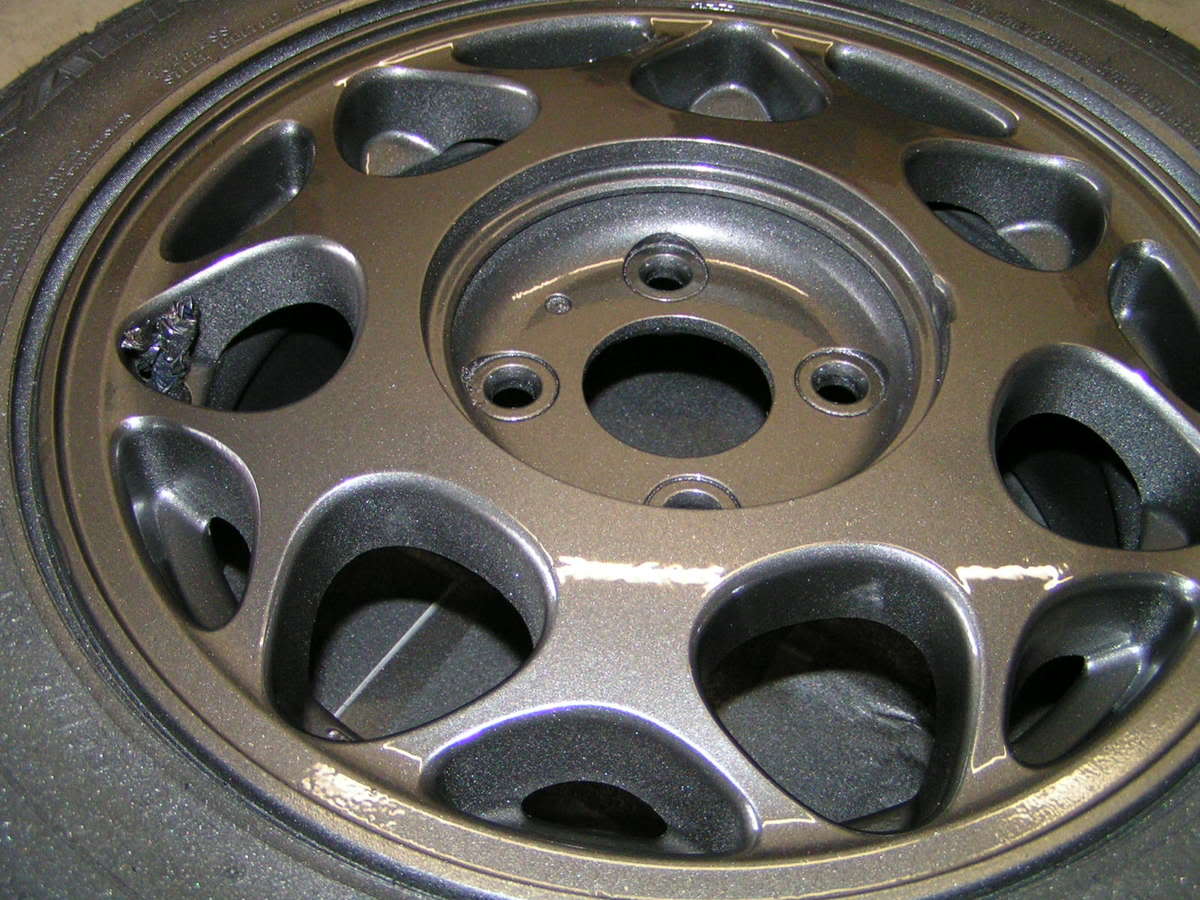
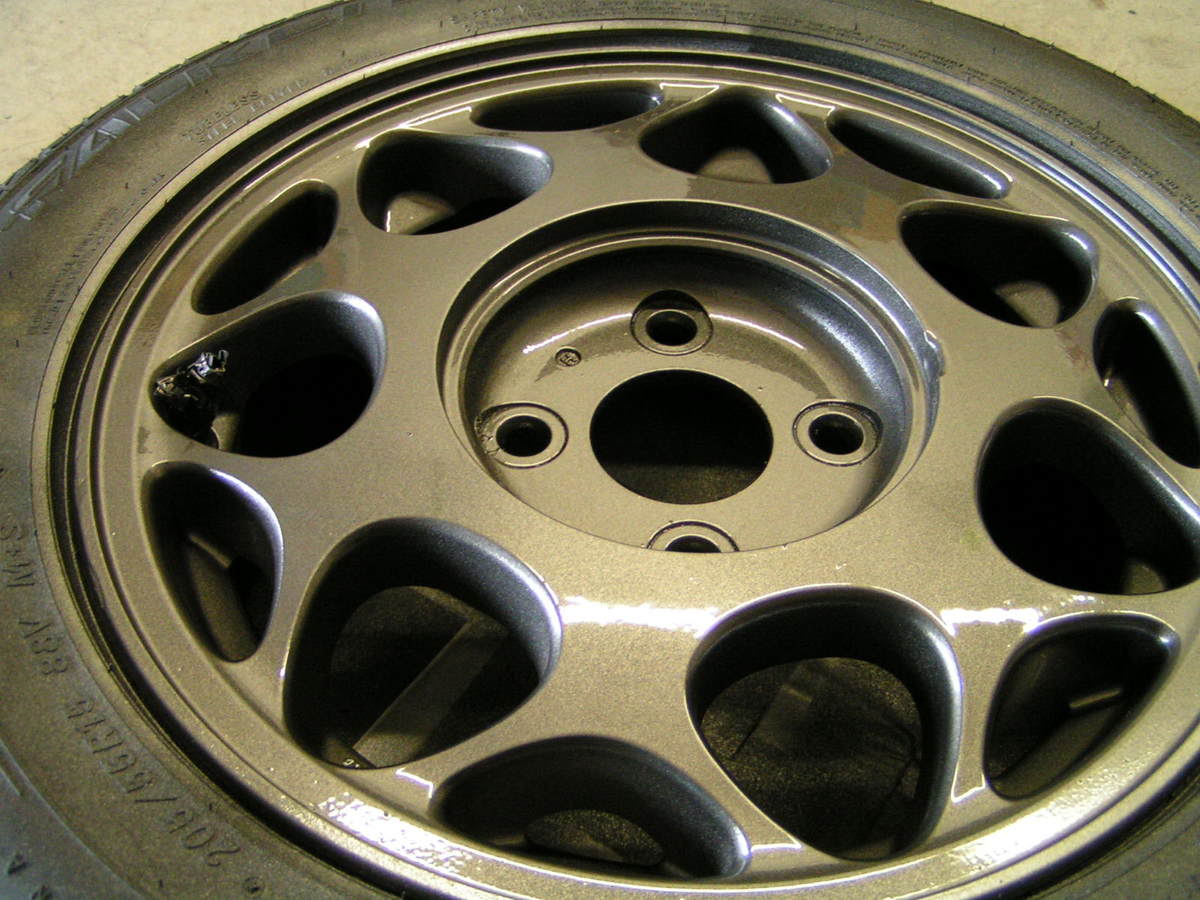
Now all you have to do is make sure you let your wheels bake in the sun for a while before driving on them. After about 1 week, the paint will harden, and about 1 month it will be fully cured. DO NOT TOUCH THE PAINT! I made this mistake and now i have a finger print in my paint.
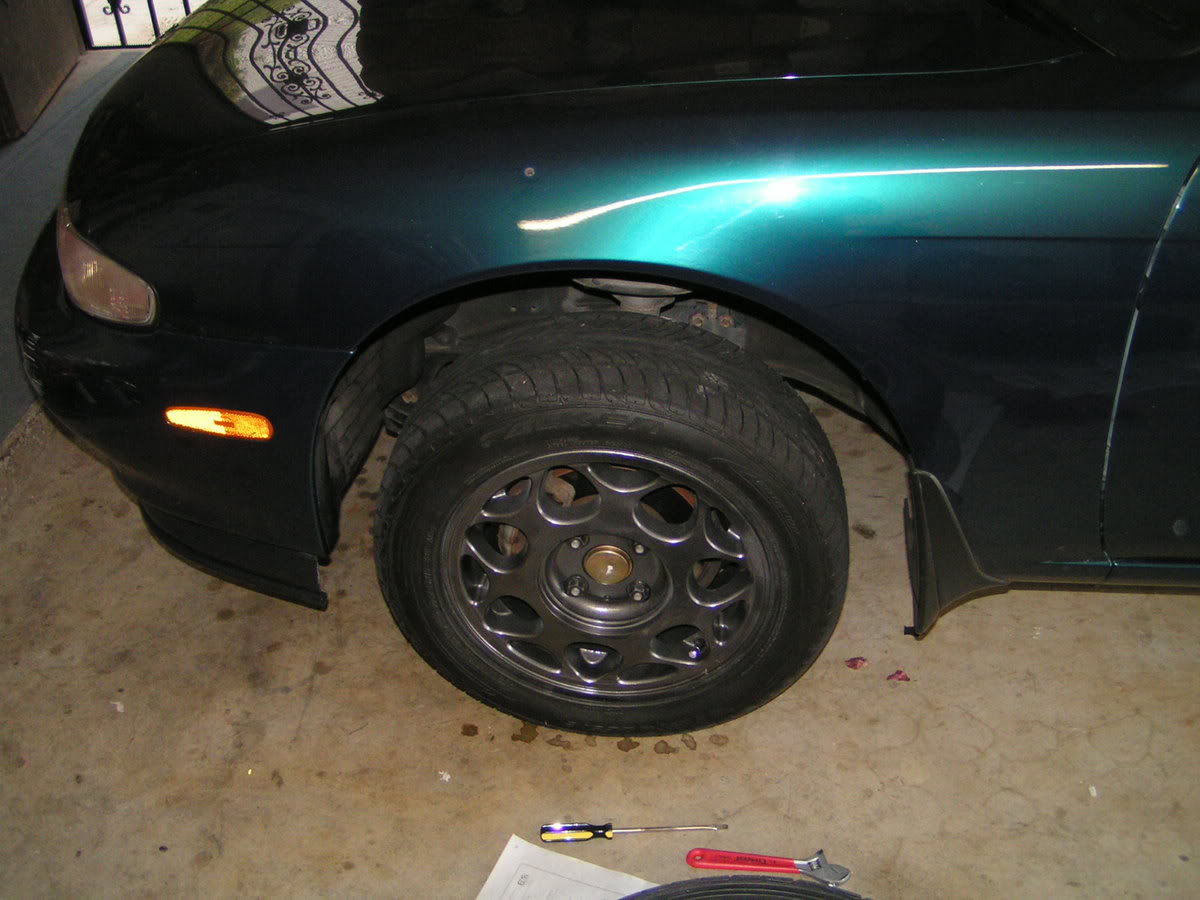
If you have questions, let me know. Here is a few pictures.

Materials Needed:
2 Cans of Flat Black paint, preferable wheel paint, you can get these cans of spray paint at autozone for a couple bucks.
4 Cans of Metallic Greyish Wheel paint
2 Cans of Clear Coat
Step 1: Sanding
Sand down wheels using a low grade sandpaper, not sure which grade, im sure there is another thread on here. Then use a higher grade, make sure that the surface of the wheel is nice and smooth otherwise the paint wont stick.
Stpe 2: Preperation
mask off the tires! you dont want paint getting on your tires, if you do get some overspray, just use brake cleaner and it'll come right off. Also make sure to mask off valve stems.
Step 3: Paint The Wheels
Make sure you are painting in an empty garage or place where there is minimal or no wind, you dont want debris getting in your paint. Use big even strokes and spray about 1-2 feet away from the wheel, make sure u do not get paint drips, the trick is to make sure you get even layers. If you Just want your wheels to be flack black, you do not have to use the metallic paint, flat black also looks good. Depending on how long you want your paint to last, do more coats. Make sure you also give adaquete time for your wheels to dry before you slap on another layer, 20-25 mins should be good.
Step 4: Clear Coat
After you have applied 2 coats of flat black, and 4-6 coats of the metallic wheel paint. You should allow at least 1 hour for all wheels to dry before you put clear coat on. Use 2-3 coats.
Step 5: You're Done!
Now all you have to do is make sure you let your wheels bake in the sun for a while before driving on them. After about 1 week, the paint will harden, and about 1 month it will be fully cured. DO NOT TOUCH THE PAINT! I made this mistake and now i have a finger print in my paint.
If you have questions, let me know. Here is a few pictures.

Thread Starter
Registered User
Joined: Jun 2004
Posts: 435
From: West Covina
ya man. of course the SE rims look better, they always do. but you gotta work with what you got. haha, thanks on the lip clipperkid, ill be picking up an OEM lip soon so ill get rid of that POS garden divider!
As far as the wheels, you can see i got some major overspray on the tires, try not to do that, its a pain in the *** to get it off.
As far as the wheels, you can see i got some major overspray on the tires, try not to do that, its a pain in the *** to get it off.

