
CA18DET RWD Water pump and timing belt replacement


Thread Starter
Registered User
Joined: Apr 2007
Posts: 44
From: los angeles
CA18DET RWD Water pump and timing belt replacement
well i just got done doing this...so i thought id share with u all a nice little write up...especially since this motor is lacking in sources...
Tools needed:
27mm socket
13mm socket
14mm socket...
12mm socket
10mm open wrench and socket
8mm socket
5mm hex allen wrench
impact wrench air or electric
brake cleaner
PB blaster (or WD-40)
Gasket silicon sealer (for thermostat and head gasket sealant)
pulley claw puller (large size..)
scraper
paper towels ( more it can soak up the better)
timing gun (for safe measure)
parts replaced:
water pump- autozone part number AWP-692
alternator belt - good year- 4pk0850- 4040335
timing belt - good year gatorback - 40137
radiator - RB performance
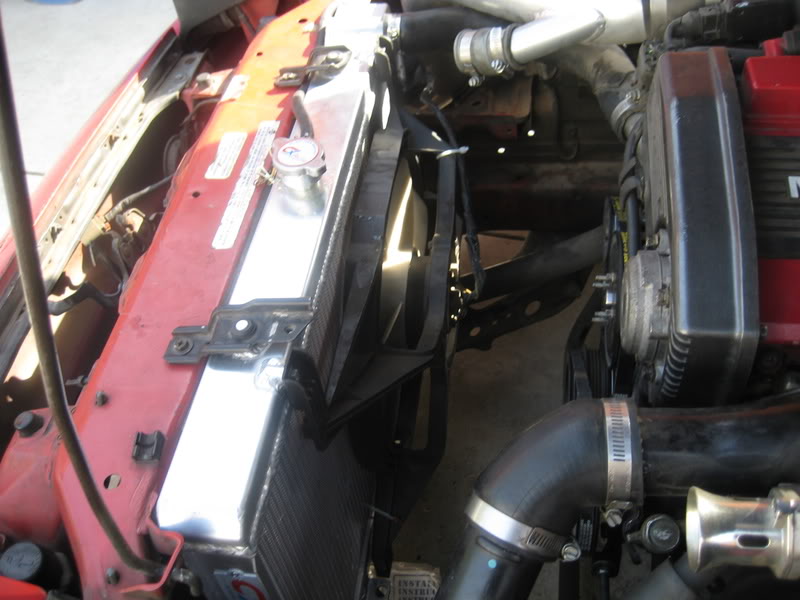
pre planed thoughts: if u can the night b4 u decide to work on ur car loosen ur lower rad hose and drain ur system...this way...u dont have ot deal with draining ur system and having water/coolant everywhere...more tip...have ur car at an angle with the nose tipped foward so it drains the max amoutn of water out...
second..u need to have room for the impact drill, depending on how ur swap set up is u might have an electric fan or 2, clutch fan or fan shroud aswell.
fan shroud...i didnt have one, so ur on ur own...
clutch fan...didnt have one either....but i know for a fact u can use a clutch fan holder tool rented from autozone to hold everything in place to remove the fan and clutch fan assembly...
electric fans: i only have one fan that was bolted at one point and zipped tied everywhere else...so i just snapped the ties and unbolted and moved the fan to the side
remove the radiator aswell if possible the night before...ull have a **** load more room...
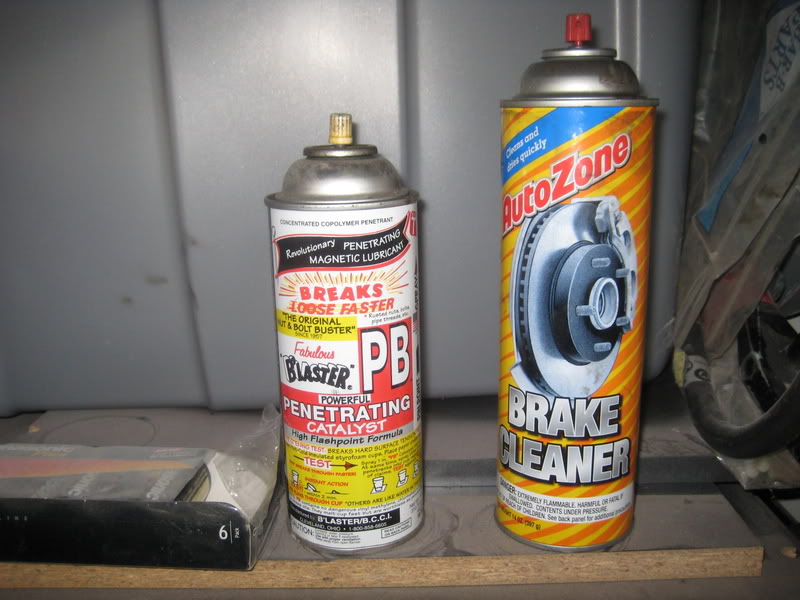
now that u have ur clutch fan and fan shroud off, u wanna think ahead...thats were the wd-40 or pb blaster come into place... shake ur can and spray some of ur spray into the nut...let it start penetrating now so u dont have downtime later...
Tools needed:
27mm socket
13mm socket
14mm socket...
12mm socket
10mm open wrench and socket
8mm socket
5mm hex allen wrench
impact wrench air or electric
brake cleaner
PB blaster (or WD-40)
Gasket silicon sealer (for thermostat and head gasket sealant)
pulley claw puller (large size..)
scraper
paper towels ( more it can soak up the better)
timing gun (for safe measure)
parts replaced:
water pump- autozone part number AWP-692
alternator belt - good year- 4pk0850- 4040335
timing belt - good year gatorback - 40137
radiator - RB performance
pre planed thoughts: if u can the night b4 u decide to work on ur car loosen ur lower rad hose and drain ur system...this way...u dont have ot deal with draining ur system and having water/coolant everywhere...more tip...have ur car at an angle with the nose tipped foward so it drains the max amoutn of water out...
second..u need to have room for the impact drill, depending on how ur swap set up is u might have an electric fan or 2, clutch fan or fan shroud aswell.
fan shroud...i didnt have one, so ur on ur own...
clutch fan...didnt have one either....but i know for a fact u can use a clutch fan holder tool rented from autozone to hold everything in place to remove the fan and clutch fan assembly...
electric fans: i only have one fan that was bolted at one point and zipped tied everywhere else...so i just snapped the ties and unbolted and moved the fan to the side
remove the radiator aswell if possible the night before...ull have a **** load more room...
now that u have ur clutch fan and fan shroud off, u wanna think ahead...thats were the wd-40 or pb blaster come into place... shake ur can and spray some of ur spray into the nut...let it start penetrating now so u dont have downtime later...
Thread Starter
Registered User
Joined: Apr 2007
Posts: 44
From: los angeles
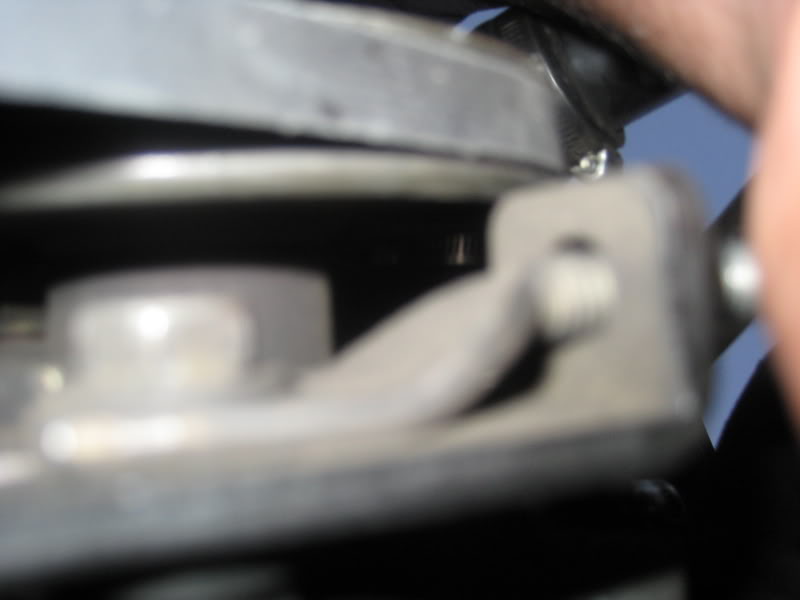
now...uve already removed the fan clutch and since the bolts holding the pulley are out...u can now loosen the tightening bolt that hold the alternator in place which is a 12MM
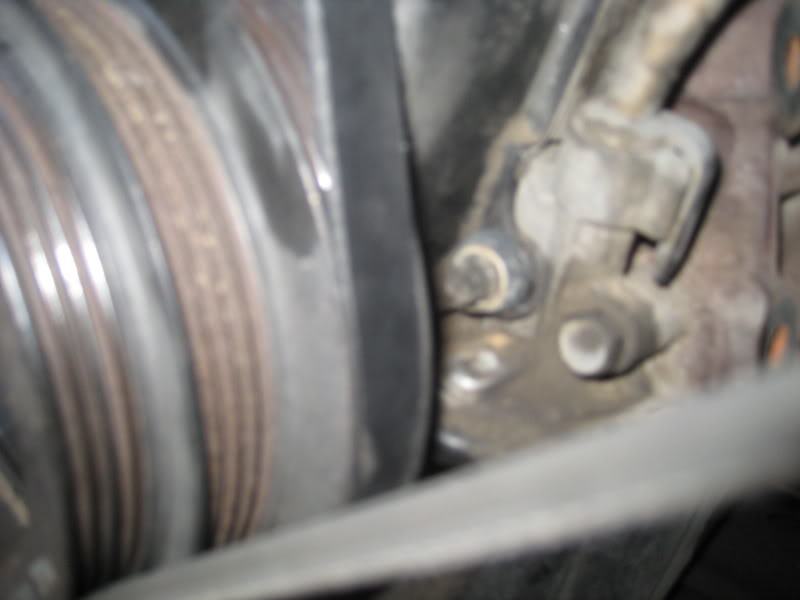
now u can also release the tension on the P/S belt which is a bolt located under the pump (14mm) if ur luckey ur pulley is lined up so u can just use a socket and pri the ***** loose...if ur unlucky like me u can just get to it with an open wrench...
loosen ur assemblies and remove the belts...my P/S was just recently installed so my belt for that was fine...
my ALT belt was a totally different story, so i just had it replaced...the 855 size belt wasnt available so i used an 850...it fits
here a pic of were to loosen for the alt
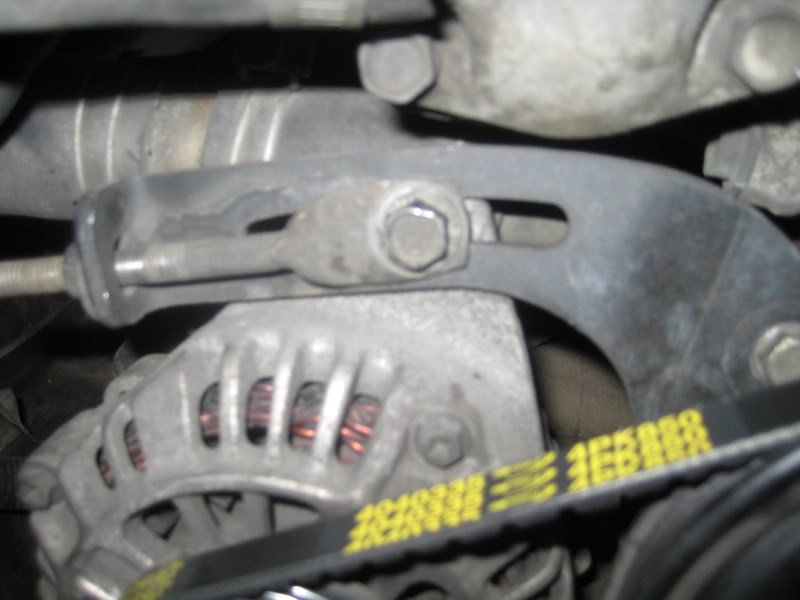
the screw thats going horizontally is for tension...dont need to worry till reassembly
at this point spray some more pb blaster or wd an the crank pulley again...trust me ...ull be glad u did
now...time to remove the first top cover...
first remove the CAS and then focus on the cover...
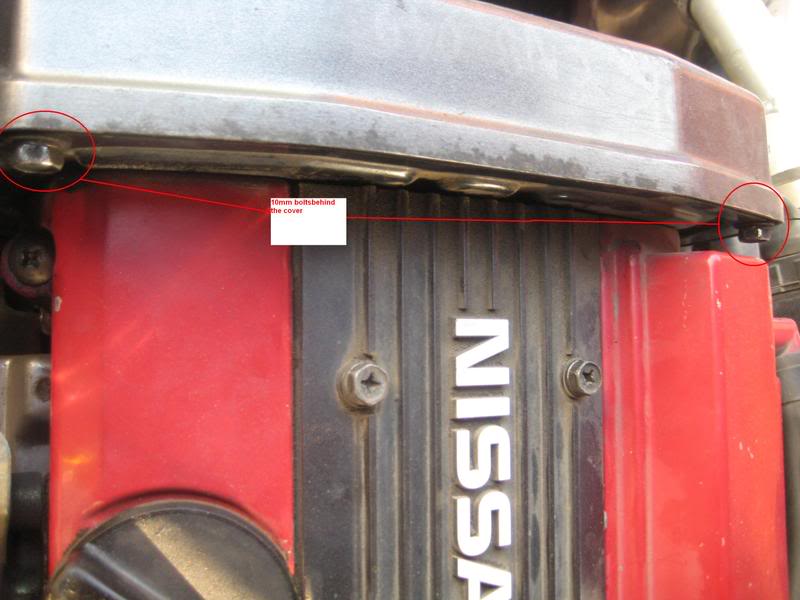
it takes a lil jiggle shimmy shimmy to get the cover off
and now u can see ur timing belt...at this point i relized my belt might aswell get changed ...so i did that aswell...my tensioner pulley was in great shape so i didnt have to worry about it... usually itll run about 60 bucks for it though....
ok so u realize theres a second lower cover...dont worry yet...u cant take it off yet anyway until u remove the crank pulley... i will say..u could possibly remove the lower cover with the pulley still attached, but u might end up braking or bending the ****en thing... why **** it up...
before u remove ur pulley: set ur timing to TDC (top dead center)
time to get the pulley off...
time to break out ur impact gun and 27mm bolt...
took about 5 minutes for me to get mine off, because i didnt spray it with pb /wd sooner, we had some slight downtime...
once the bolt is loose... leave it threaded just to the edge...
break out ur puller puller
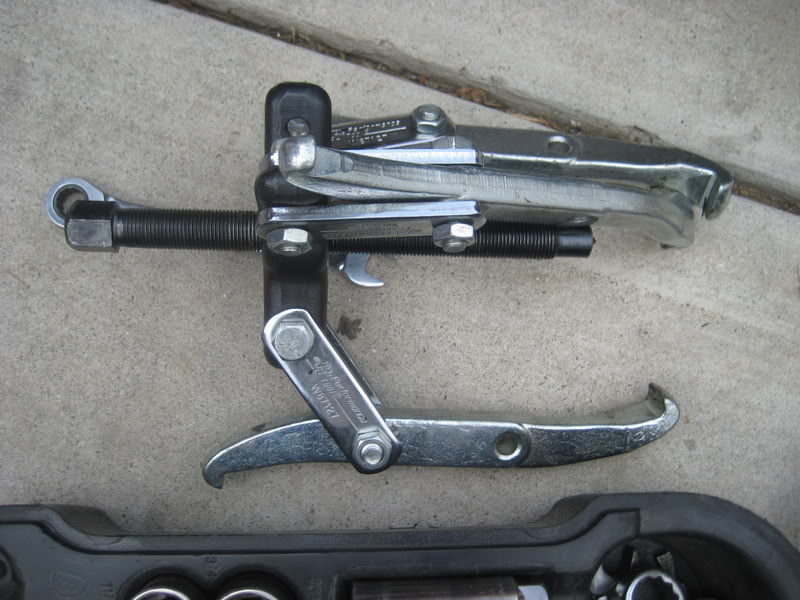
tighten the center section down till u have some tension...make sur all three claws are hooked down properly...and start torquing down with eithe ra wrench or socket (this particular one could ur a 15mm) till ur pulley pops off...behnd the pulley should be an assembly that looks like this
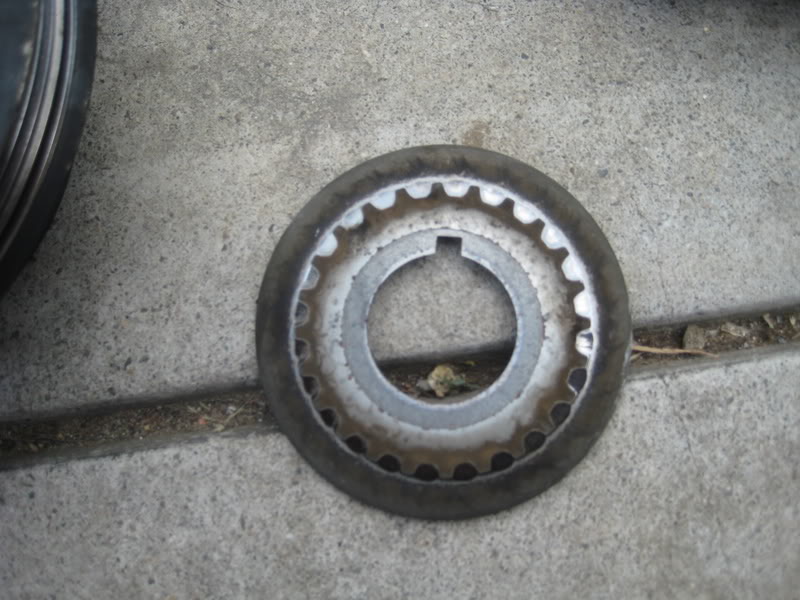
from my understanding its mean to help keep ur timing belt in place...and from moving back and fourth..remember how it came off...which side is which...dont confuse it and it has a tab so u can realign it properly.
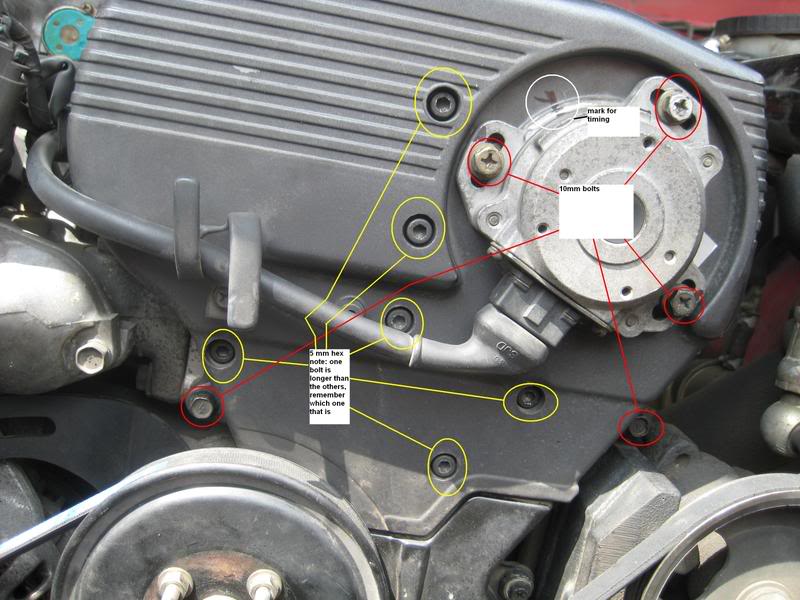
no u can focus on ur lower cover... there are four 8mm bolts to take off...
first one is on the left of the water pump pulley
second is to the right of the water pump pulley
amd 2 more on each side of where the crank pulley would be aswell
there not hard to miss there 8mm screws with rubber bushings on them
Note: on mine the rubber bushings were old and cracking...i tend to get new ones...isuggest u do the same aswell
now its time to shimmy and shake the second cover off... carfull with it
now u should be exposed like this
first and foremost... lets get to teh belt...
if u didnt have enough to get a belt or dont need a belt...u wanna get the belt off first so it has the least exposre to water/coolant
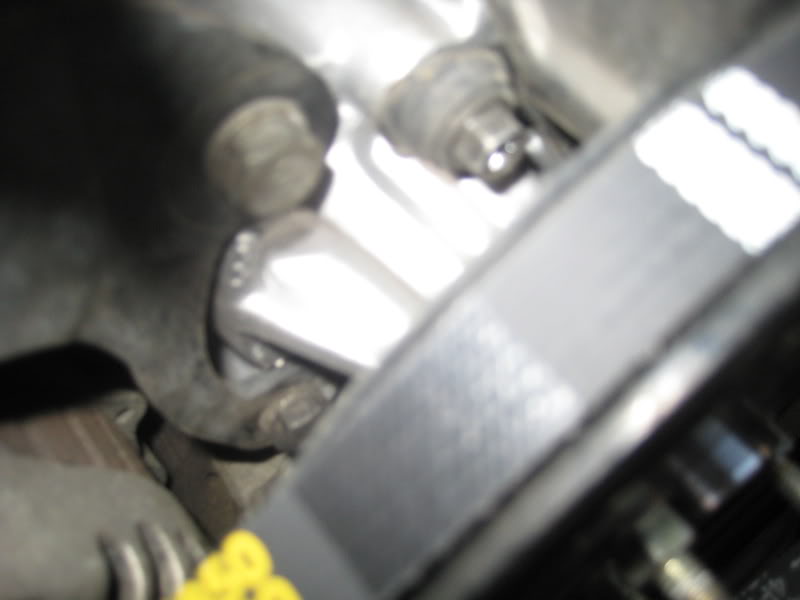
there is a tensioner pulley (in pick there is a yellow circle) the nut is 13mm..wierd i know... and in the tensioner pulley (circled in blue) is a hex opening (5mm if i remember correctly)
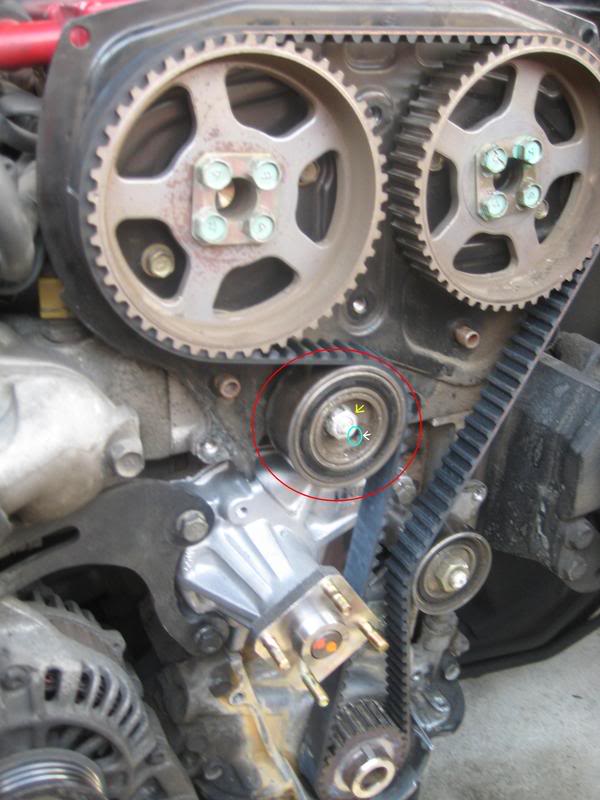
to release the tension on ur belt u wanna to use the hex to push in a spring assembly that keep the pulley in place...while the hex is pushing the spring back use the 13mm bolt to turn the puelly clockwise until it reaches the point that a second spring holds it in place... remove ur belt...
water pump time....
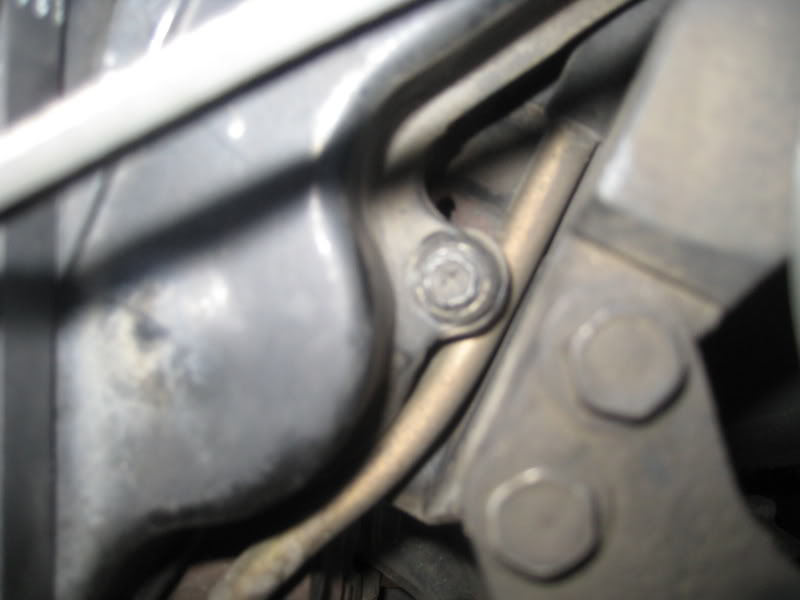
the alt bracket has 2 bolts that are held down on the pump...
u can see in the pic the black metal bracket... there 12mm in size... slide the assembly to the side and now work on removing the other bolts... if ur pump was leaking like mine...it shouldnt be to hard...since theres already an exposed point...if not and it was leaking from the weeper/bleeder hole... then a need assistance from a deadblow hammer (reubber malet) or a flat head...jam between the gasket and just pop the sucker out...
time to clean waterpump area...
first use the paper towels to jam in the area to soak up any coolant and water that might contaminate ur area were ur gasket silicone might need dry area to stick too...leave some paper towel in therewaded up...ull see why
take a scraper or a box cutter and remove any old silicone or gasket that might still be on the block...use the brake cleaner to help the process of cleaning..itll help penetrate hard to scrape old gasket..and it is self drying...this is why u should leave the waded paper towels in the holes...less amount of brake cleaners gettign in ur cooling syste,,, if any...
so now ur block is nice and clean ready for a a new water pump...
brake out ur water pump
heres a comparison of old and new
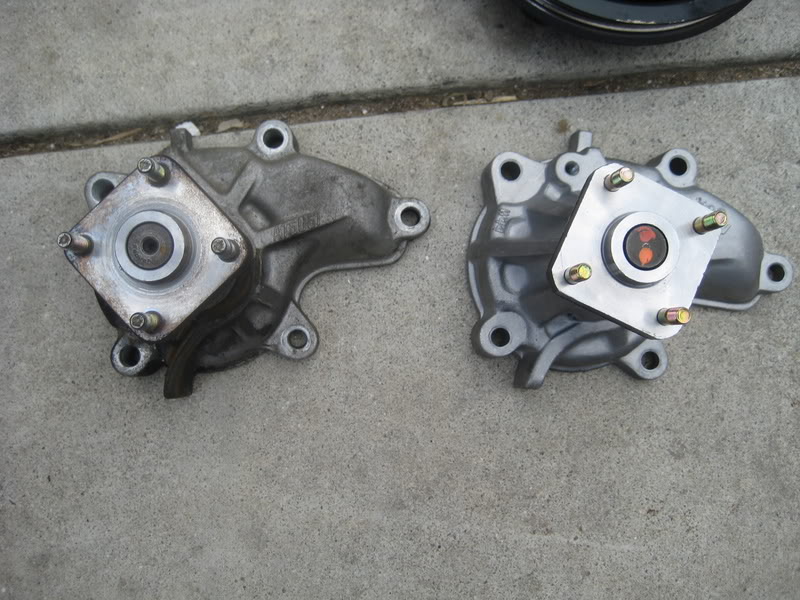
apply the new gasket directly to the pump and on the gasket apply the silicone all around...
make sure ur water pump area is nice and clean one last time and no paper is left in ur way...and re apply ur water pump...remember that the to bolts on the alternator side has its black bracket on its side...tighten ur bolts on ur pump and guess what now ur done...
u went the extra mile and took off ur timing belt...OMG my timing...
chill...
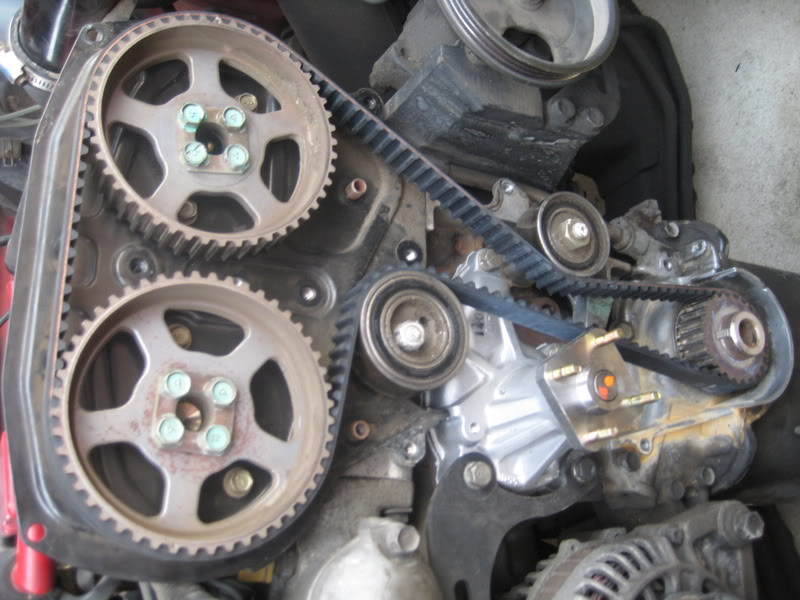
ur upper and lower gears have a little circle pin...u cant miss it...and guess what if u use the same belt i did it will have a white stripe for each gear...HAZAH
ur set lil holes should be align somethign like this if u preset to TDC
[IMG]http://i5.photobucket.com/albums/y162/whopper68/untitled.jpg[/IMG
align the stripes on ur belt with the lil holes on ur gears ...u might have to man handle ur belt a bit...
a trick i used...was opening the driver side valve cover and holding down the cam with an adjustable wrench...turning it clockwise till there was enough room for me to slide the belt in with ease...2 people is usually required for this step one to turn the cam just enough...the other to slip and make sure ur belt is still aligned properly... release the cam and re install ur valve cover
once ur belt is in place...check the tension on the belt...if it feels a bit loose...use the 13mm nut on ur tension pulley to tight it a bit...
now reset ur pulley by applying clock wise tension tot he nut and re entering the hex down in the hole to push back the spring assembly and lowering the pulley back counter clockwise till it locks up again...
should look like this
once everything is aligned properly...everything is tensioned down properly...time to reasemble...
first and formost reinstall ur lower cover and the washer and the crank pulley...and re verse everything back on...
once ur car is put back together and u did ur tdc and ur marked ur timing location...give ur car a crank...mine started up the first time...and i reset my timing to the marked locations and double checked with timing gun...
my finished product...
Note: it goes without sayin that changing ur upper and lower radiator hose if u need to u should,and ur thermostat aswell
im waiting to get my samco hoses and thats wehn im doing the rest...
hope this gets approved for futur CA owners
i wanna thank my homie Eric from Drift Ready Performance...ur help in this was wihtout a doubt epic and i learned so much...
now u can also release the tension on the P/S belt which is a bolt located under the pump (14mm) if ur luckey ur pulley is lined up so u can just use a socket and pri the ***** loose...if ur unlucky like me u can just get to it with an open wrench...
loosen ur assemblies and remove the belts...my P/S was just recently installed so my belt for that was fine...
my ALT belt was a totally different story, so i just had it replaced...the 855 size belt wasnt available so i used an 850...it fits
here a pic of were to loosen for the alt
the screw thats going horizontally is for tension...dont need to worry till reassembly
at this point spray some more pb blaster or wd an the crank pulley again...trust me ...ull be glad u did
now...time to remove the first top cover...
first remove the CAS and then focus on the cover...
it takes a lil jiggle shimmy shimmy to get the cover off
and now u can see ur timing belt...at this point i relized my belt might aswell get changed ...so i did that aswell...my tensioner pulley was in great shape so i didnt have to worry about it... usually itll run about 60 bucks for it though....
ok so u realize theres a second lower cover...dont worry yet...u cant take it off yet anyway until u remove the crank pulley... i will say..u could possibly remove the lower cover with the pulley still attached, but u might end up braking or bending the ****en thing... why **** it up...
before u remove ur pulley: set ur timing to TDC (top dead center)
time to get the pulley off...
time to break out ur impact gun and 27mm bolt...
took about 5 minutes for me to get mine off, because i didnt spray it with pb /wd sooner, we had some slight downtime...
once the bolt is loose... leave it threaded just to the edge...
break out ur puller puller
tighten the center section down till u have some tension...make sur all three claws are hooked down properly...and start torquing down with eithe ra wrench or socket (this particular one could ur a 15mm) till ur pulley pops off...behnd the pulley should be an assembly that looks like this
from my understanding its mean to help keep ur timing belt in place...and from moving back and fourth..remember how it came off...which side is which...dont confuse it and it has a tab so u can realign it properly.
no u can focus on ur lower cover... there are four 8mm bolts to take off...
first one is on the left of the water pump pulley
second is to the right of the water pump pulley
amd 2 more on each side of where the crank pulley would be aswell
there not hard to miss there 8mm screws with rubber bushings on them
Note: on mine the rubber bushings were old and cracking...i tend to get new ones...isuggest u do the same aswell
now its time to shimmy and shake the second cover off... carfull with it
now u should be exposed like this
first and foremost... lets get to teh belt...
if u didnt have enough to get a belt or dont need a belt...u wanna get the belt off first so it has the least exposre to water/coolant
there is a tensioner pulley (in pick there is a yellow circle) the nut is 13mm..wierd i know... and in the tensioner pulley (circled in blue) is a hex opening (5mm if i remember correctly)
to release the tension on ur belt u wanna to use the hex to push in a spring assembly that keep the pulley in place...while the hex is pushing the spring back use the 13mm bolt to turn the puelly clockwise until it reaches the point that a second spring holds it in place... remove ur belt...
water pump time....
the alt bracket has 2 bolts that are held down on the pump...
u can see in the pic the black metal bracket... there 12mm in size... slide the assembly to the side and now work on removing the other bolts... if ur pump was leaking like mine...it shouldnt be to hard...since theres already an exposed point...if not and it was leaking from the weeper/bleeder hole... then a need assistance from a deadblow hammer (reubber malet) or a flat head...jam between the gasket and just pop the sucker out...
time to clean waterpump area...
first use the paper towels to jam in the area to soak up any coolant and water that might contaminate ur area were ur gasket silicone might need dry area to stick too...leave some paper towel in therewaded up...ull see why
take a scraper or a box cutter and remove any old silicone or gasket that might still be on the block...use the brake cleaner to help the process of cleaning..itll help penetrate hard to scrape old gasket..and it is self drying...this is why u should leave the waded paper towels in the holes...less amount of brake cleaners gettign in ur cooling syste,,, if any...
so now ur block is nice and clean ready for a a new water pump...
brake out ur water pump
heres a comparison of old and new
apply the new gasket directly to the pump and on the gasket apply the silicone all around...
make sure ur water pump area is nice and clean one last time and no paper is left in ur way...and re apply ur water pump...remember that the to bolts on the alternator side has its black bracket on its side...tighten ur bolts on ur pump and guess what now ur done...
u went the extra mile and took off ur timing belt...OMG my timing...
chill...
ur upper and lower gears have a little circle pin...u cant miss it...and guess what if u use the same belt i did it will have a white stripe for each gear...HAZAH
ur set lil holes should be align somethign like this if u preset to TDC
[IMG]http://i5.photobucket.com/albums/y162/whopper68/untitled.jpg[/IMG
align the stripes on ur belt with the lil holes on ur gears ...u might have to man handle ur belt a bit...
a trick i used...was opening the driver side valve cover and holding down the cam with an adjustable wrench...turning it clockwise till there was enough room for me to slide the belt in with ease...2 people is usually required for this step one to turn the cam just enough...the other to slip and make sure ur belt is still aligned properly... release the cam and re install ur valve cover
once ur belt is in place...check the tension on the belt...if it feels a bit loose...use the 13mm nut on ur tension pulley to tight it a bit...
now reset ur pulley by applying clock wise tension tot he nut and re entering the hex down in the hole to push back the spring assembly and lowering the pulley back counter clockwise till it locks up again...
should look like this
once everything is aligned properly...everything is tensioned down properly...time to reasemble...
first and formost reinstall ur lower cover and the washer and the crank pulley...and re verse everything back on...
once ur car is put back together and u did ur tdc and ur marked ur timing location...give ur car a crank...mine started up the first time...and i reset my timing to the marked locations and double checked with timing gun...
my finished product...
Note: it goes without sayin that changing ur upper and lower radiator hose if u need to u should,and ur thermostat aswell
im waiting to get my samco hoses and thats wehn im doing the rest...
hope this gets approved for futur CA owners
i wanna thank my homie Eric from Drift Ready Performance...ur help in this was wihtout a doubt epic and i learned so much...


Thread
Thread Starter
Forum
Replies
Last Post