
S13 Fender Brace Install

Thread Starter
Contributing Member
Joined: Sep 2002
Posts: 1,192
From: Starkville, MS.
S13 Fender Brace Install
I got a set of fender braces today, here's the install.
Tools needed:
Jack
Jackstands
Socket wrench
Socket extension
10mm socket
12mm socket
10mm wrench
Hammer
Phillipshead screwdriver
Needle nose pliers

Nagisa Auto fender braces
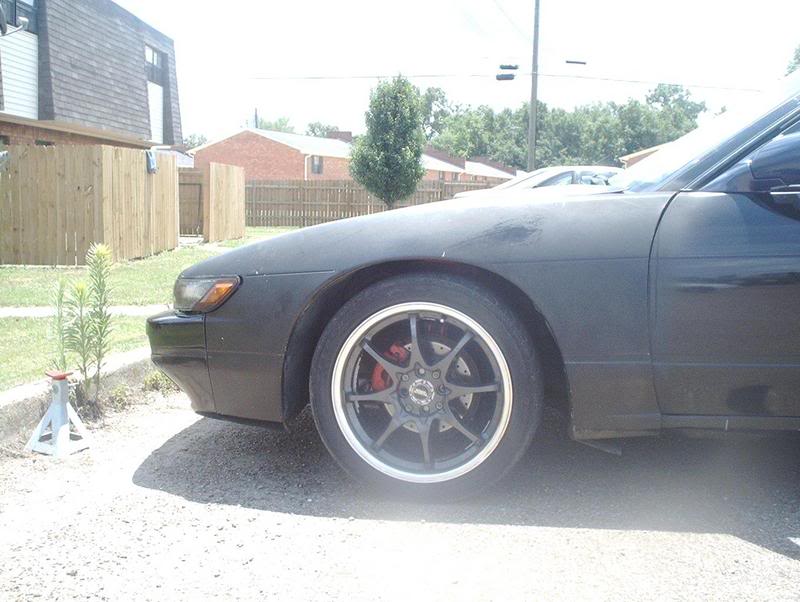
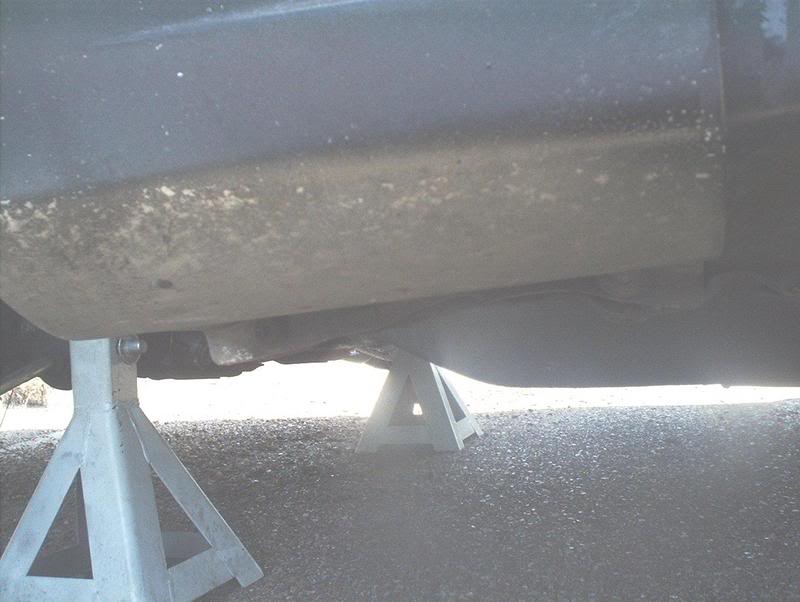
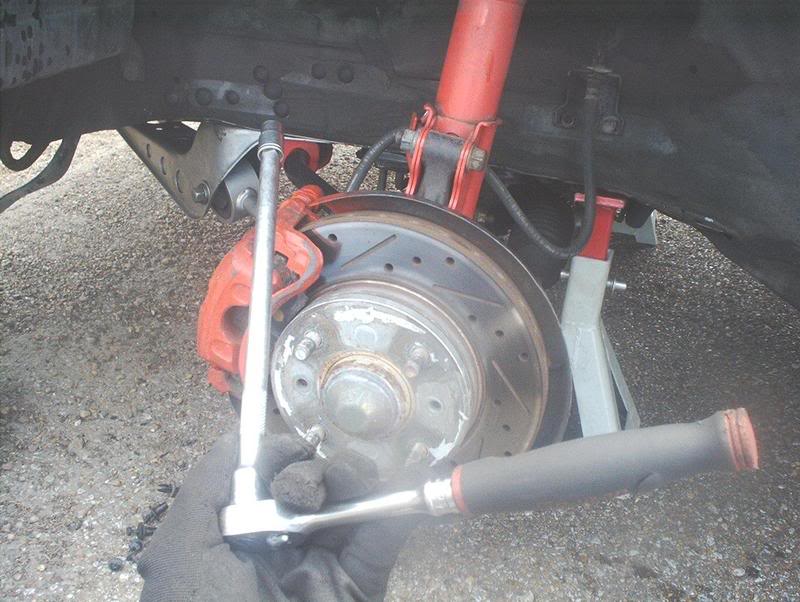
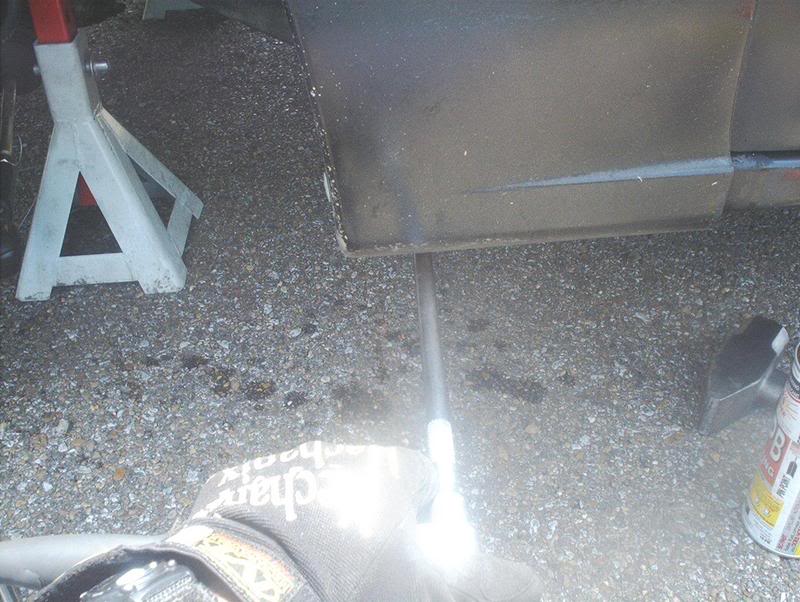
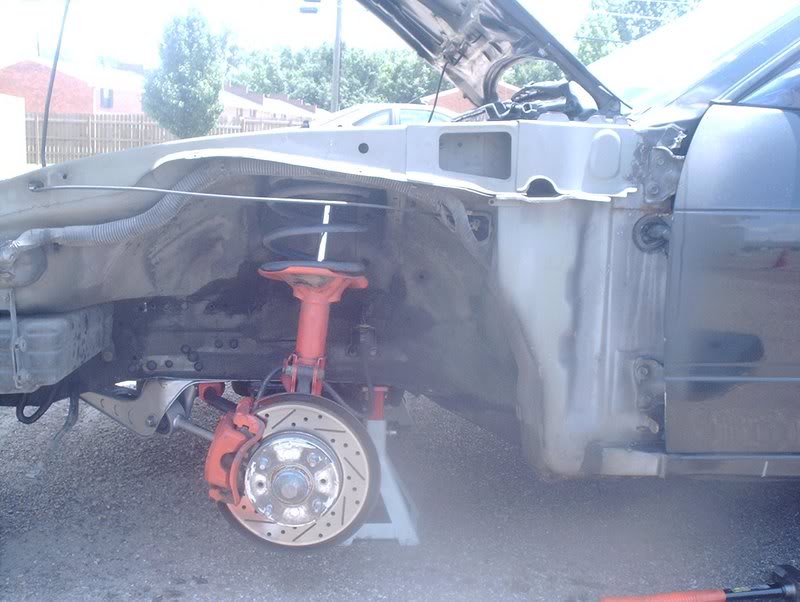
First, jack the car up...
and place jackstands in the appropriate places.
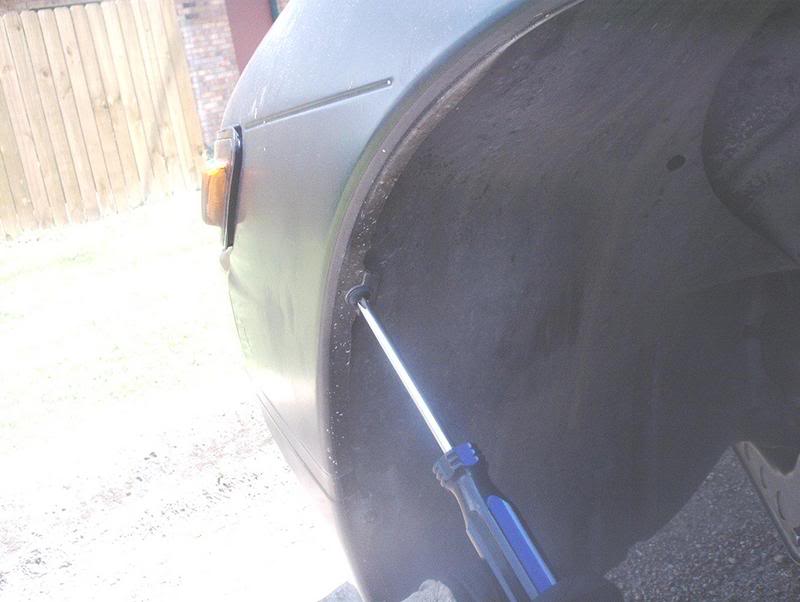
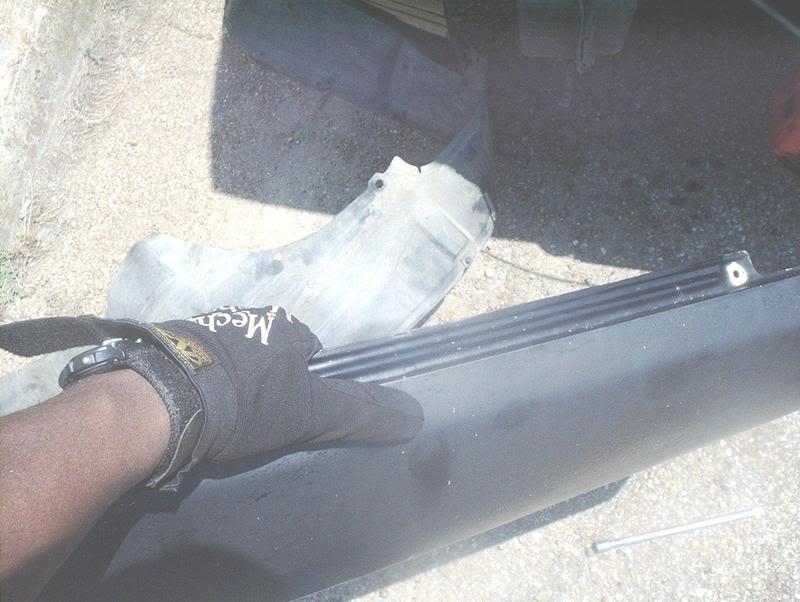
Next, remove the splash shield.
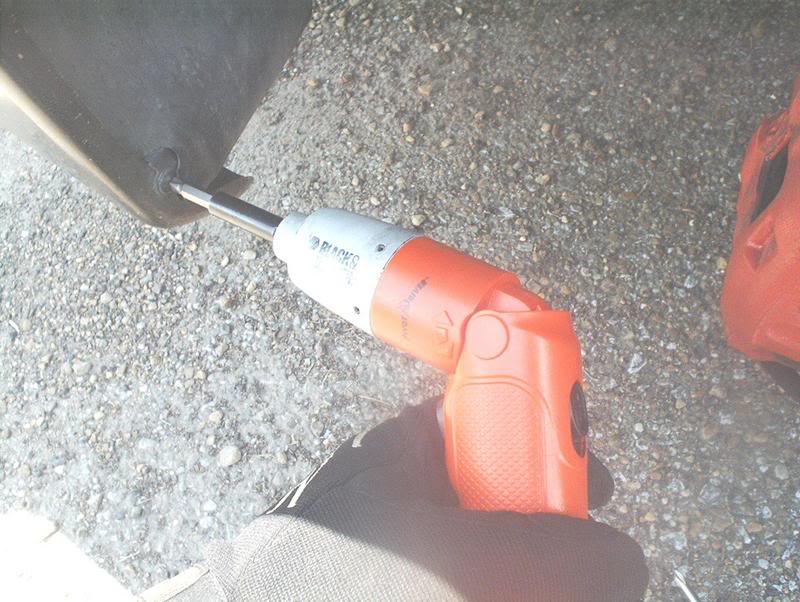
Ah, the old Black and Decker, saves wear and tear on the wrist caused by the turning of the screws. Remove the screws from the clamps holding the splash shield to the fender.
Then use a pair of needle nose pliers to remove the plastic pins holding the shield to the wheel well.
Remove the rest of the plastic pins...
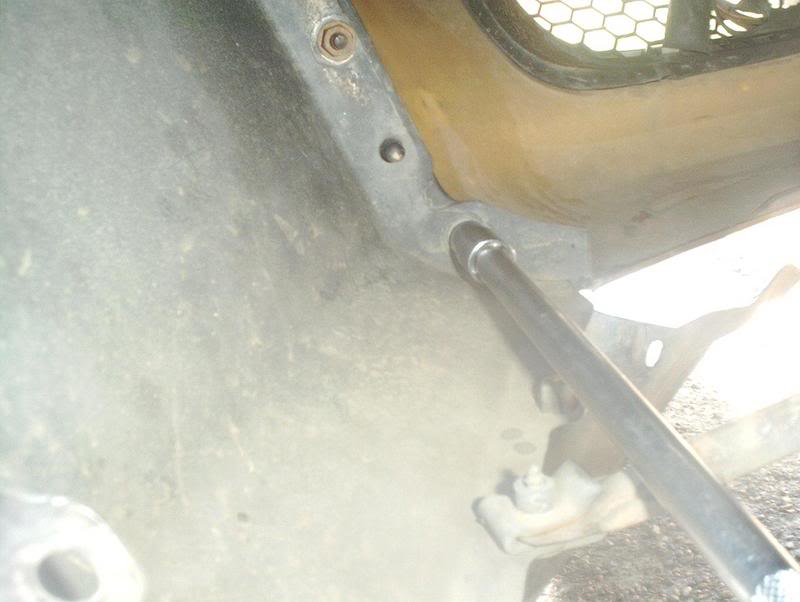
and you can pull the splash shield. Now you can start removing the bolts holding the fender to the chassis. There are a number of 10mm size bolts peppered all around the fender. I started with the bolts on the bottom of the fender.
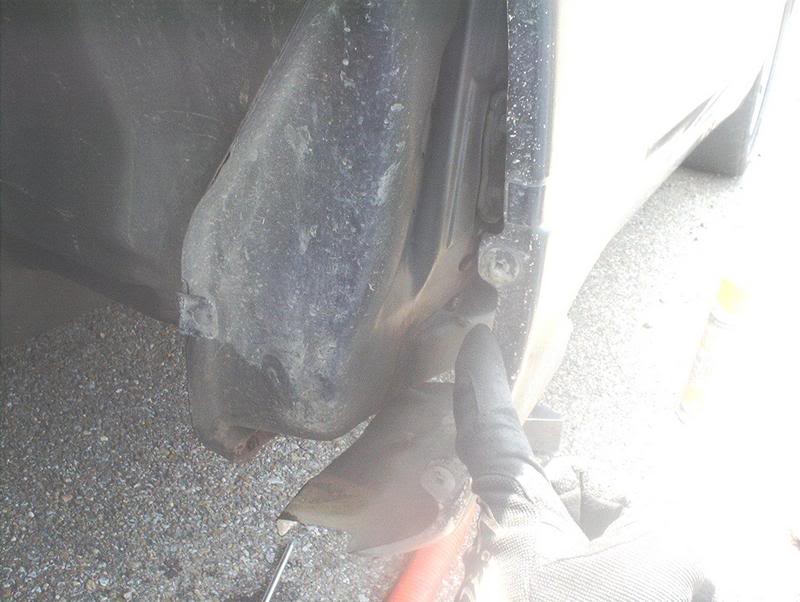
There are two bolts holding the bottom of the fender to the chassis.
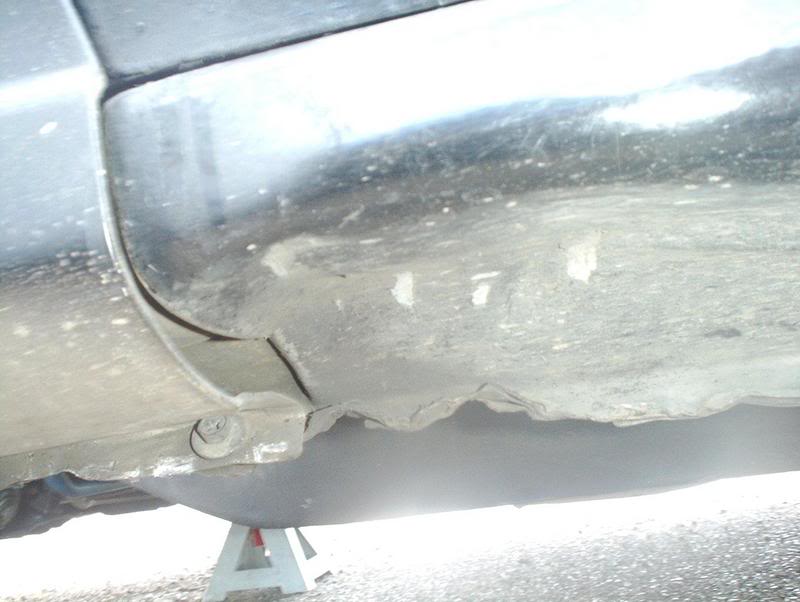
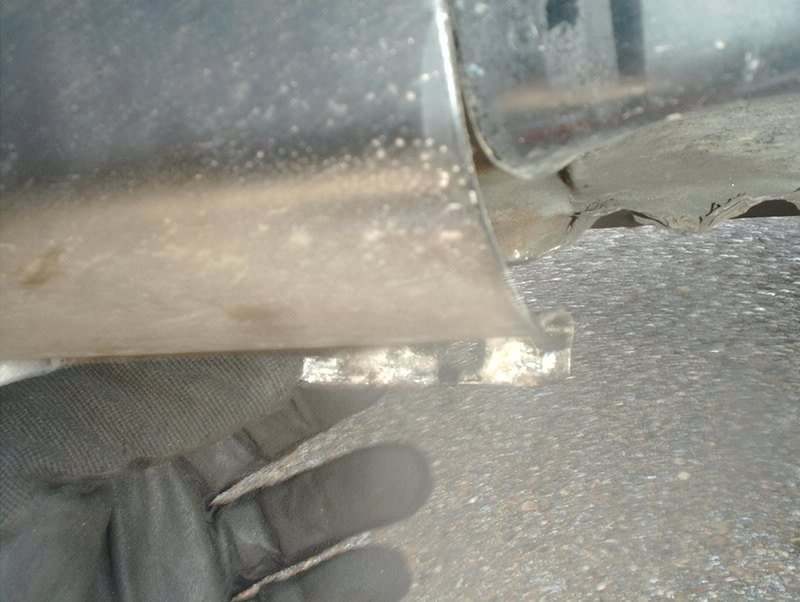
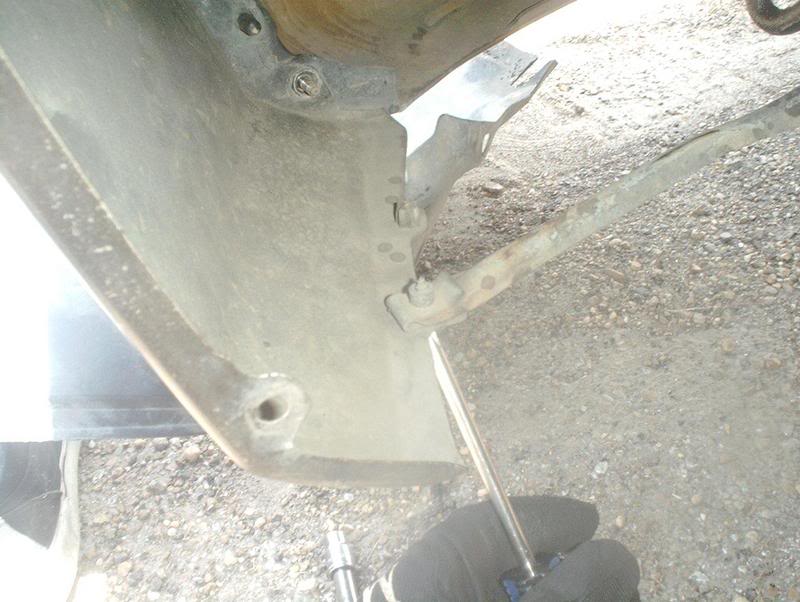
If your car is like mine then the bottom of your fenders are all messed up like this because the previous idiot owners didn't know how to use the jack points properly.
This is where one of my idiot friends tried to jack up the car when we were doing the frontend conversion. Notice the big dent!
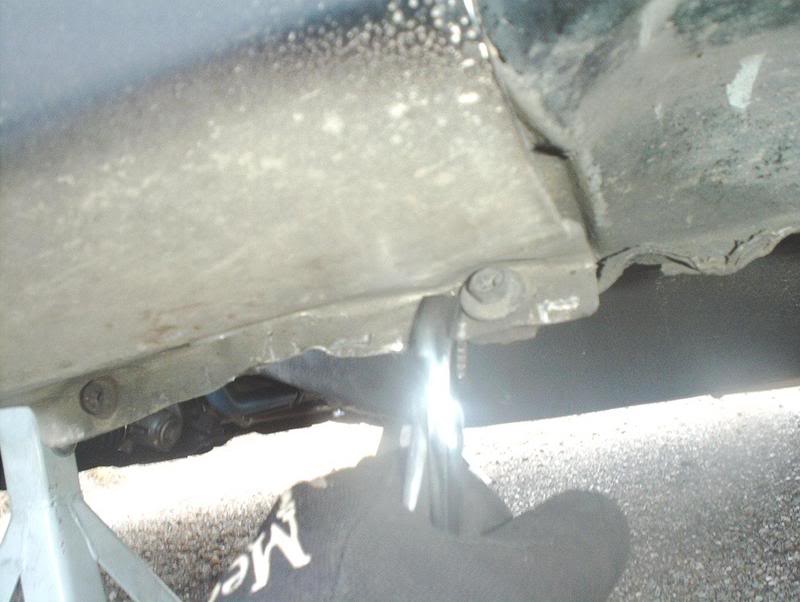
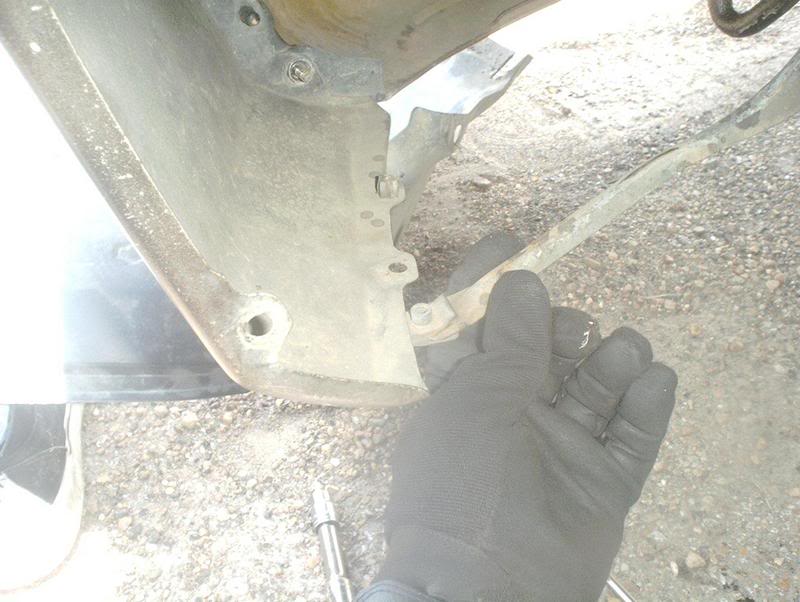
Use a set of pliers to bend the fender and the mounting points back into place.
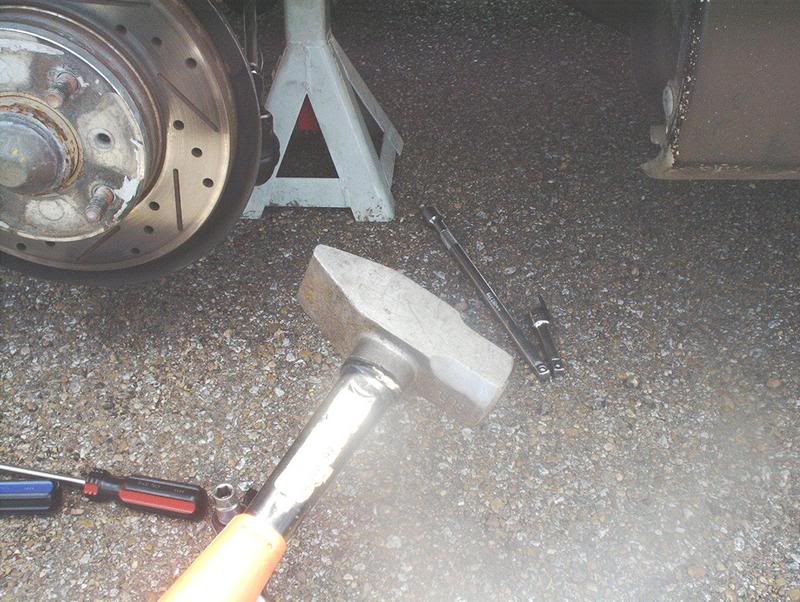
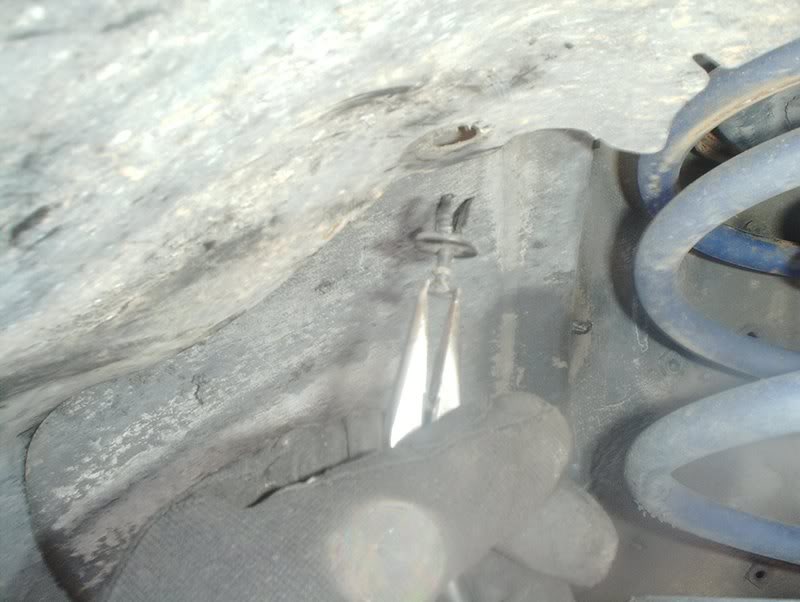
If they don't want to move easily then get the "persuader" out!
I knew that the extra long extension that I got for changing my spark plugs would be useful for something else. Mine's bigger than yours!
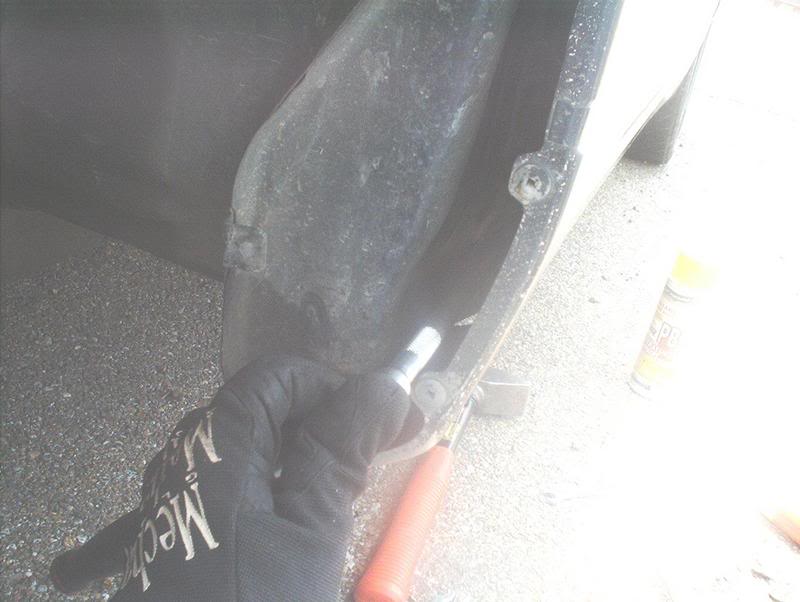
Get at the two bolts...
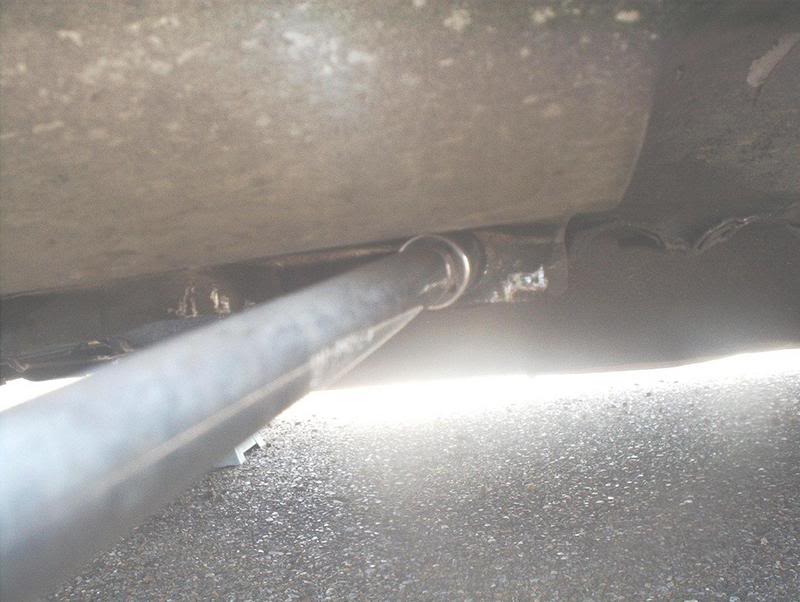
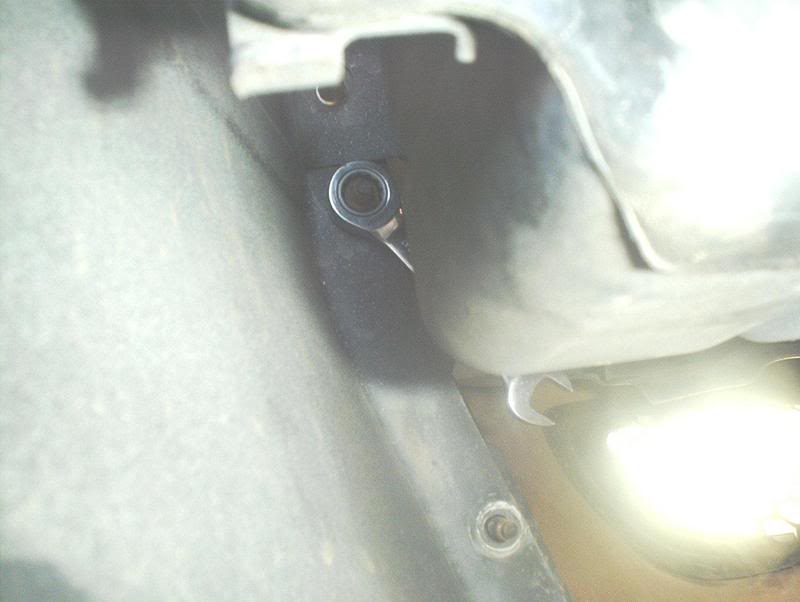
and you have that part of the fender loose. The rear of the fender has two bolts that need to be taken.
You can get at one from inside the wheel well with the socket extension.
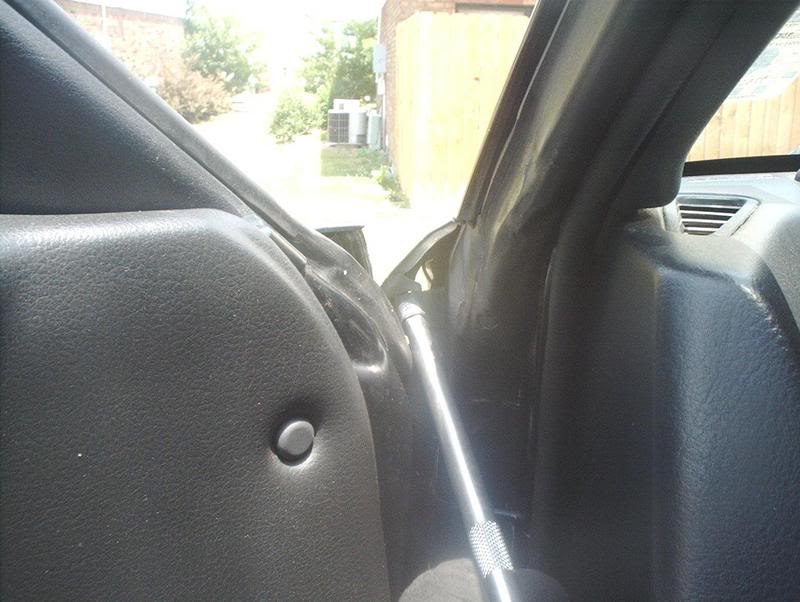
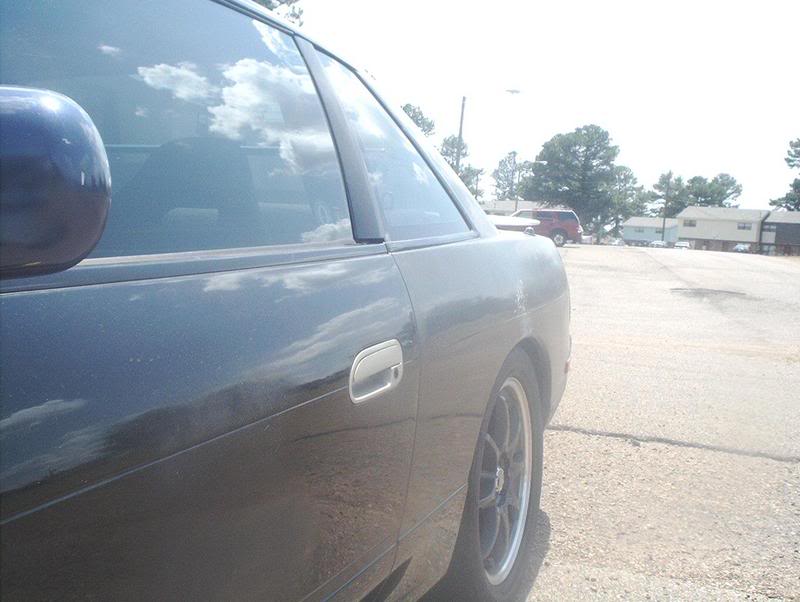
And the other by opening the door.
That part is done.
Frankenstension!!! Mine's still bigger than yours!!!
Now you need to remove the four bolts holding the fender to the front bumper. You can get at these from inside the wheel well also.
I couldn't get to one of the four with Frankenstension because the resonator box was in the way. Just get a small 10mm wrench to remove it.
Use a phillips head screwdriver to remove this brace from the fender.
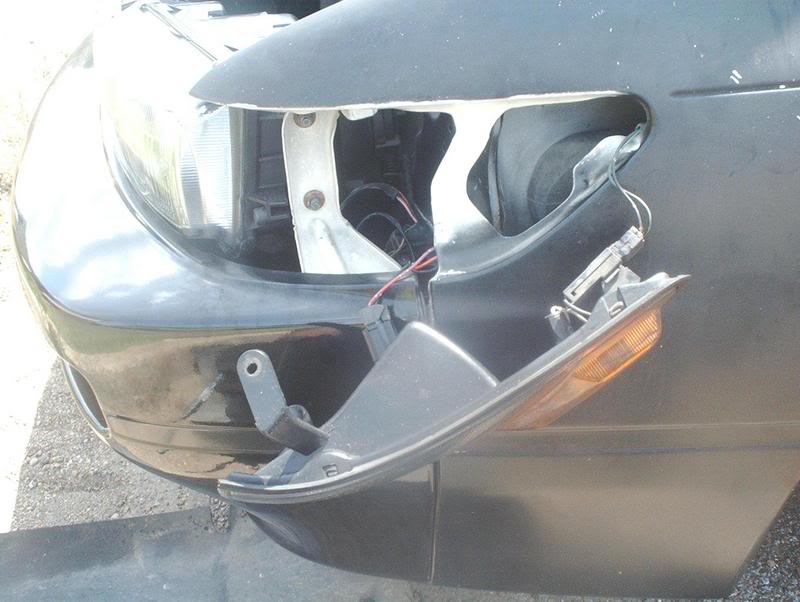
There are 3 more 10mm bolts behind the light housings that you need to get to next. This will require you to remove your headlights and corner lights.
Remove the screw on the mounting tab to get the corner light out.
The harness wires were both wrapped around the fender...
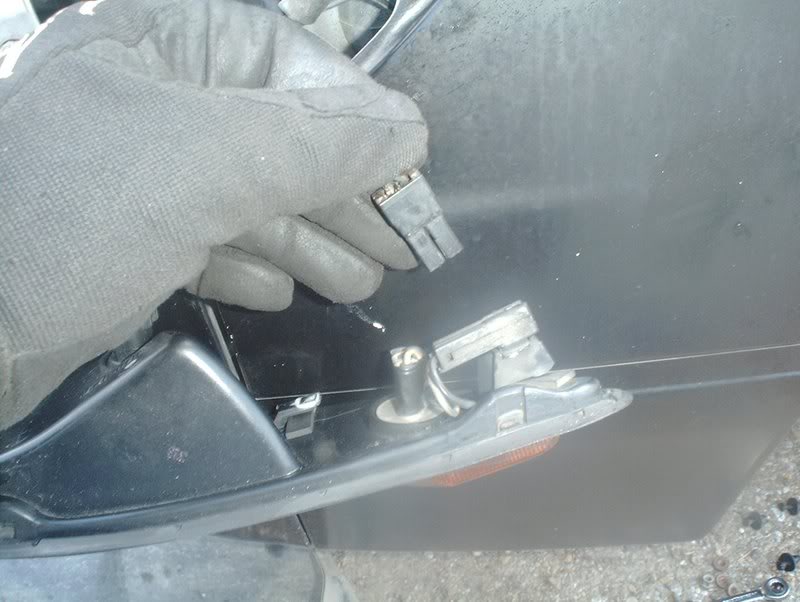
so I unplugged them so I would be able to remove the fender without snagging them.
Remove the grill next. Now you need to remove the headlight assembly.
Two bolts on the front.
Two nuts on the side.

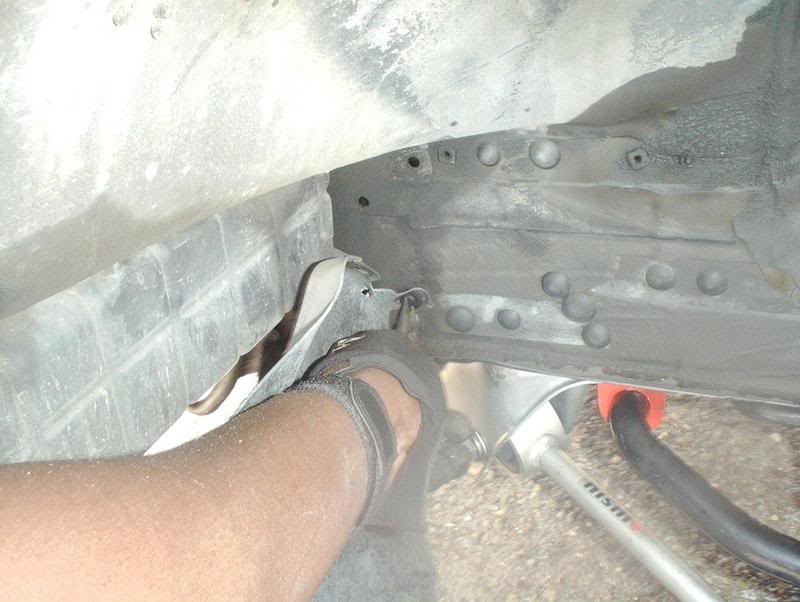
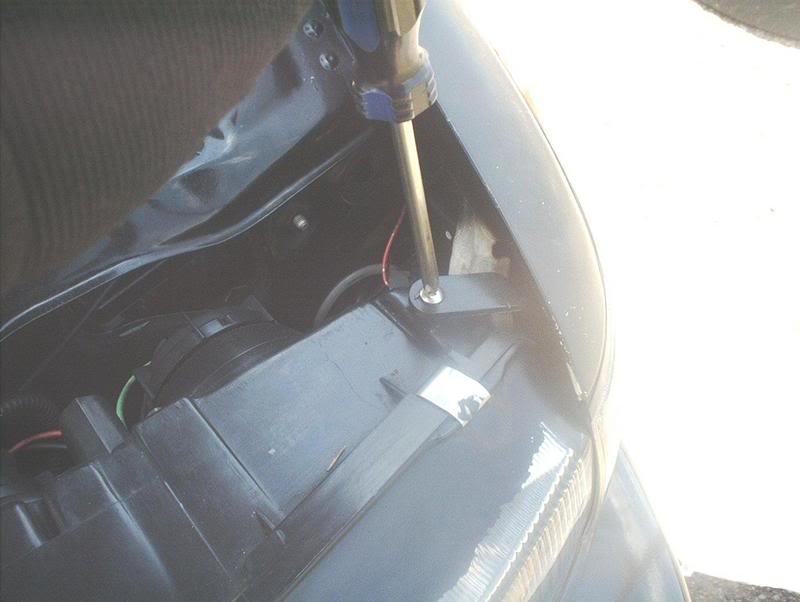
There is one more bolt on the inside of the fender that is quite tricky to get to. Because the space is so small you'll have to use the 10mm wrench but it will take some time, you don't have much room to spin the wrench.
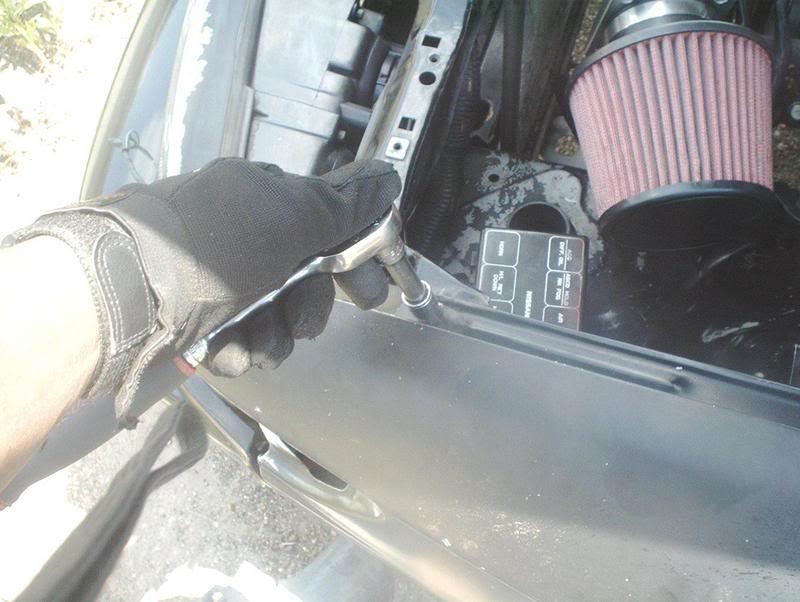
Finally you need to tackle the 3 bolts on the top of the fender, pop open the hood and you can easily remove them with the extension.
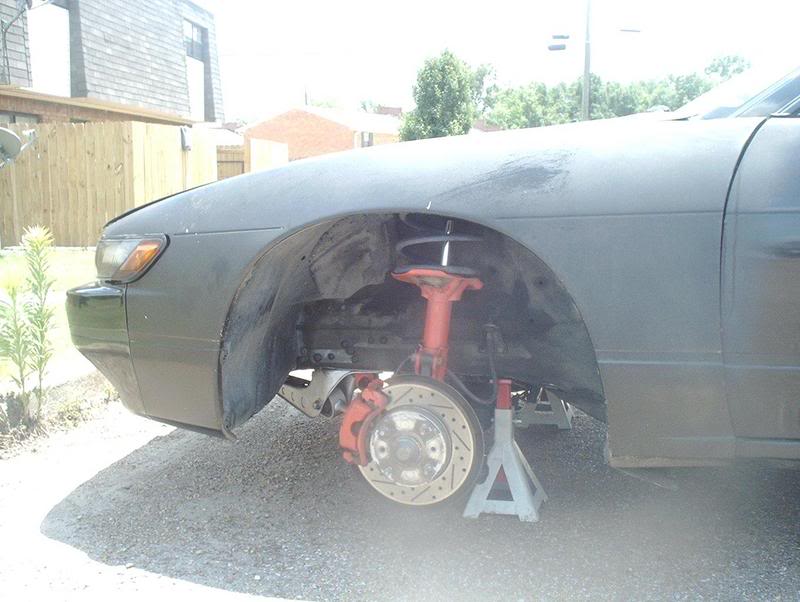
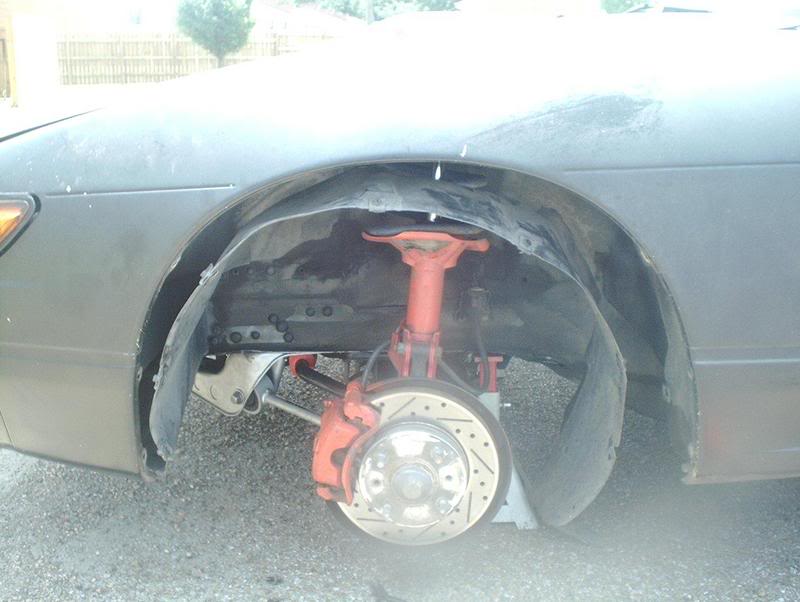
You can pull the fender now...

and put it to the side.
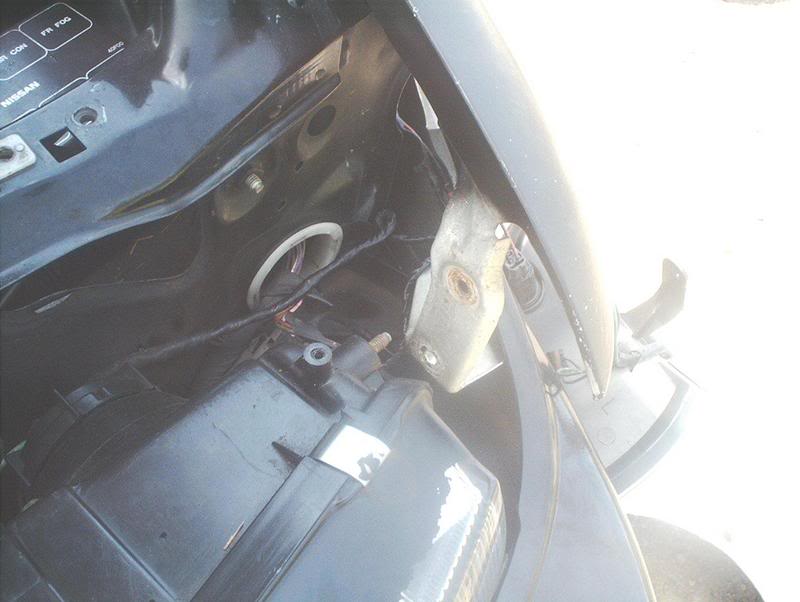
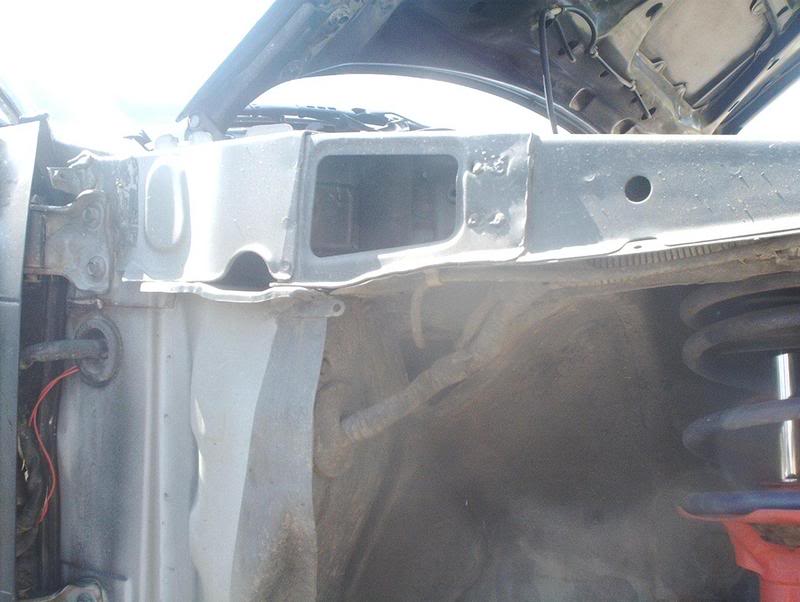
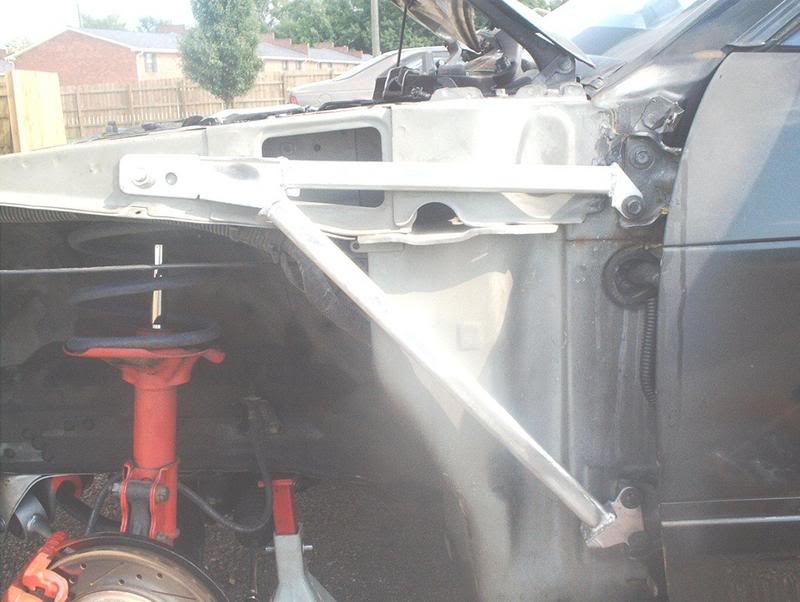
This is where the fender brace will be mounted.
You are about to remove 3 of the 4 bolts holding the door hinges to the chassis so DO NOT open your doors until you are finished!
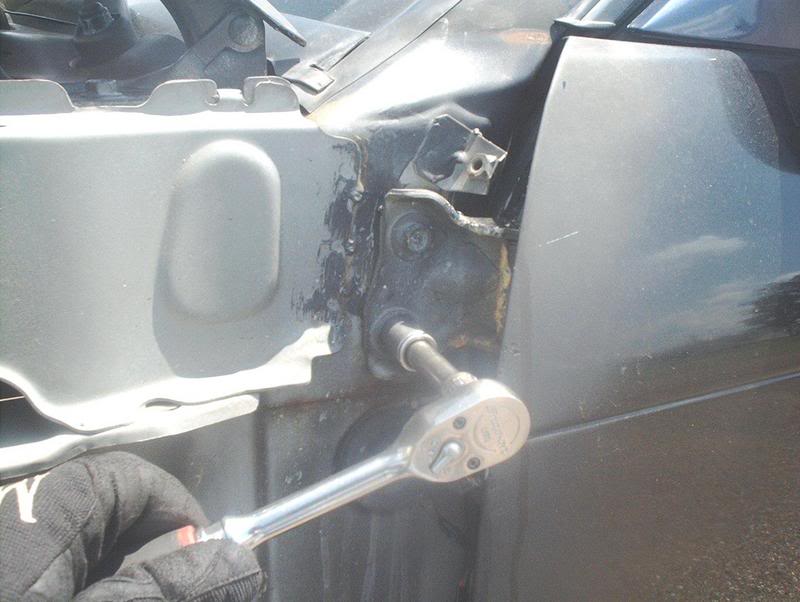
Use a 12mm socket to remove the lower three door hinge bolts so you can mount the fender brace on the door hinges.
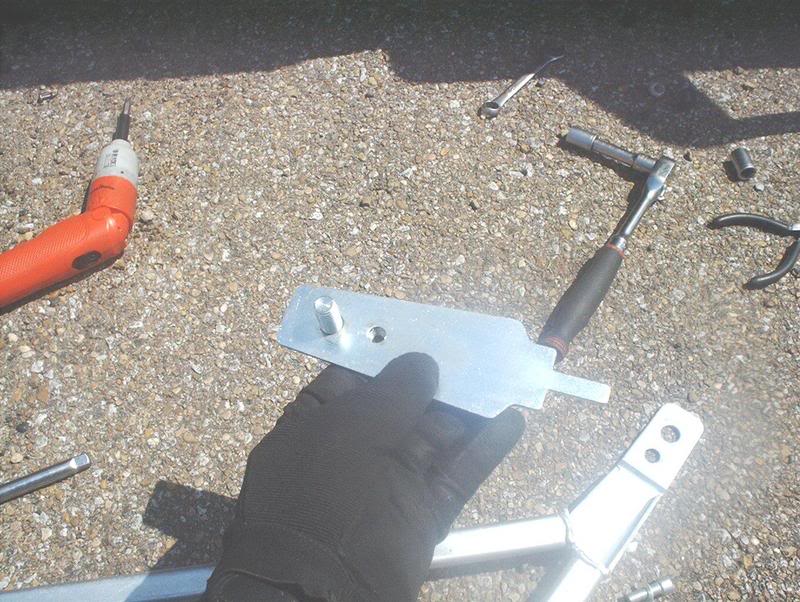
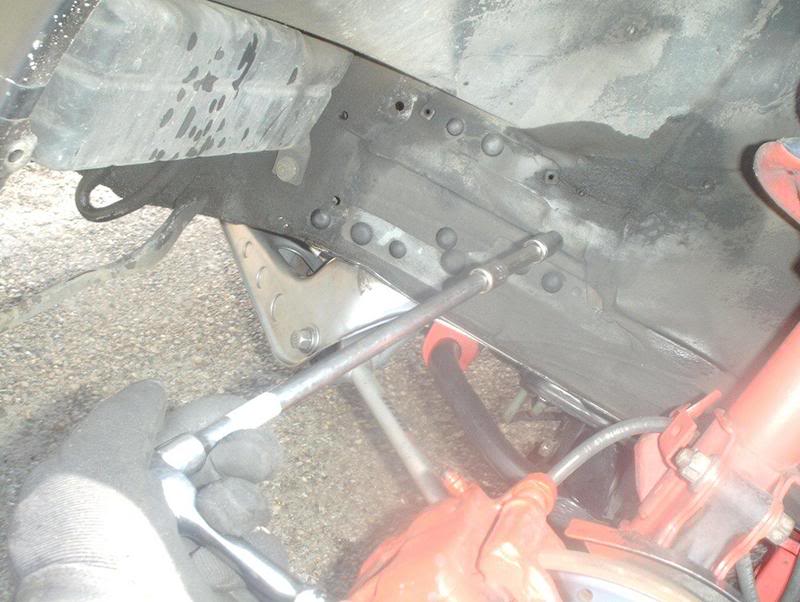
Take the mounting plate....
and place it through the stock opening so that the bolt runs through the stock mounting hole.
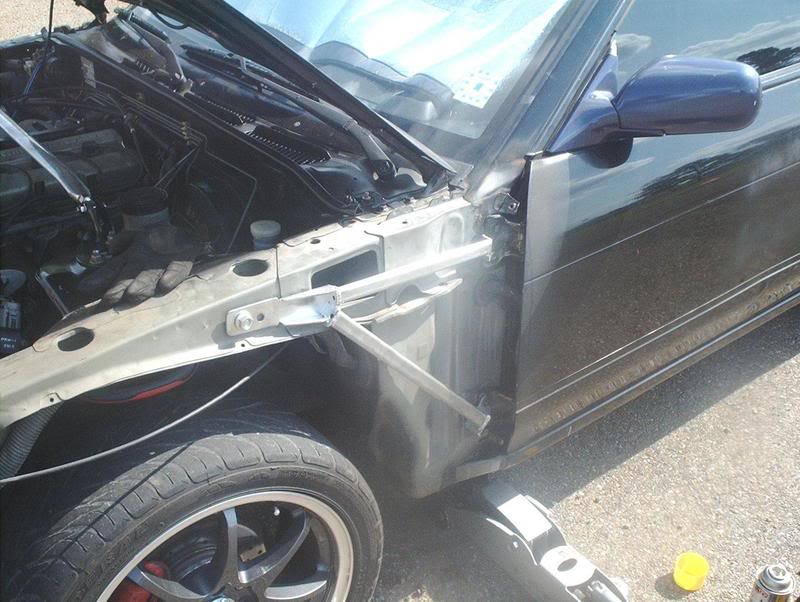
Now you can mount the fender brace but do not tighten yet.
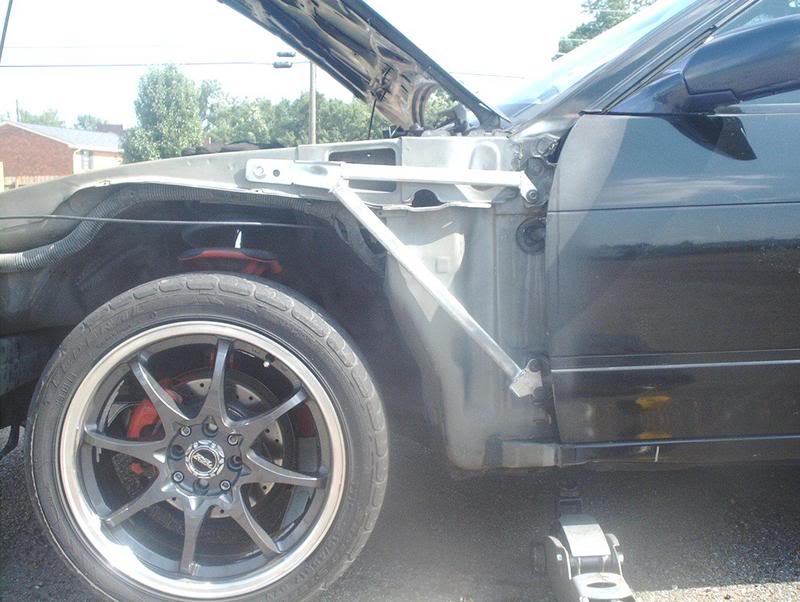
To get the best effect from the brace you need to tighten it at the regular ride height so now you need to put your wheels back on and lower the car then tighten the fender brace. The door hinges are to be tightened to 15-21ft. lbs.
The install is complete. From here you just repeat what you did for the other side and then re-install your fenders, splash shield and wheels.
Tools needed:
Jack
Jackstands
Socket wrench
Socket extension
10mm socket
12mm socket
10mm wrench
Hammer
Phillipshead screwdriver
Needle nose pliers
Nagisa Auto fender braces
First, jack the car up...
and place jackstands in the appropriate places.
Next, remove the splash shield.
Ah, the old Black and Decker, saves wear and tear on the wrist caused by the turning of the screws. Remove the screws from the clamps holding the splash shield to the fender.
Then use a pair of needle nose pliers to remove the plastic pins holding the shield to the wheel well.
Remove the rest of the plastic pins...
and you can pull the splash shield. Now you can start removing the bolts holding the fender to the chassis. There are a number of 10mm size bolts peppered all around the fender. I started with the bolts on the bottom of the fender.
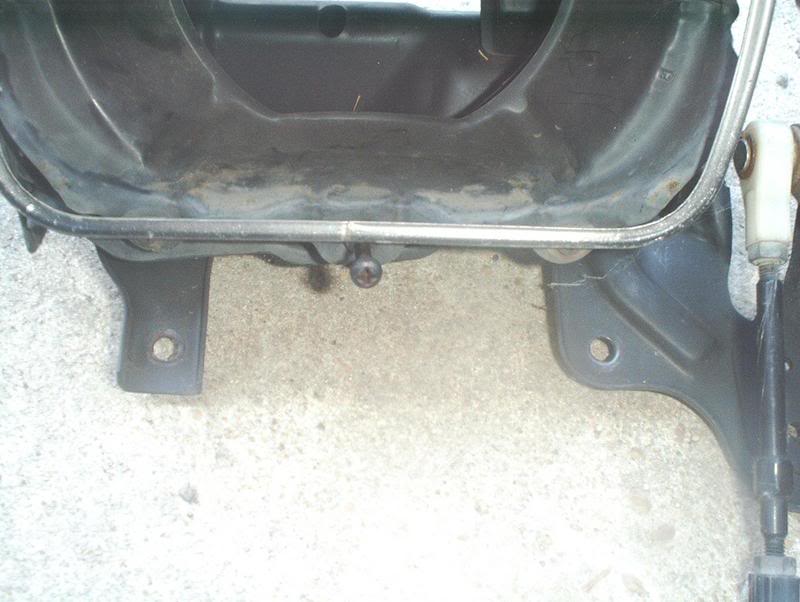
There are two bolts holding the bottom of the fender to the chassis.
If your car is like mine then the bottom of your fenders are all messed up like this because the previous idiot owners didn't know how to use the jack points properly.
This is where one of my idiot friends tried to jack up the car when we were doing the frontend conversion. Notice the big dent!
Use a set of pliers to bend the fender and the mounting points back into place.
If they don't want to move easily then get the "persuader" out!
I knew that the extra long extension that I got for changing my spark plugs would be useful for something else. Mine's bigger than yours!
Get at the two bolts...
and you have that part of the fender loose. The rear of the fender has two bolts that need to be taken.
You can get at one from inside the wheel well with the socket extension.
And the other by opening the door.
That part is done.
Frankenstension!!! Mine's still bigger than yours!!!
Now you need to remove the four bolts holding the fender to the front bumper. You can get at these from inside the wheel well also.
I couldn't get to one of the four with Frankenstension because the resonator box was in the way. Just get a small 10mm wrench to remove it.
Use a phillips head screwdriver to remove this brace from the fender.
There are 3 more 10mm bolts behind the light housings that you need to get to next. This will require you to remove your headlights and corner lights.
Remove the screw on the mounting tab to get the corner light out.
The harness wires were both wrapped around the fender...
so I unplugged them so I would be able to remove the fender without snagging them.
Remove the grill next. Now you need to remove the headlight assembly.
Two bolts on the front.
Two nuts on the side.
There is one more bolt on the inside of the fender that is quite tricky to get to. Because the space is so small you'll have to use the 10mm wrench but it will take some time, you don't have much room to spin the wrench.
Finally you need to tackle the 3 bolts on the top of the fender, pop open the hood and you can easily remove them with the extension.
You can pull the fender now...
and put it to the side.
This is where the fender brace will be mounted.
You are about to remove 3 of the 4 bolts holding the door hinges to the chassis so DO NOT open your doors until you are finished!
Use a 12mm socket to remove the lower three door hinge bolts so you can mount the fender brace on the door hinges.
Take the mounting plate....
and place it through the stock opening so that the bolt runs through the stock mounting hole.
Now you can mount the fender brace but do not tighten yet.
To get the best effect from the brace you need to tighten it at the regular ride height so now you need to put your wheels back on and lower the car then tighten the fender brace. The door hinges are to be tightened to 15-21ft. lbs.
The install is complete. From here you just repeat what you did for the other side and then re-install your fenders, splash shield and wheels.
Last edited by positron; Oct 2, 2008 at 01:35 AM.
Thread Starter
Contributing Member
Joined: Sep 2002
Posts: 1,192
From: Starkville, MS.
I was tired yesterday and then had to go to work but I did get up early this morning and went for a test drive and I have to say that there was a profound increase in stability and cornering. I didn't notice much of a difference while driving straight but I could really push harder during turns and remain more stable. Overall, I'd have to say I'm quite impressed with this install. Nothing would beat stitch welding but I'd highly recommend this as an alternative to those who can't do the stitch welding.
Last edited by positron; Jun 6, 2007 at 06:38 AM.
Thread Starter
Contributing Member
Joined: Sep 2002
Posts: 1,192
From: Starkville, MS.
Update!!!
I did this install on a 240SX with a S13 Silvia frontend conversion so I have included some info that may help anyone contemplating this install with the 240SX/180SX pop-up frontend.
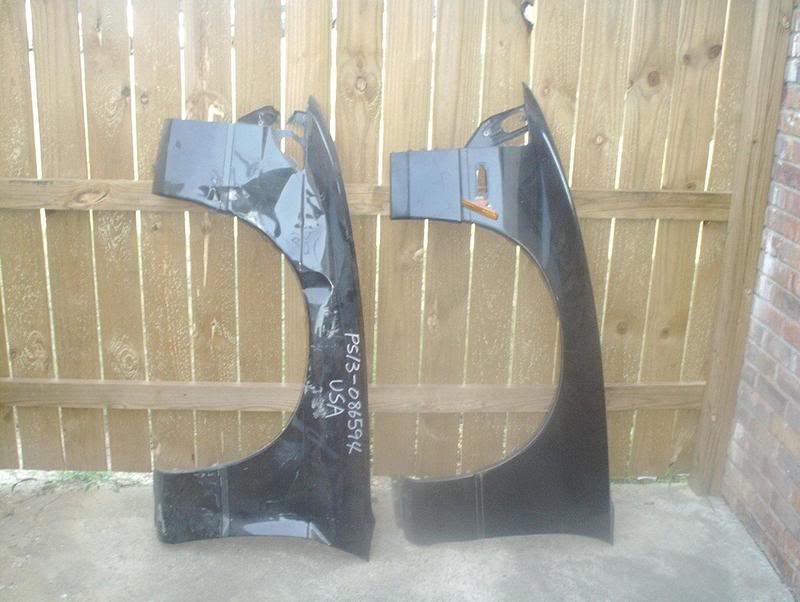
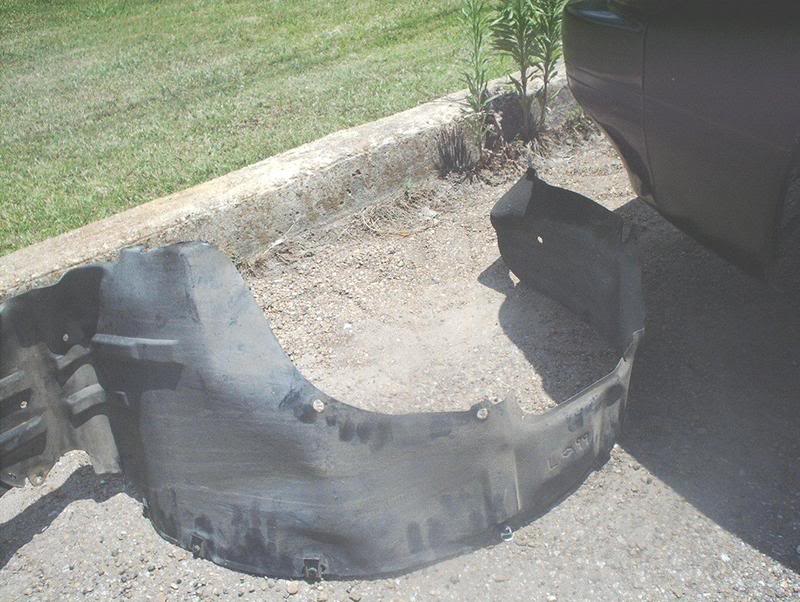
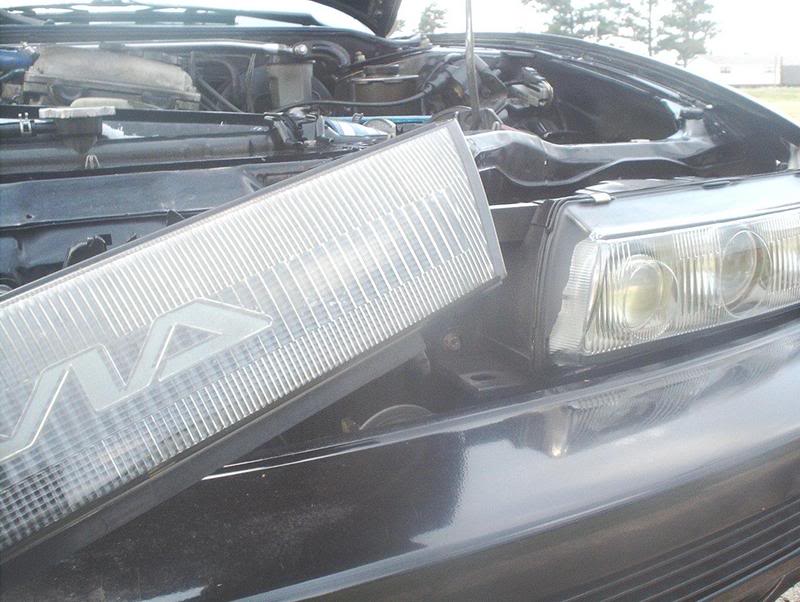
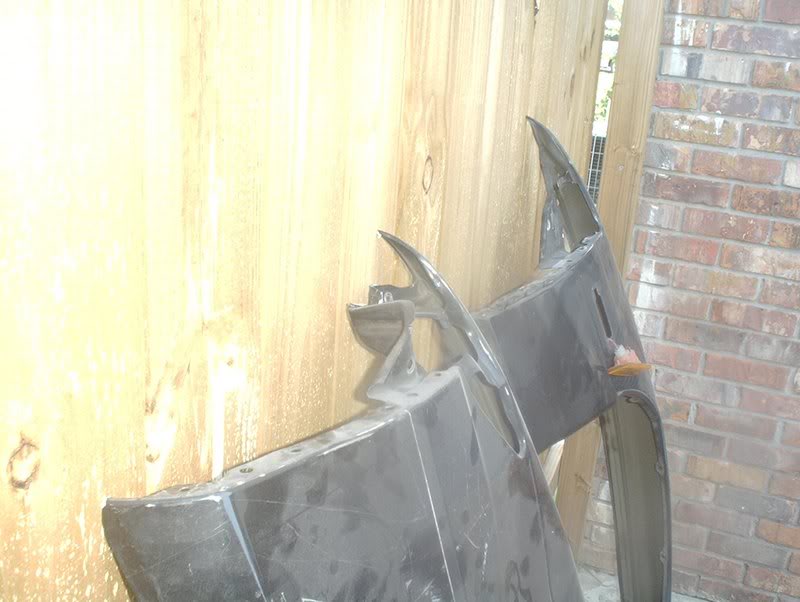
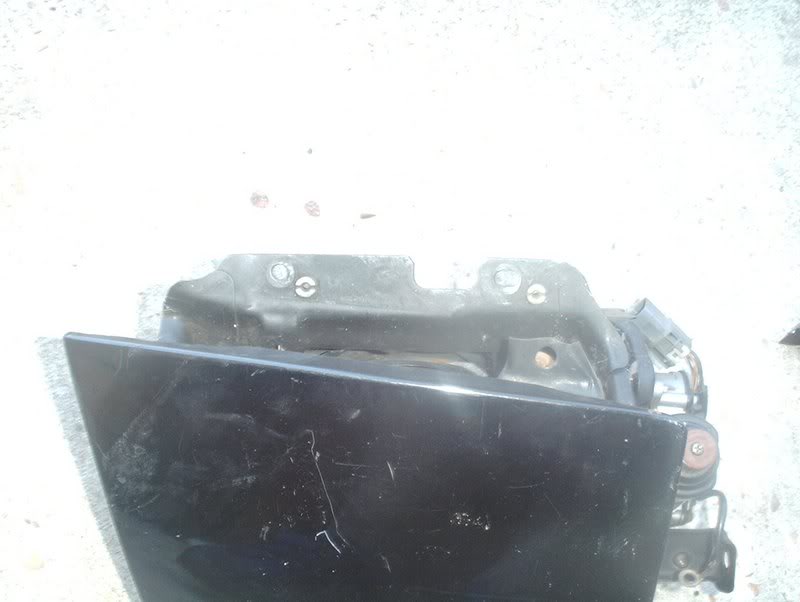
Both fenders are very similiar. The Silvia fender is on the left and the 240SX/180SX fender is on the right.
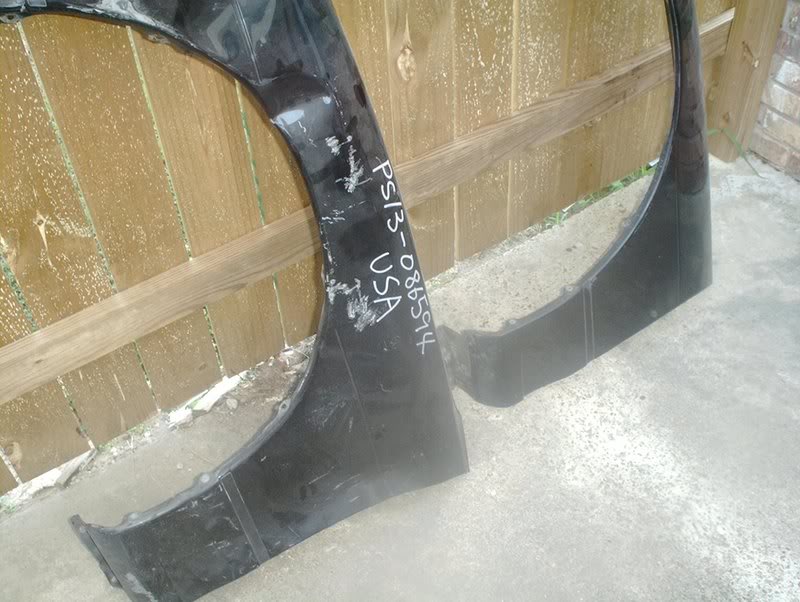
The rear of the fenders are the same with identical mounting points at the door and the bottom of the fenders.
The splash shield mounting points are different because the splash shields are quite different.
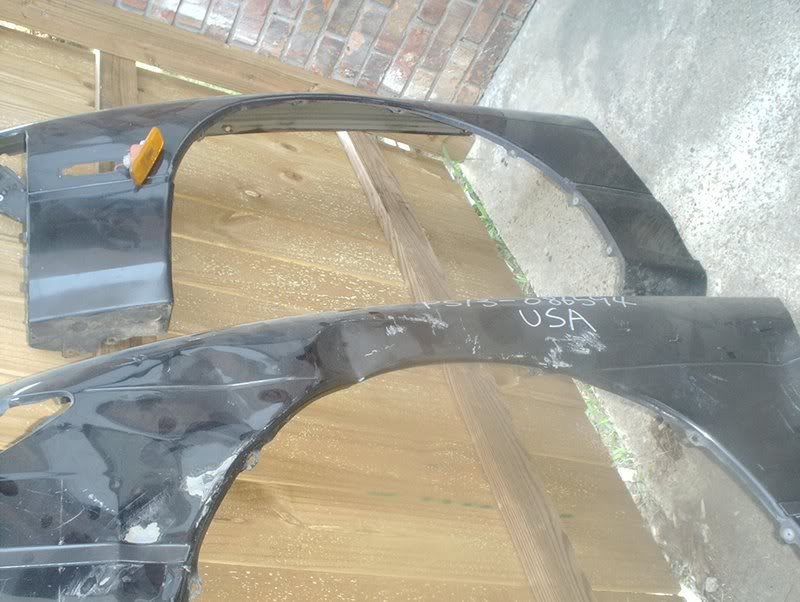
This is where there are slight differences, where the lights mount up.
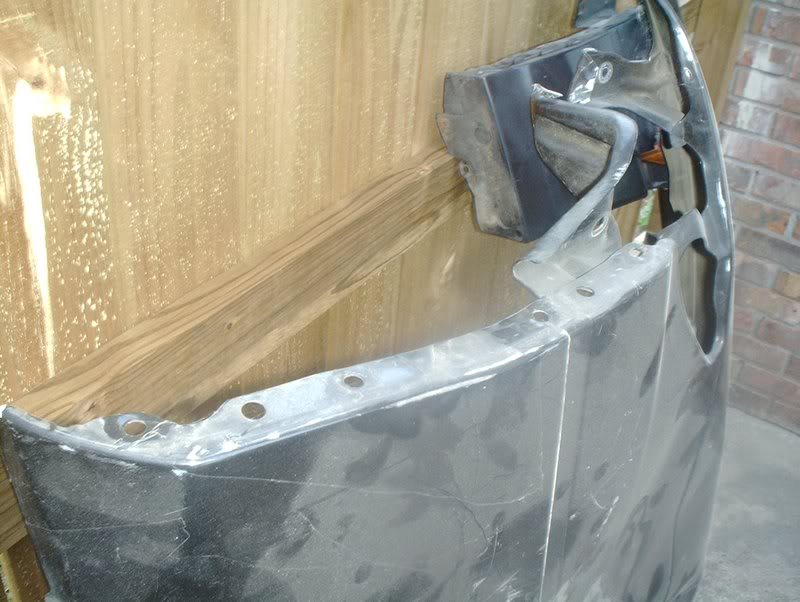
The Silvia fender has 6 mounting points. 2 are tabs/holders from the bumper and 4 need to have screws for mounting.
This is the 240SX/180SX fender with 8 mounting points. I just looked at my chuki bumper and there are 3 tabs/holders so there must be 5 screws to be removed/installed for mounting.
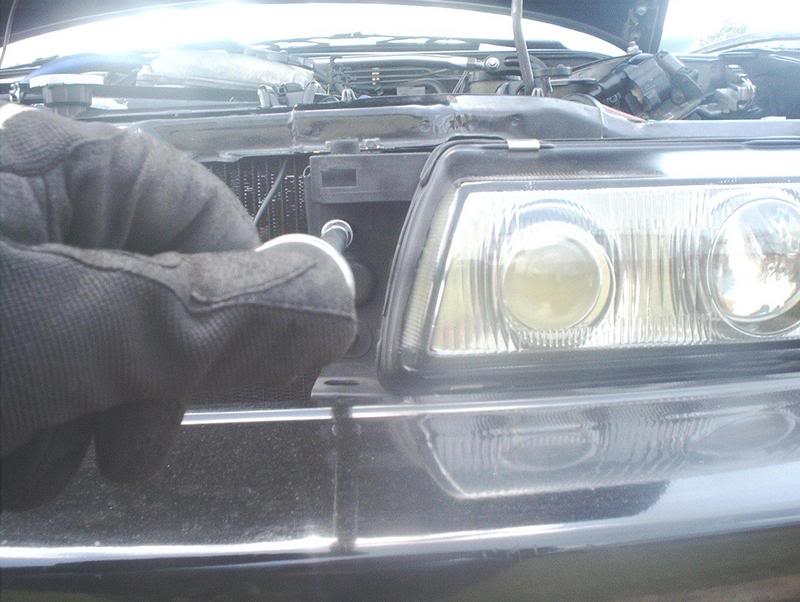
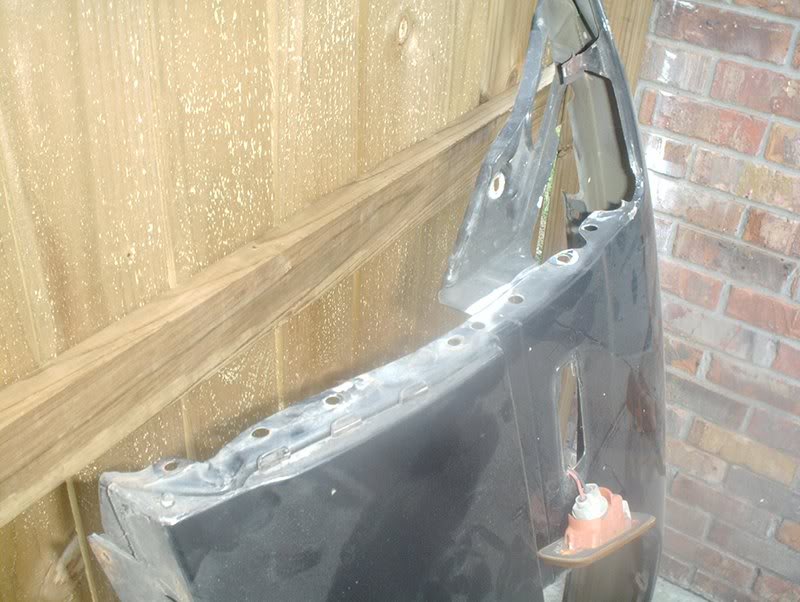
At the corners the Silvia fender has 3 screws to be removed.

The 240SX/180SX fender has 1 screw to be removed at the corner. As far as pop-up headlight removal...
If I remember correctly, there are the two mounting points on the bottom of the lights.
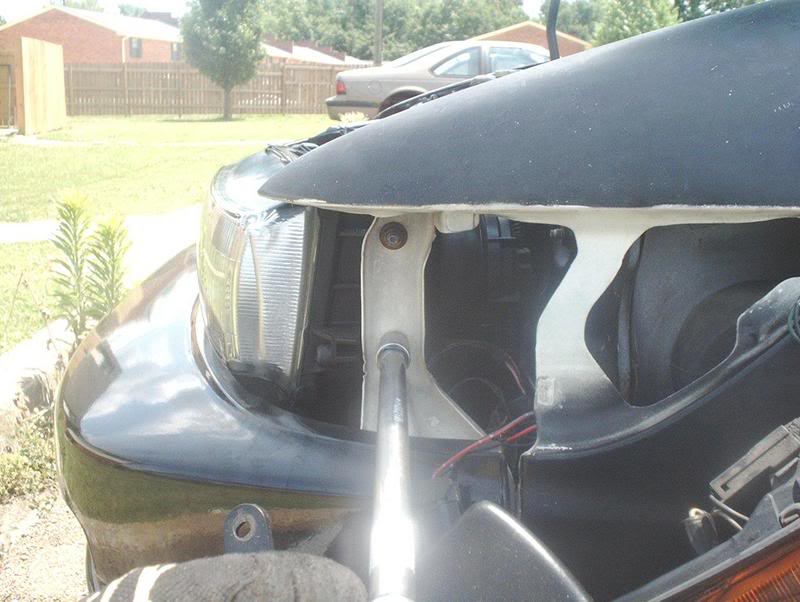
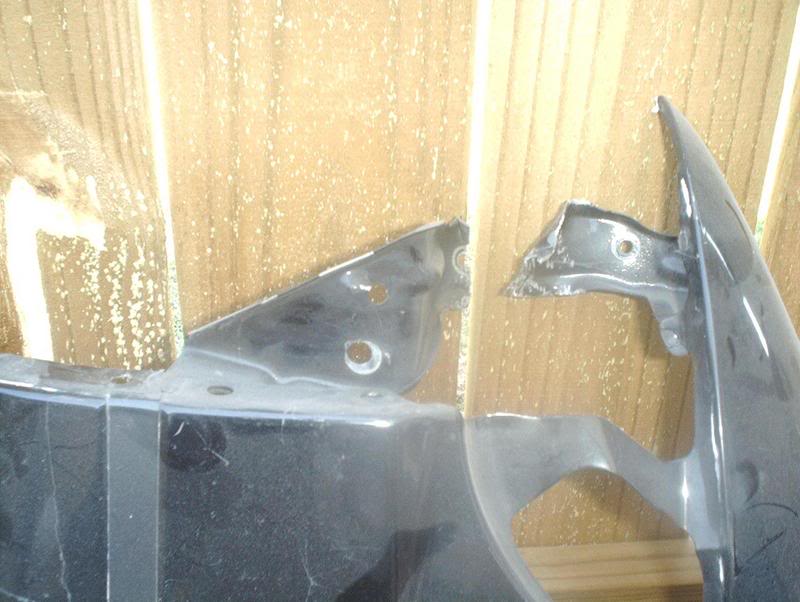
The mounting points on the top of the lights...
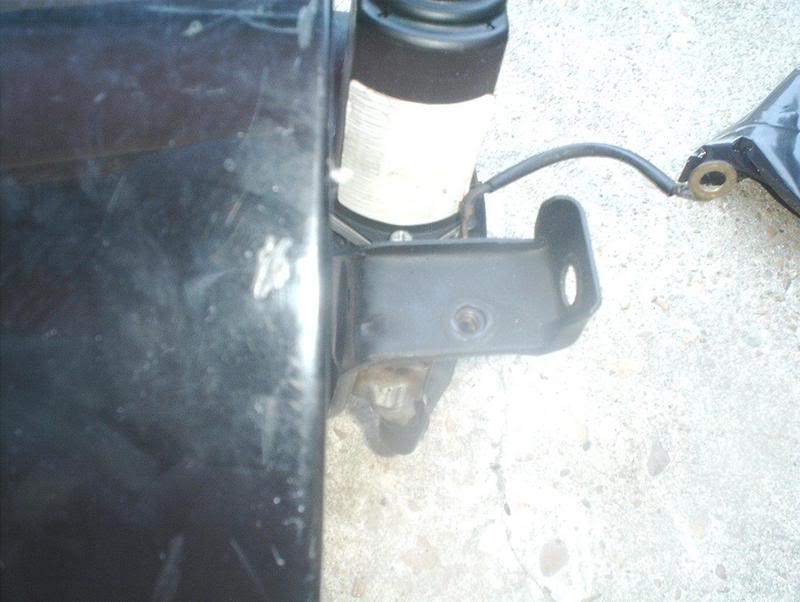
and the mounting point where the headlight motor bolts to the chassis. This should help you get the install completed.
Both fenders are very similiar. The Silvia fender is on the left and the 240SX/180SX fender is on the right.
The rear of the fenders are the same with identical mounting points at the door and the bottom of the fenders.
The splash shield mounting points are different because the splash shields are quite different.
This is where there are slight differences, where the lights mount up.
The Silvia fender has 6 mounting points. 2 are tabs/holders from the bumper and 4 need to have screws for mounting.
This is the 240SX/180SX fender with 8 mounting points. I just looked at my chuki bumper and there are 3 tabs/holders so there must be 5 screws to be removed/installed for mounting.
At the corners the Silvia fender has 3 screws to be removed.
The 240SX/180SX fender has 1 screw to be removed at the corner. As far as pop-up headlight removal...
If I remember correctly, there are the two mounting points on the bottom of the lights.
The mounting points on the top of the lights...
and the mounting point where the headlight motor bolts to the chassis. This should help you get the install completed.
Last edited by positron; Jun 6, 2007 at 07:52 AM.

Thread Starter
Contributing Member
Joined: Sep 2002
Posts: 1,192
From: Starkville, MS.
The S13 has a weak point where the firewall of the engine bay and the cabin meet. The fender brace reinforces this area, aids in chassis stability by taking the load off the suspension thus allowing it to do it's thing. It also helps with turn-in response I can tell you from experience.

Thread
Thread Starter
Forum
Replies
Last Post
Champster
Private For Sale / Wanted
4
Oct 11, 2006 10:20 AM
middlerth
Service, Parts & Tuning Review
7
Oct 29, 2004 01:35 PM