
My S13 SR20DET Prep


Thread Starter
Contributing Member
Joined: Sep 2002
Posts: 1,192
From: Starkville, MS.
Water Outlet
I got bored so I decided to replace the gasket on the water outlet today.
Tools needed:
Socket wrench
Socket extension
10mm socket
Liquid gasket
Razorblade
Absolutely unecessary but I have idle hands sometimes.
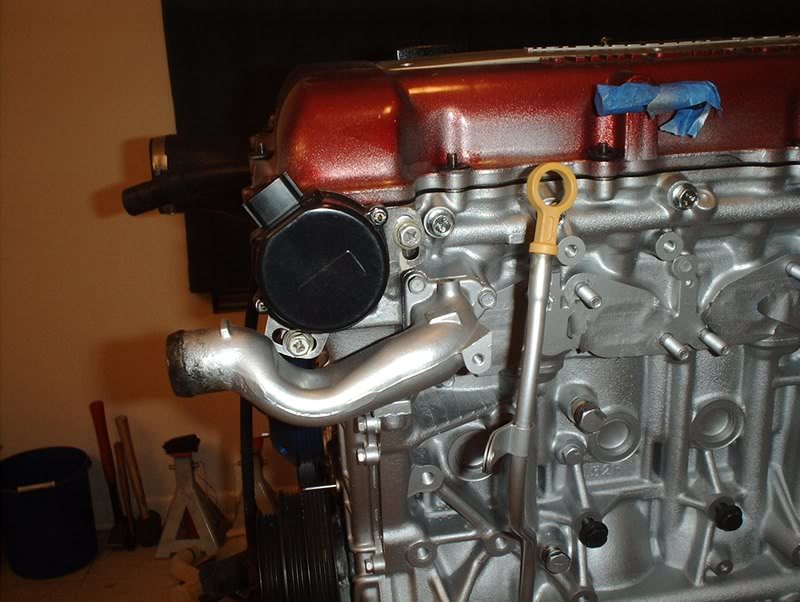
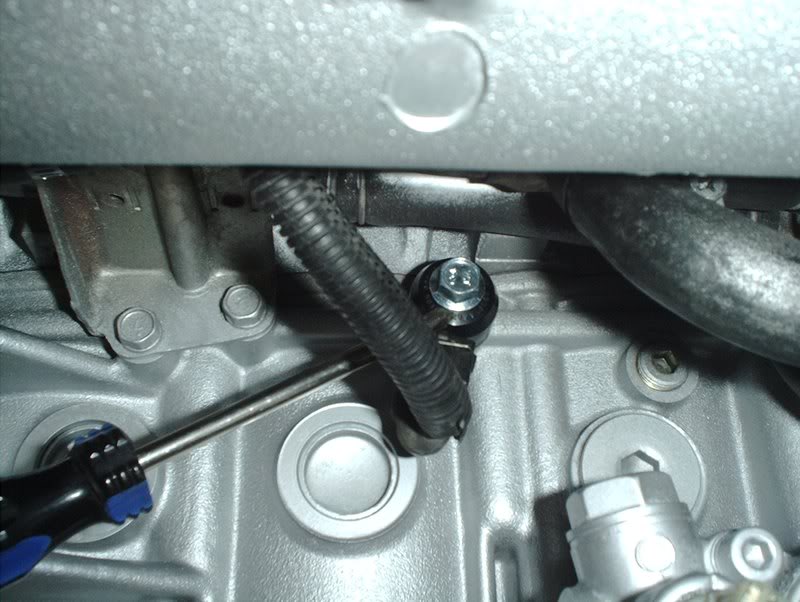
Water outlet.
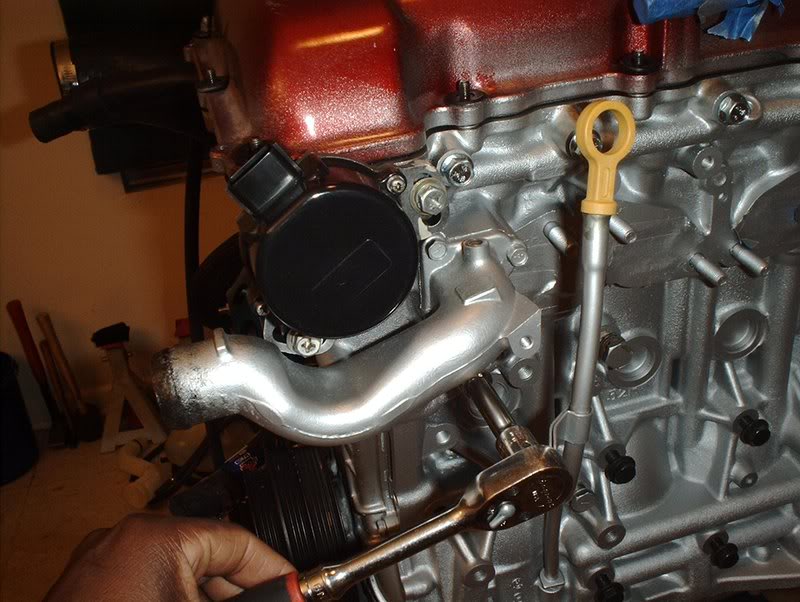
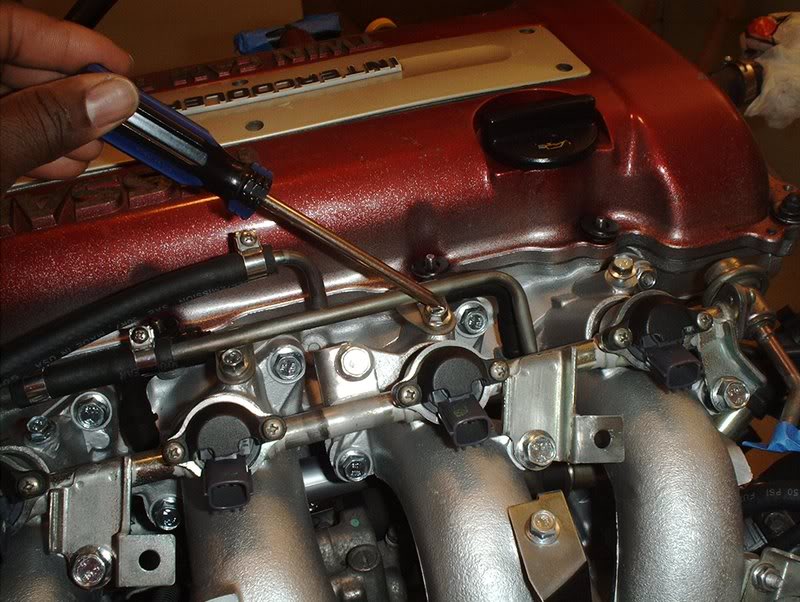
10mm socket removes four bolts on the water outlet here.
Off.
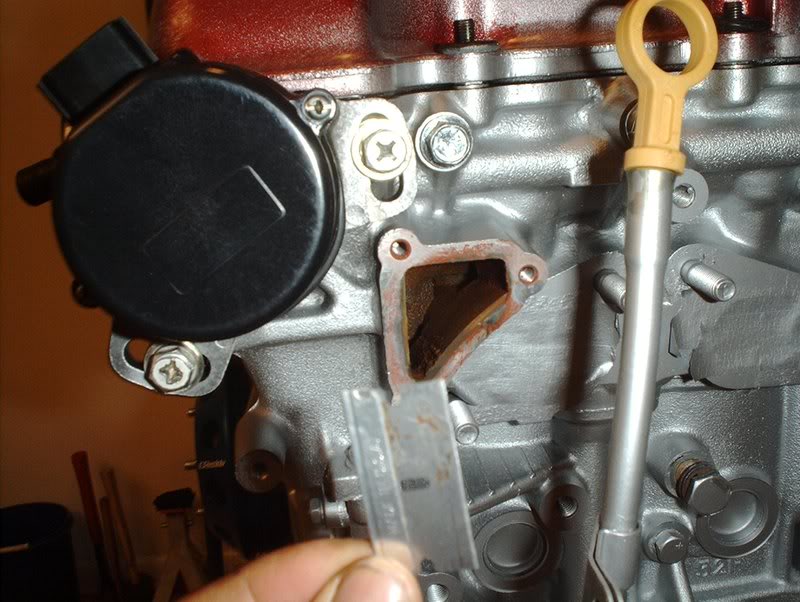
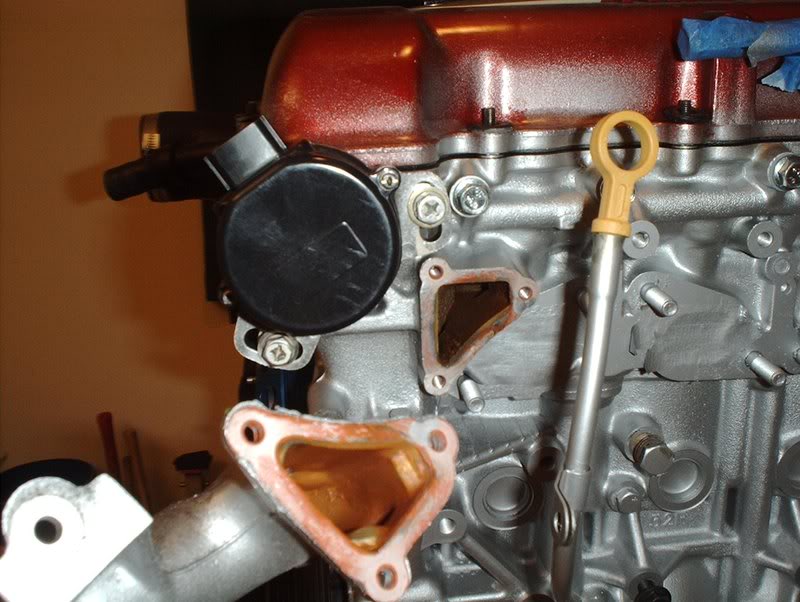
Take a razorblade and remove all traces of the old gasket from the water outlet opening on the block...
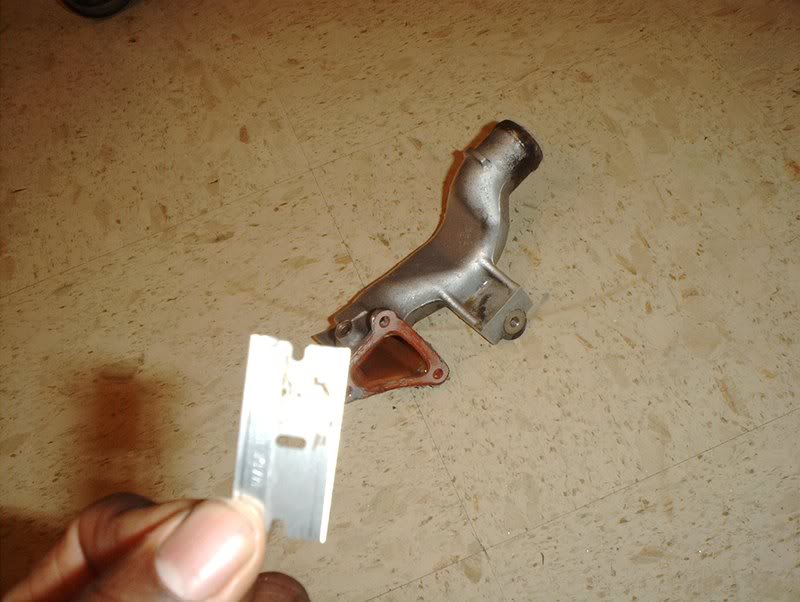
and on the water outlet.
Take the liquid gasket and apply a continous bead around the outlet, re-install, place your bolts back on and torque to .64-.85ft.lbs. You can use your telekenetic abilities and torque something to .64ft.lbs....you could blow on something and torque it to .64ft.lbs!
Tools needed:
Socket wrench
Socket extension
10mm socket
Liquid gasket
Razorblade
Absolutely unecessary but I have idle hands sometimes.
Water outlet.
10mm socket removes four bolts on the water outlet here.
Off.
Take a razorblade and remove all traces of the old gasket from the water outlet opening on the block...
and on the water outlet.
Take the liquid gasket and apply a continous bead around the outlet, re-install, place your bolts back on and torque to .64-.85ft.lbs. You can use your telekenetic abilities and torque something to .64ft.lbs....you could blow on something and torque it to .64ft.lbs!


Registered User
Joined: Oct 2007
Posts: 48
From: Manahawkin, NJ
Hey man, great progress. You're really a stickler for details and that's a great thing. I'm impressed for your first time doing something this complicated. I know I'm the new guy on the forum, but I wanted to point some things out that you might not have known... I realize I might seem like I'm coming off as a jerk, and I appologise in advance. I just don't want any misinformation being spread.
In this picture...
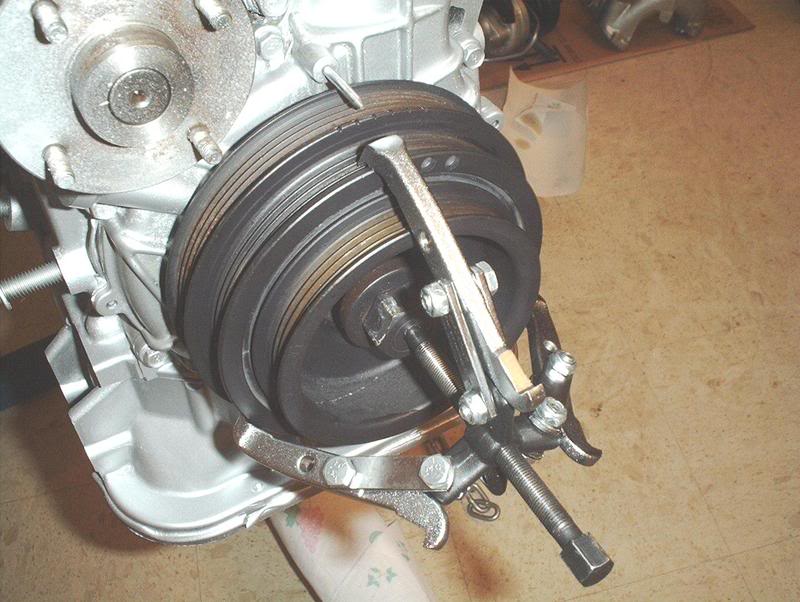
If you remove the crank bolt, remove the washer, then reinstall the bolt without the washer, the hole in the pulley is large enough to slide over the head of the bolt. The reason for this is so that you can fully thread in the bolt, which reduces the risk of damaging the threads in the crank by only having a few threads engaged while removing the pulley. Also, the wear you see on the head of your crank bolt is considered normal for this procedure. Nissan put that cone shaped hole in the middle of the bolt head to help center the puller so you get a nice striaght even pull. Nissan put a lot of thought into this one and it's well done.
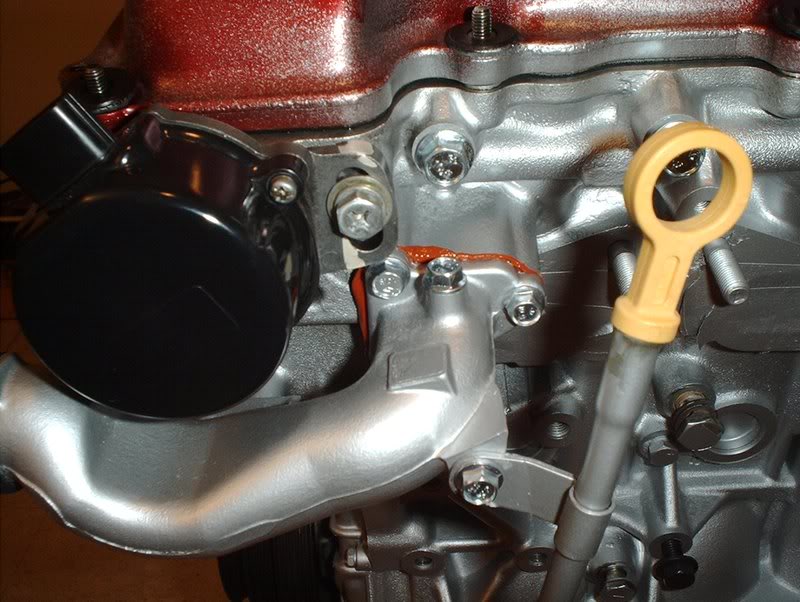
In this picture...
It appears that you've applied the thread locker after you assembled the parts. Threadlocker is supposed to be applied to the threads on the bolt (if using a bolt and nut arrangement) or to the threads of the hole (if using a blind hole arrangement, like a hole in the block) before the part is assembled. Also, the parts being locked need to be completely degreased if the locker is to be effective. You've been a stickler for cleaning already, so I'm sure you did that.
About the Cometic...
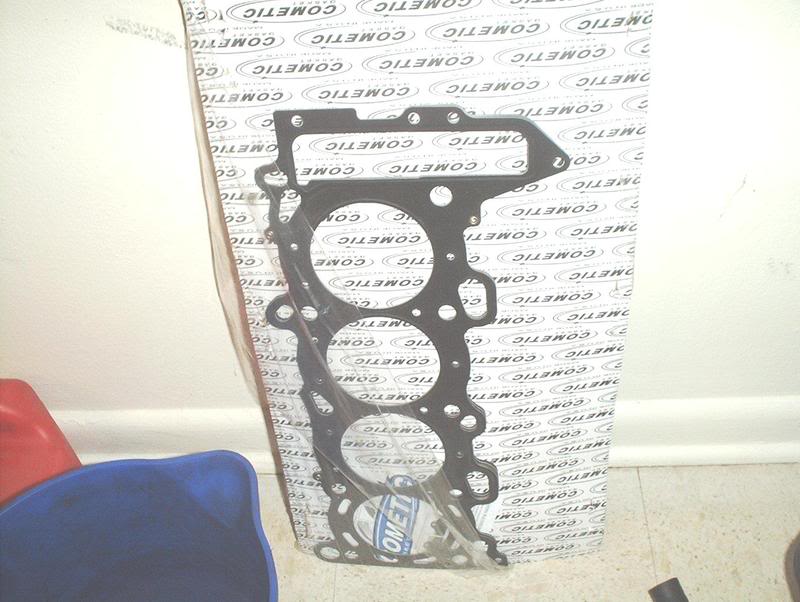
Leave your stock HG in place for now. Cometic hakes a great product, but they can be very finicky about sealing on an unprepped surface. (Don't ask how I know) If you really intend to use this gasket, save it for when you do a complete overhaul and can have the head and block mating surfaces properly machined.
Last one...
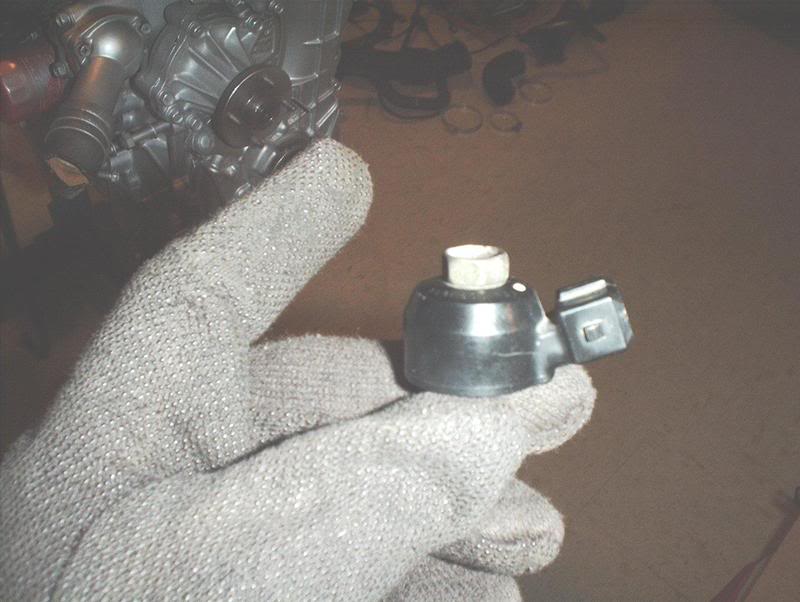
Knock sensors are deastically effected by the amount of torque applied when installing. They must be torqued to the factory recommended specification if they are to function properly. You've been following torque specs for everyhitng else, just making sure you've done the same for this.
Anyway, like I said before, excellent job so far. I hope you take the things I've said as constructive criticism and don't get defensive. I really am impressed with your work, I just want to help make you an even better mechanic.
In this picture...
If you remove the crank bolt, remove the washer, then reinstall the bolt without the washer, the hole in the pulley is large enough to slide over the head of the bolt. The reason for this is so that you can fully thread in the bolt, which reduces the risk of damaging the threads in the crank by only having a few threads engaged while removing the pulley. Also, the wear you see on the head of your crank bolt is considered normal for this procedure. Nissan put that cone shaped hole in the middle of the bolt head to help center the puller so you get a nice striaght even pull. Nissan put a lot of thought into this one and it's well done.
In this picture...
It appears that you've applied the thread locker after you assembled the parts. Threadlocker is supposed to be applied to the threads on the bolt (if using a bolt and nut arrangement) or to the threads of the hole (if using a blind hole arrangement, like a hole in the block) before the part is assembled. Also, the parts being locked need to be completely degreased if the locker is to be effective. You've been a stickler for cleaning already, so I'm sure you did that.
About the Cometic...
Leave your stock HG in place for now. Cometic hakes a great product, but they can be very finicky about sealing on an unprepped surface. (Don't ask how I know) If you really intend to use this gasket, save it for when you do a complete overhaul and can have the head and block mating surfaces properly machined.
Last one...
Knock sensors are deastically effected by the amount of torque applied when installing. They must be torqued to the factory recommended specification if they are to function properly. You've been following torque specs for everyhitng else, just making sure you've done the same for this.
Anyway, like I said before, excellent job so far. I hope you take the things I've said as constructive criticism and don't get defensive. I really am impressed with your work, I just want to help make you an even better mechanic.
Thread Starter
Contributing Member
Joined: Sep 2002
Posts: 1,192
From: Starkville, MS.
Thanks for the heads up on the installs. I've heard bad things about the Cometic headgaskets so I'm ditching that. I didn't know that about the knock sensor but I did use the FSM's torque spec so I should be safe on that one. And...gulp...I think I'm gonna have to take that steering rod back off and reapply the threadlocker because I did do that wrong, better safe than sorry yes?!
Thanks for the other comments also!
I've heard bad things about the Cometic headgaskets so I'm ditching that. I didn't know that about the knock sensor but I did use the FSM's torque spec so I should be safe on that one. And...gulp...I think I'm gonna have to take that steering rod back off and reapply the threadlocker because I did do that wrong, better safe than sorry yes?!Thanks for the other comments also!
Registered User
Joined: Oct 2007
Posts: 48
From: Manahawkin, NJ
Thanks for the heads up on the installs. I've heard bad things about the Cometic headgaskets so I'm ditching that. I didn't know that about the knock sensor but I did use the FSM's torque spec so I should be safe on that one. And...gulp...I think I'm gonna have to take that steering rod back off and reapply the threadlocker because I did do that wrong, better safe than sorry yes?!
Thanks for the other comments also!
I've heard bad things about the Cometic headgaskets so I'm ditching that. I didn't know that about the knock sensor but I did use the FSM's torque spec so I should be safe on that one. And...gulp...I think I'm gonna have to take that steering rod back off and reapply the threadlocker because I did do that wrong, better safe than sorry yes?!Thanks for the other comments also!
Good idea ditching the cometic. They can work great if the surfaces are prepped perfect and its torqued right, but sometimes its not worth the effort.
Well, if you do decide to redo the steering rod, just be thankful the motor is still out of the car and you have all that room to work with!
Again, good job, keep up the good work!
Thread Starter
Contributing Member
Joined: Sep 2002
Posts: 1,192
From: Starkville, MS.
Bolt Replacement
I replaced some of the OEM bolts on my engine with either new OEM or an equal grade parts store equivalent and I thought it might be useful for some people to know which sizes that I used and where to get them if they can't find any.
M8-1,25X30MM
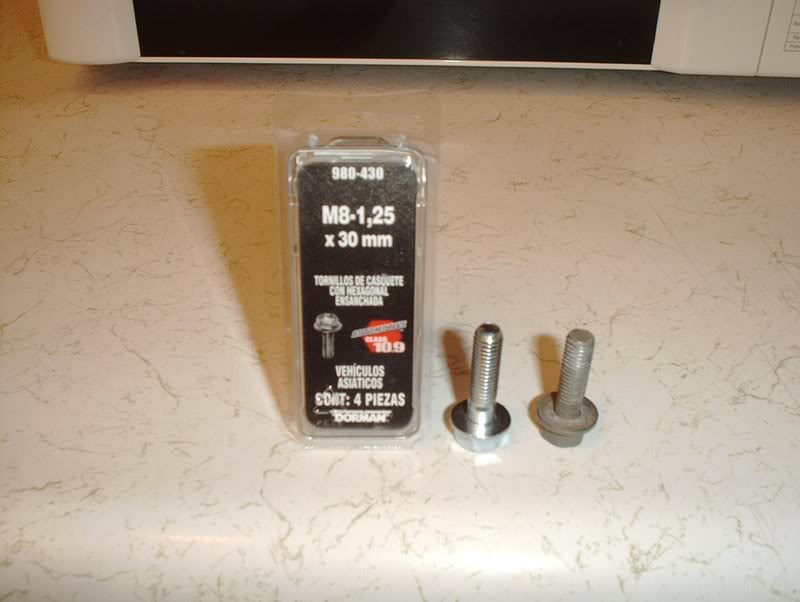
I used these to replace the intake manifold bolts.
I also used one to replace the knock sensor bolt.
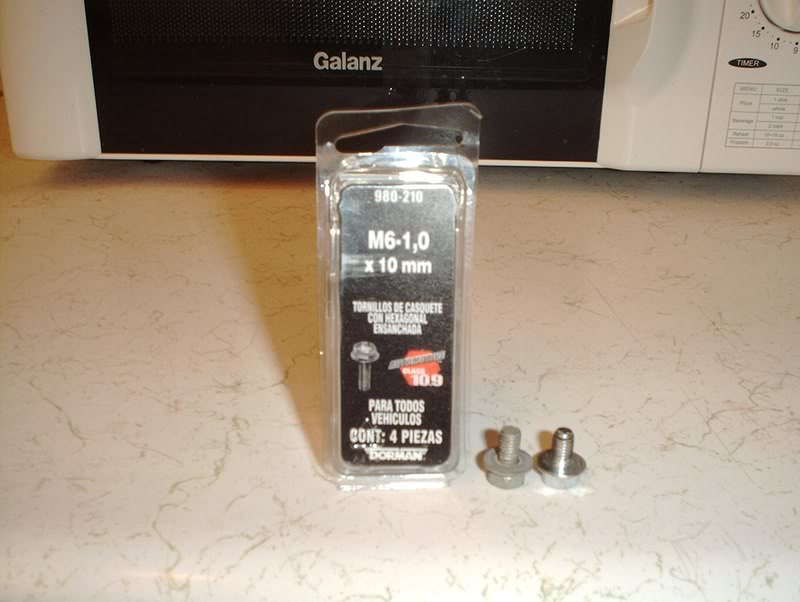
M6-1,0X20MM
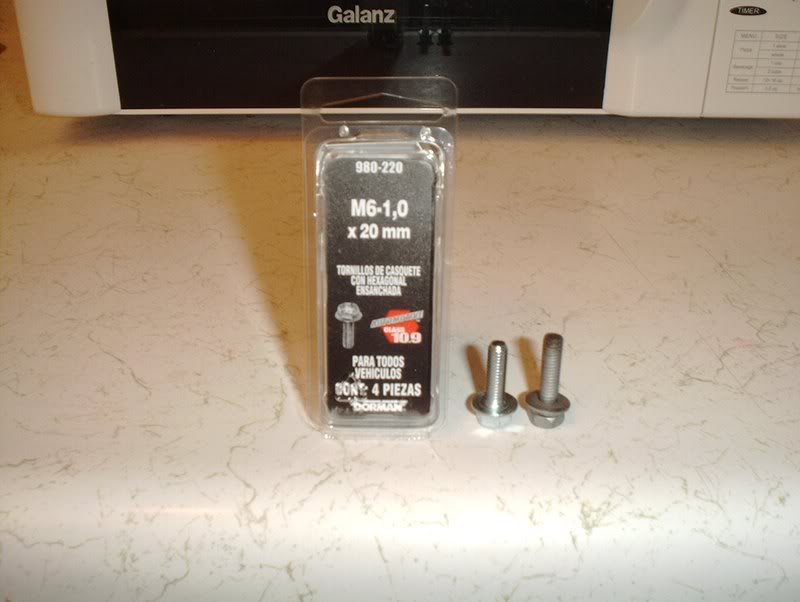
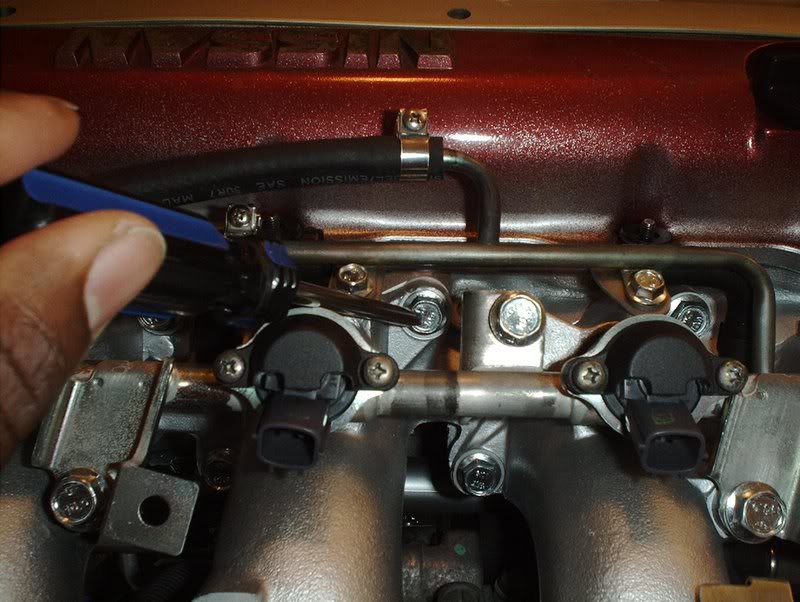
I used these to replace the bolts for the coilpacks...

and the theromstat housing.
They can also be used to replace the four on the water outlet and the one for the dip stick tube.
M10-1,50X20MM


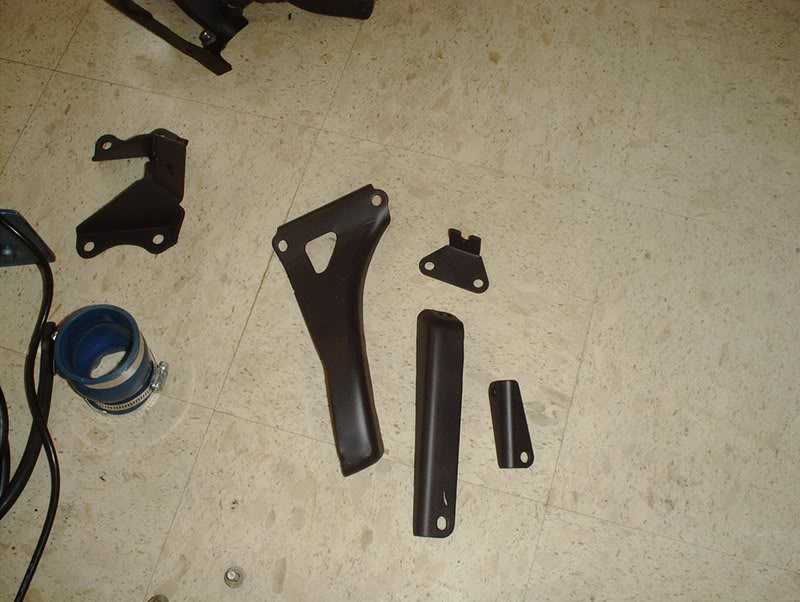
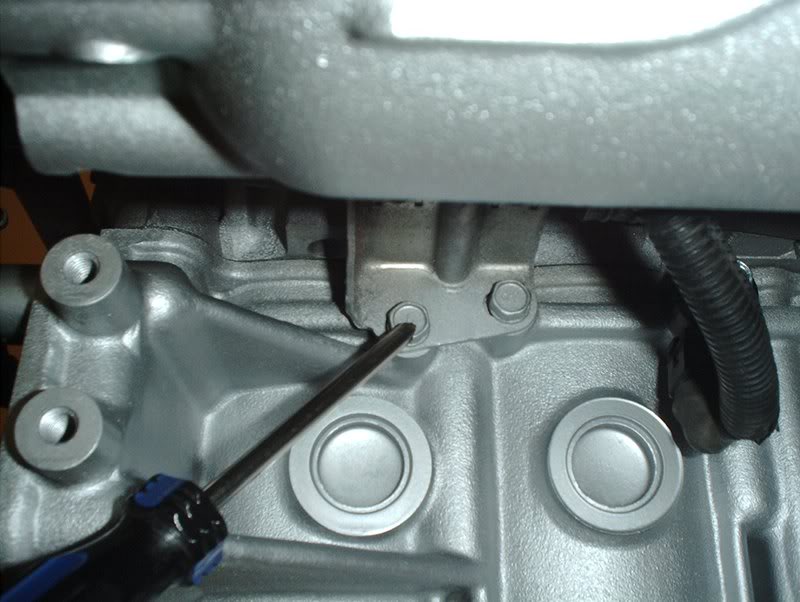
I used these for the motor mount brackets to the block.
M6-1,0X10MM
I used these for the small bolts on the fuel rail...
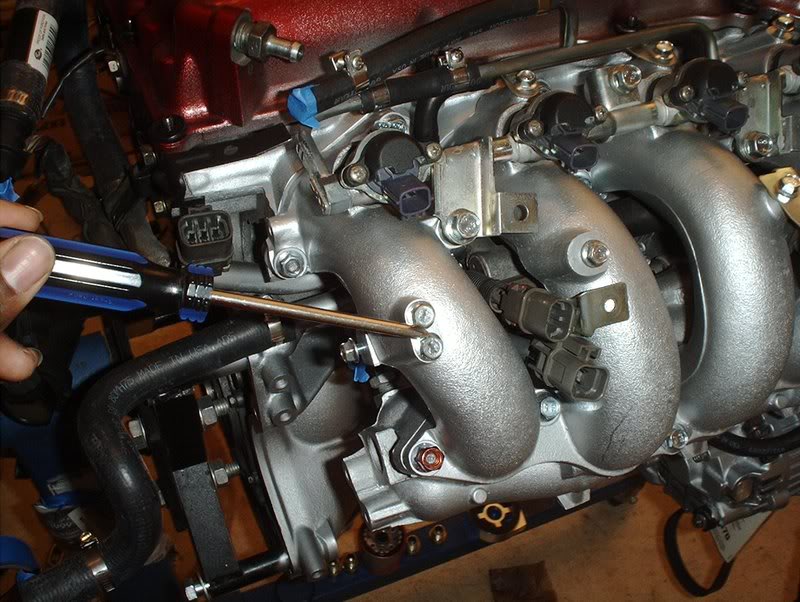
and the intake manifold runners.
You can also use one for the coolant bleed screw on the top of the water outlet.
M8-1,25X20MM
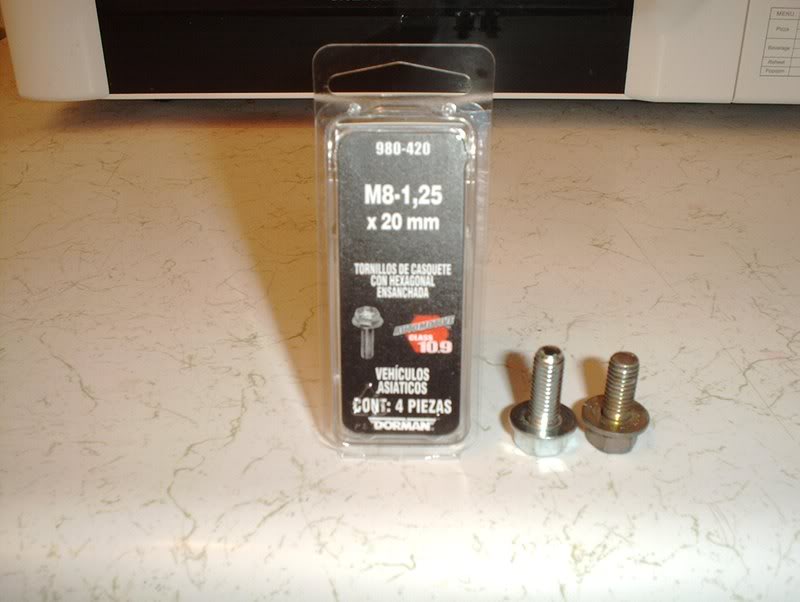
You can use these for the intake manifold support brackets...
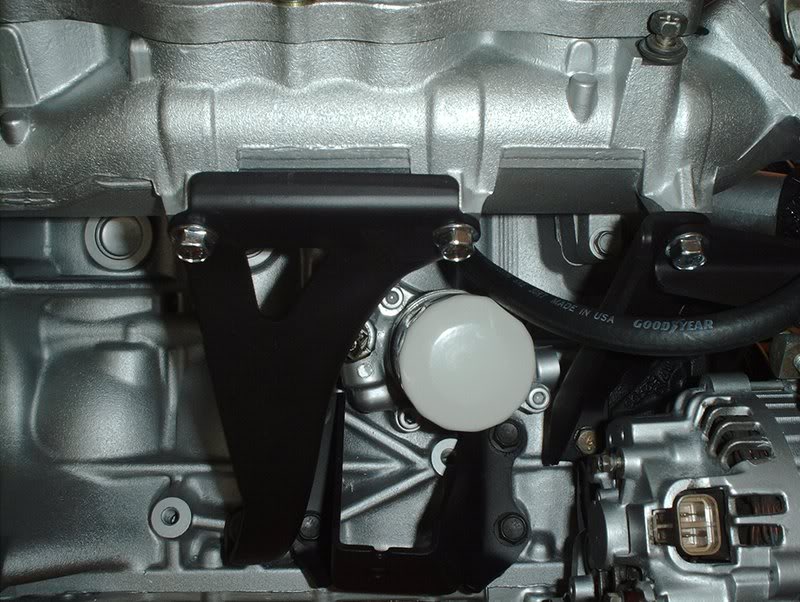
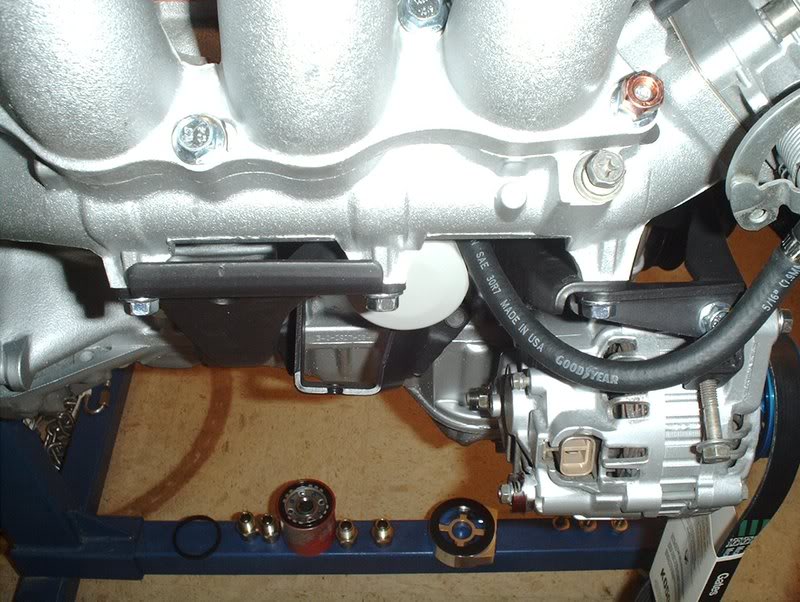
you can also use them for the water pump...
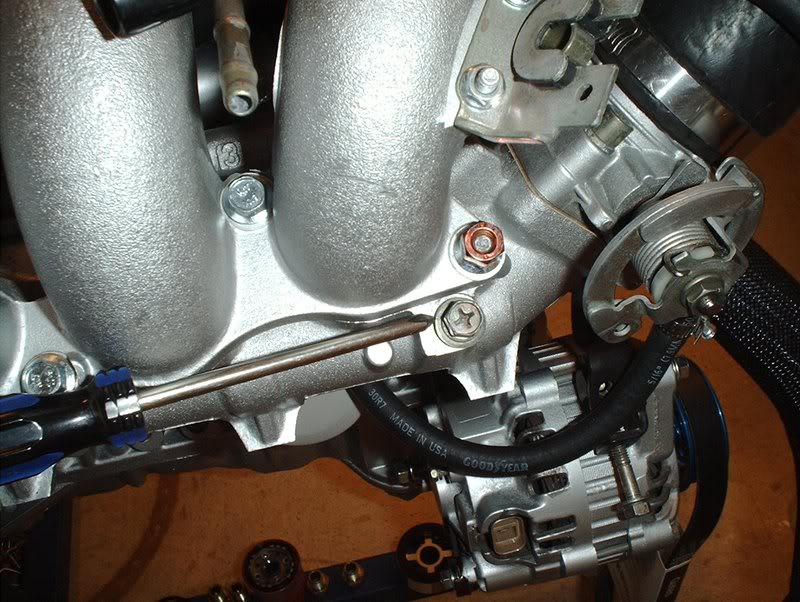
the battery ground on the intake manifold, the two small bolts on the bottom of the alternator bracket...
mounting the coolant and water lines under the intake manifold to the block...

and for mounting the fuel rail back on the intake manifold.
M8-1,25
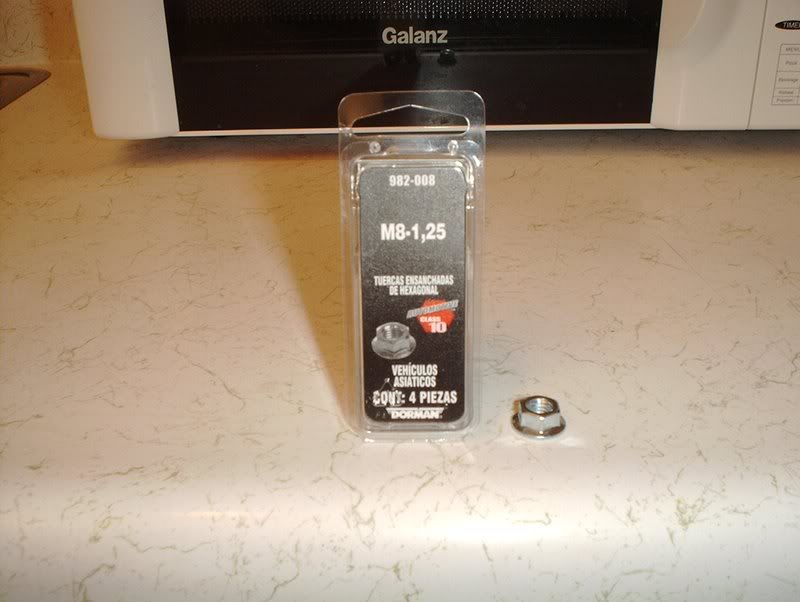
These washers are for the intake manifold.
Transmission mounting bracket bolts Part#:01125-S13002 I was missing one when I took out the KA.
Got these from Courtesy Nissan http://www.courtesyparts.com/betasit...1420_1425.html 11340A
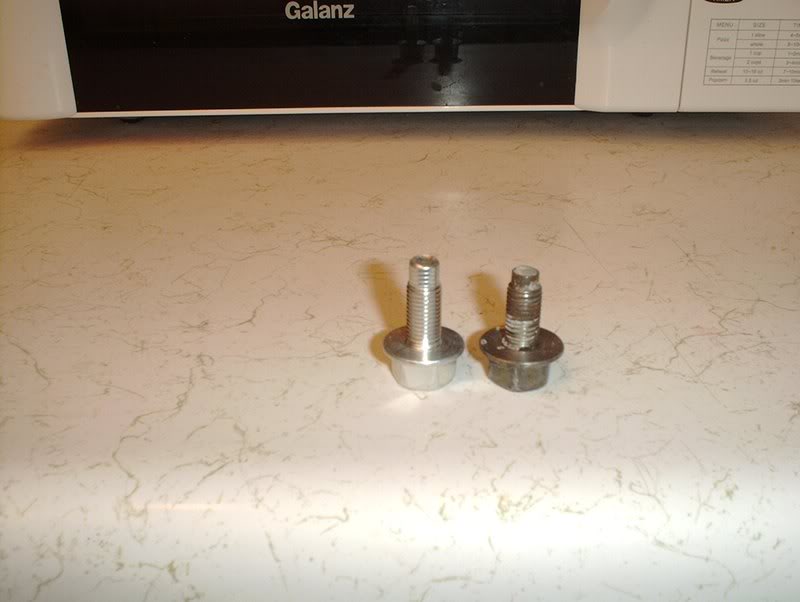
Waterpump hardware from West Covina, pump bolts, pulley studs and nuts.
http://www.thenismoshop.com/ikorb.ph...tegory_id=1188
M8-1,25X30MM
I used these to replace the intake manifold bolts.
I also used one to replace the knock sensor bolt.
M6-1,0X20MM
I used these to replace the bolts for the coilpacks...
and the theromstat housing.
They can also be used to replace the four on the water outlet and the one for the dip stick tube.
M10-1,50X20MM
I used these for the motor mount brackets to the block.
M6-1,0X10MM
I used these for the small bolts on the fuel rail...
and the intake manifold runners.
You can also use one for the coolant bleed screw on the top of the water outlet.
M8-1,25X20MM
You can use these for the intake manifold support brackets...
you can also use them for the water pump...
the battery ground on the intake manifold, the two small bolts on the bottom of the alternator bracket...
mounting the coolant and water lines under the intake manifold to the block...
and for mounting the fuel rail back on the intake manifold.
M8-1,25
These washers are for the intake manifold.
Transmission mounting bracket bolts Part#:01125-S13002 I was missing one when I took out the KA.
Got these from Courtesy Nissan http://www.courtesyparts.com/betasit...1420_1425.html 11340A
Waterpump hardware from West Covina, pump bolts, pulley studs and nuts.
http://www.thenismoshop.com/ikorb.ph...tegory_id=1188
Last edited by positron; Apr 16, 2008 at 12:24 PM.

Thread Starter
Contributing Member
Joined: Sep 2002
Posts: 1,192
From: Starkville, MS.
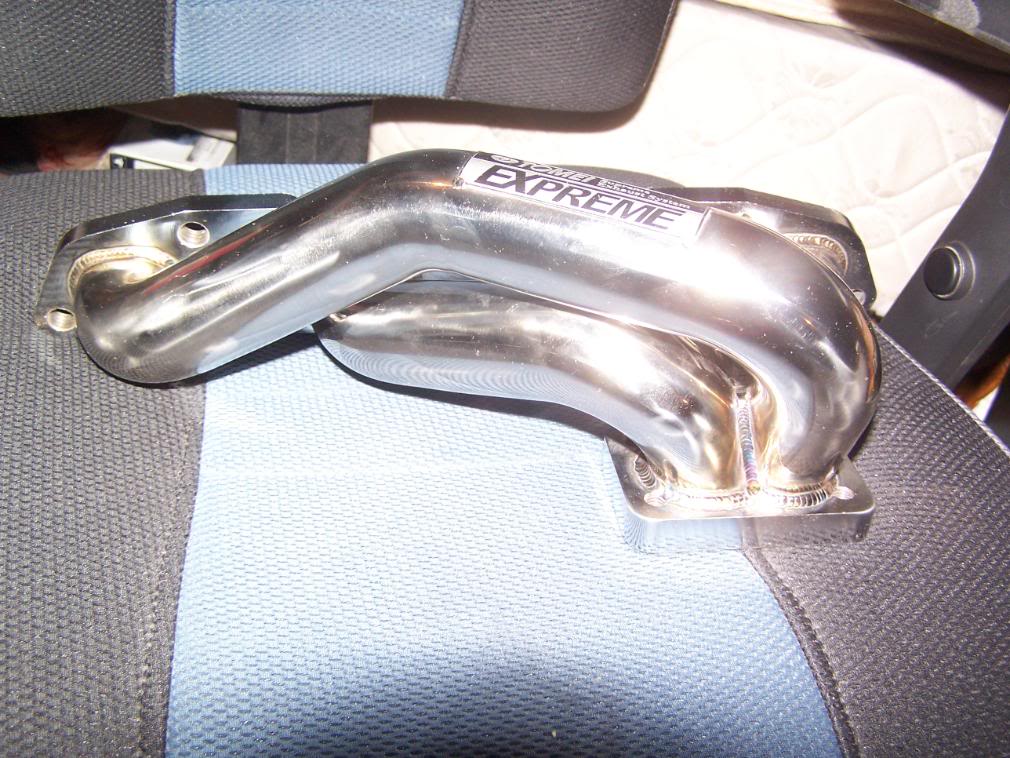
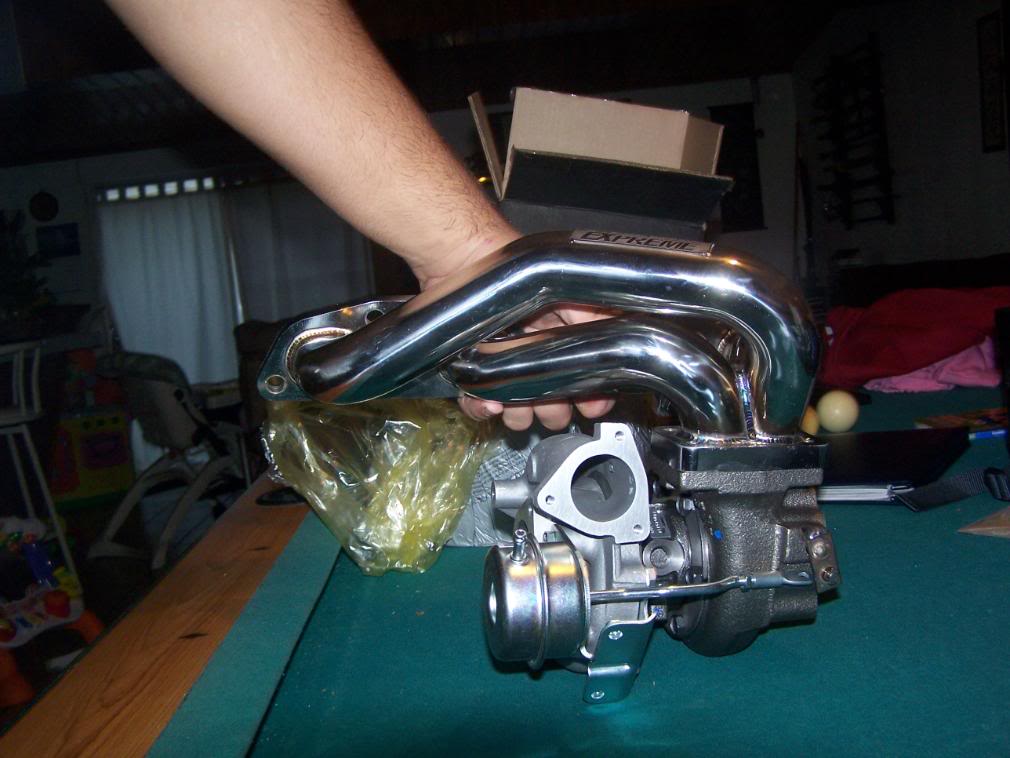
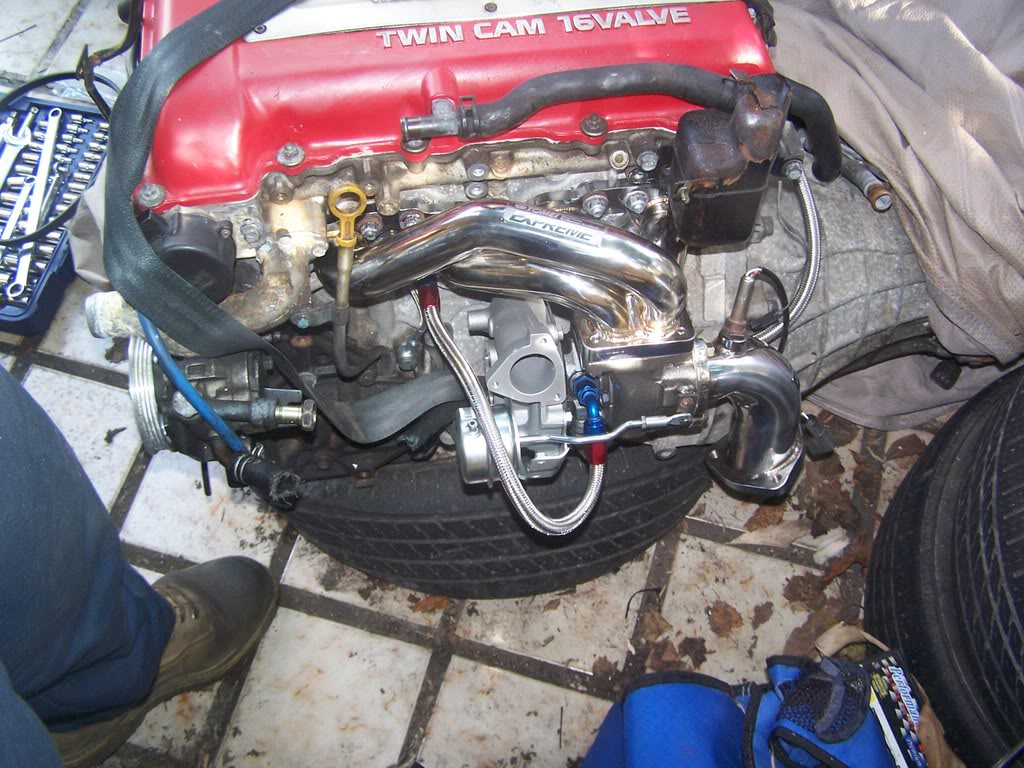
Turbo Manifold???
What kind of turbo manifold is everyone running? Originally I was going to go with the all-purpose $150 cheapy brand that is available everywhere but I started reading everywhere about them cracking 6 months down the line so let's just do it right from the get-go yes?! Right now I'm leaning towards the Tomei(a little pricey but), Ichiba, Peak Performance and I found one from DC Sports. HKS and JIC are definitely can't do's.


What kind of turbo manifold is everyone running? Originally I was going to go with the all-purpose $150 cheapy brand that is available everywhere but I started reading everywhere about them cracking 6 months down the line so let's just do it right from the get-go yes?! Right now I'm leaning towards the Tomei(a little pricey but), Ichiba, Peak Performance and I found one from DC Sports. HKS and JIC are definitely can't do's.
i just need to clean my motor lol
