
Interior Refresh and Repair

Thread Starter
Registered User
Joined: Aug 2008
Posts: 353
From: Red Lion PA
Interior Refresh and Repair
I recently replaced my dash in my car with a newer one and thought I'd share what I learned to help anyone who wants to freshen up thier interior or needs to repair broken tabs.
To bring back a new shine and deep black tone I used Mother's Back-To-Black. Its labeled as an exterior use cleaner becuase of the minor fumes it gives off. I had my whole interior out of the car so they did not become an issue. IF you do this in the car PLEASE give the interior time to air out. I will post pics of the newly cleaned and installed dash later today.
I got my dash from a 94 convertable in a junkyard and someone before me snapped one of the lower tabs off where the center console attaches to the main dash. To replace this part my father and I ended up cutting the old dash and using an old boat building technique called "Scarfing".
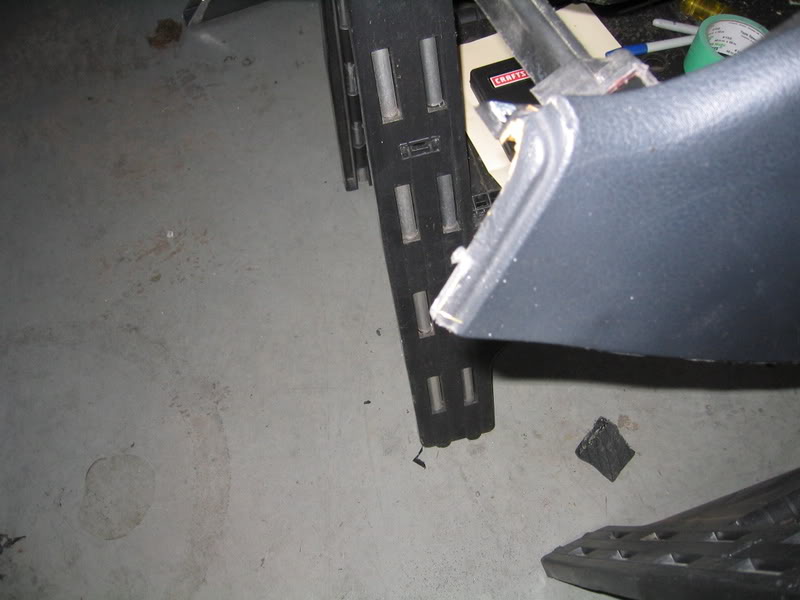
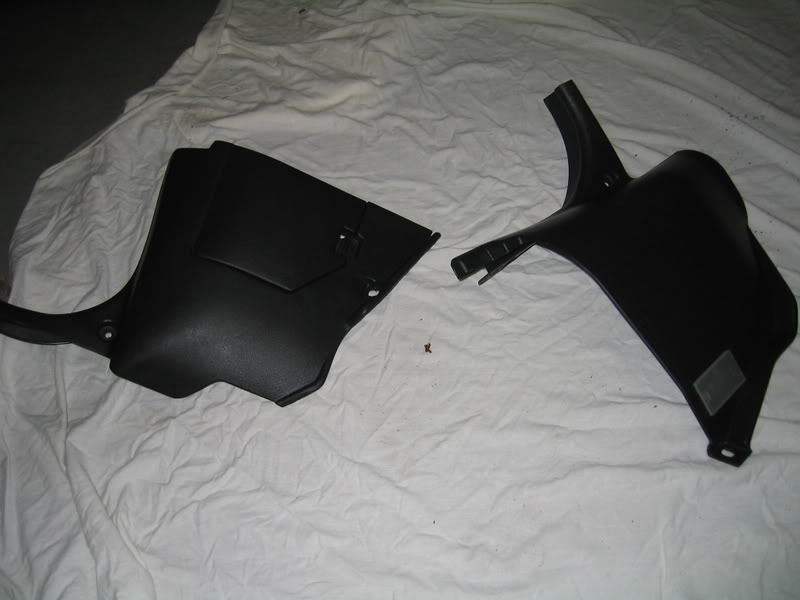
Here is the broken tab:
The first thing to do was cut a large section from the stock dash to allow a stong bond. After cutting it out we removed the vinyl and foam.
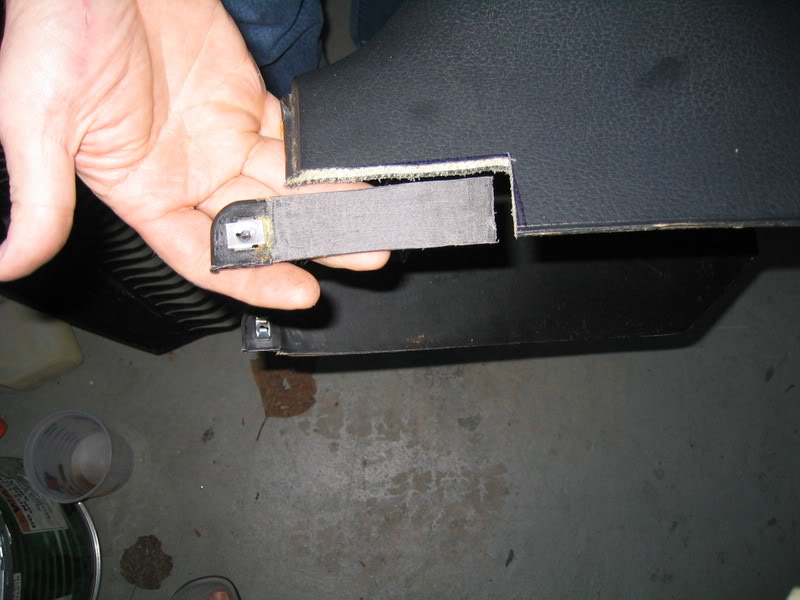
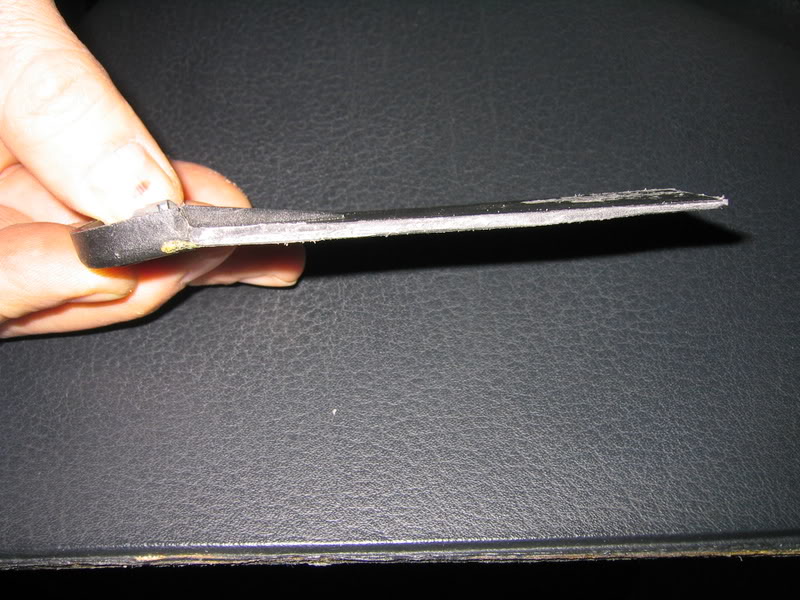
Next we shaped it using an sander. We made the tip thin and let it get progressively larger until we got to the actual clip/tab area.
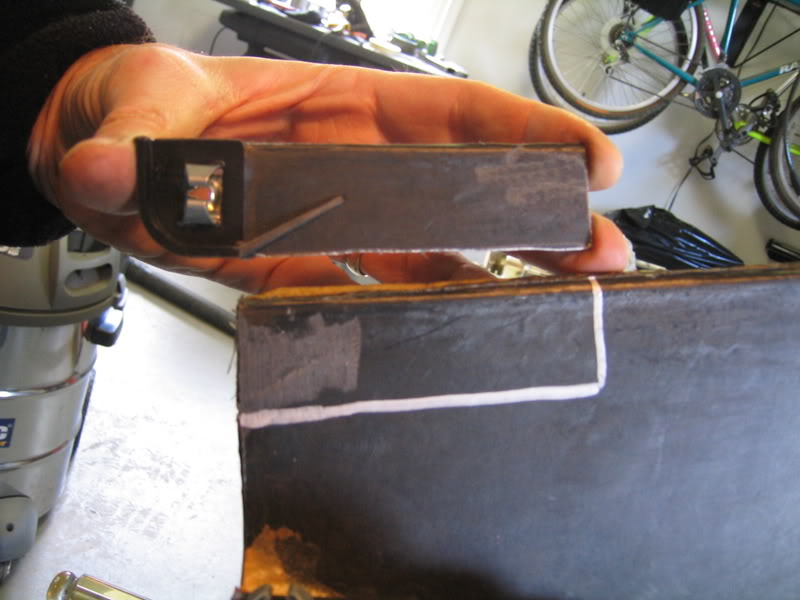
Next we marked out a matching area on the INSIDE of the stock dash.
To bring back a new shine and deep black tone I used Mother's Back-To-Black. Its labeled as an exterior use cleaner becuase of the minor fumes it gives off. I had my whole interior out of the car so they did not become an issue. IF you do this in the car PLEASE give the interior time to air out. I will post pics of the newly cleaned and installed dash later today.
I got my dash from a 94 convertable in a junkyard and someone before me snapped one of the lower tabs off where the center console attaches to the main dash.
To replace this part my father and I ended up cutting the old dash and using an old boat building technique called "Scarfing".Here is the broken tab:
The first thing to do was cut a large section from the stock dash to allow a stong bond. After cutting it out we removed the vinyl and foam.
Next we shaped it using an sander. We made the tip thin and let it get progressively larger until we got to the actual clip/tab area.
Next we marked out a matching area on the INSIDE of the stock dash.
Thread Starter
Registered User
Joined: Aug 2008
Posts: 353
From: Red Lion PA
Next we sanded down the marked area of the dash. The tip is thin and the deeper back you go it gets thicker. The cut out and the tab should fit like to opposed wedges.
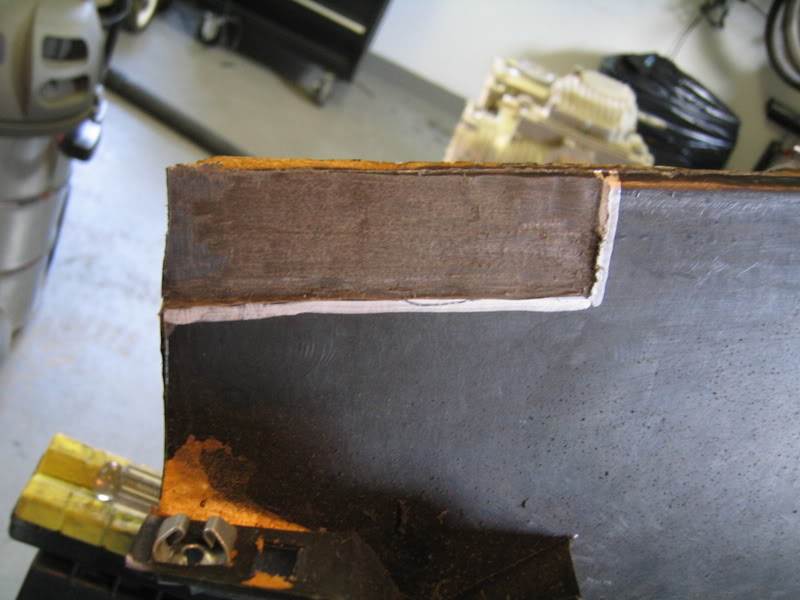
Notice the PLASTIC thickness, not the foam and vinyl covering.

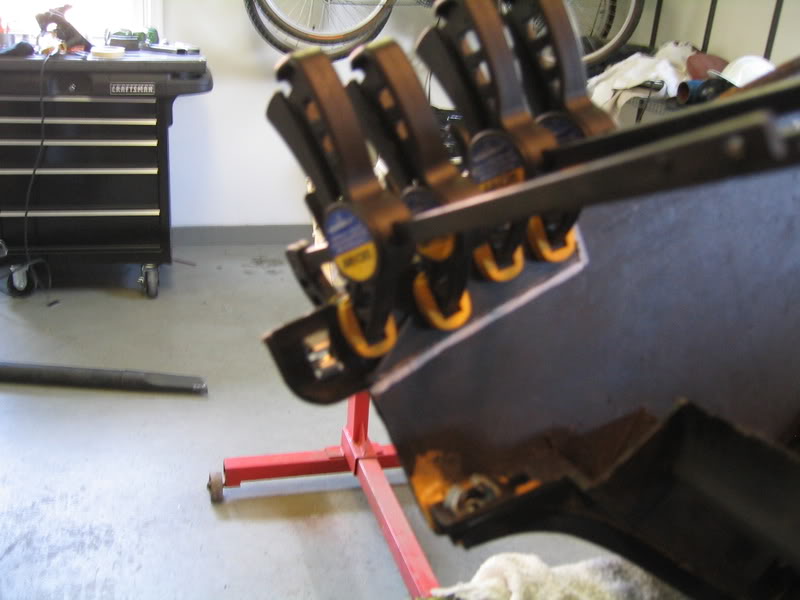
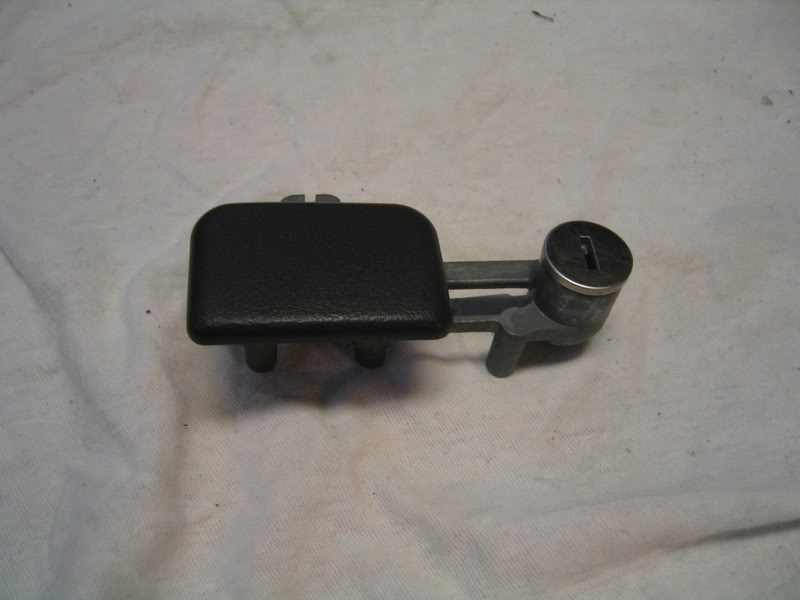
The final step was to use some 30 minute epoxy and clamp the whole thing together. We gave the epoxy about an hour and a half to fully cure and the result is a new tab in the proper location with a mouting as stong as stock.
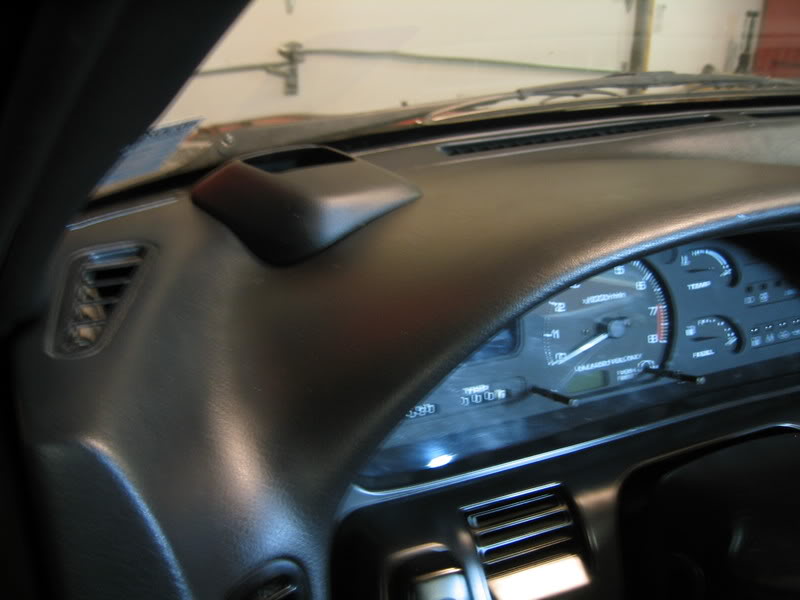
And here is how it looks finished. Its the passenger side tab.


Notice the PLASTIC thickness, not the foam and vinyl covering.
The final step was to use some 30 minute epoxy and clamp the whole thing together. We gave the epoxy about an hour and a half to fully cure and the result is a new tab in the proper location with a mouting as stong as stock.
And here is how it looks finished. Its the passenger side tab.
Last edited by Lord Umoja; Nov 30, 2008 at 01:16 PM.
Thread Starter
Registered User
Joined: Aug 2008
Posts: 353
From: Red Lion PA
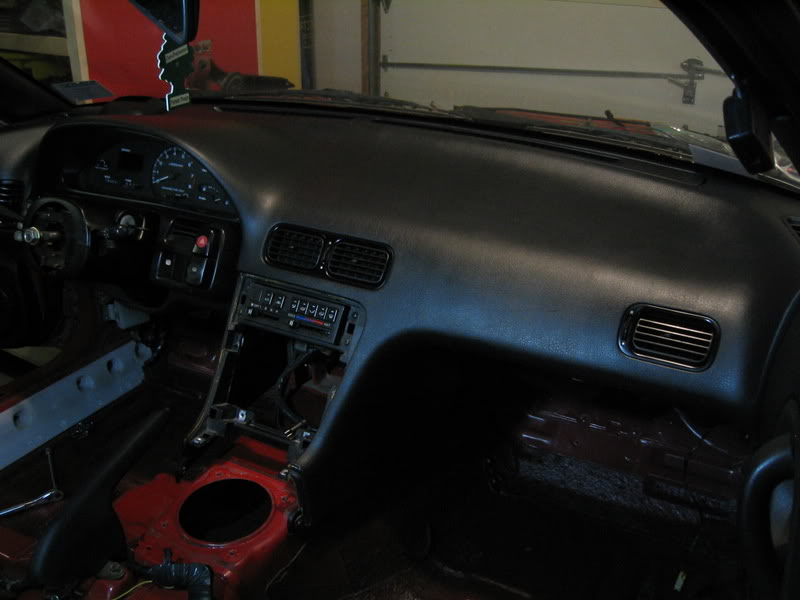
Here are a few pics of the freshened up dash and interior parts. Next up in ther interior is getting new carpets and then finding some seats. As stated in the first post, I used Mother's Back-To-Black to get the shine/cleaning of the dash and parts.


Thread
Thread Starter
Forum
Replies
Last Post