
DIY INTAKE MANIFOLD porting for Natural aspiration

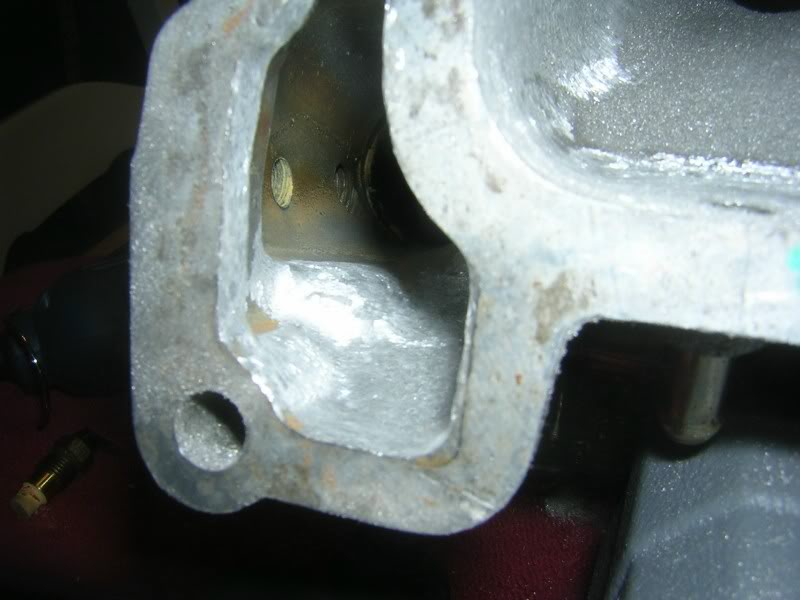
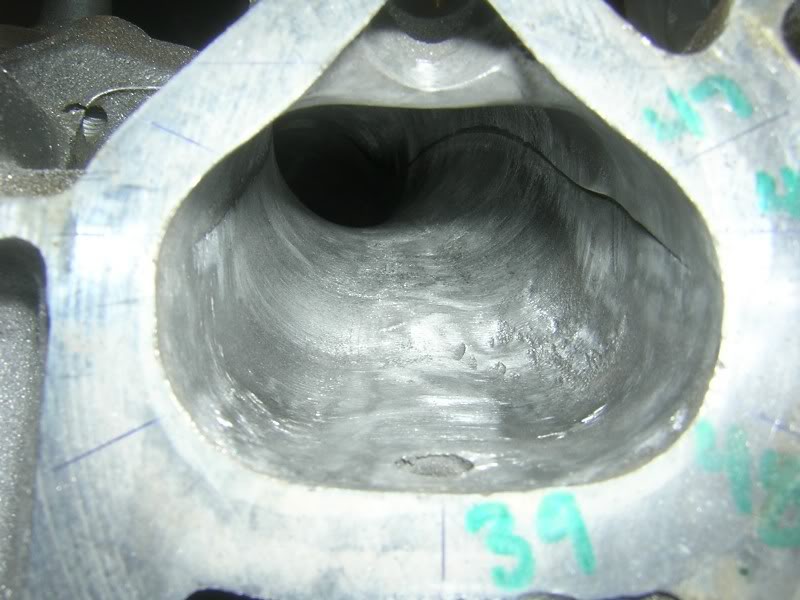
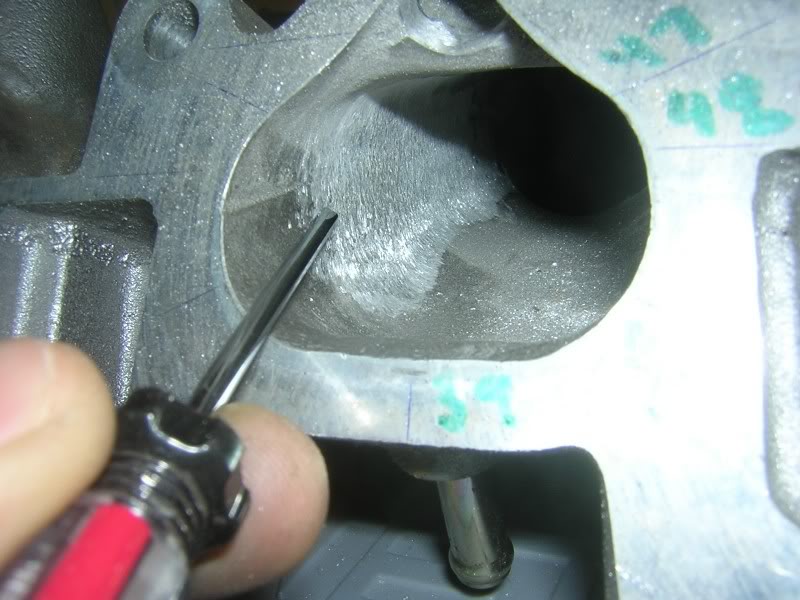
Spent an additional 1,1/2 hours extruding the imperfections from the runner. Now I am on the way to working my way down the runner, only to clean up the seems on the casting before I go over it with 120grit wheel flap, and the polishing abrasives. This is basically just the rough work completed to the worst runner which had the wall come in almost 2mm.
BEFORE
AFTER

So far I have gone through 2 cylinder grinders 1 80grit flap wheel. I will also need to order more polishing abrasives in the 120 and 320 grits as well.
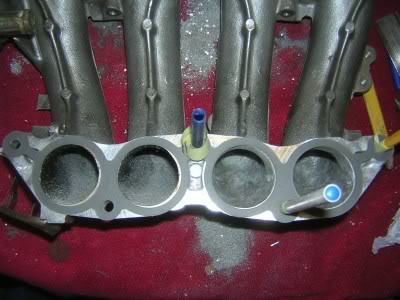
In the process of waiting for more grinders and abrasives I have taken the time to research company's that carry vacuum and coolant high temp silicon hoses in Blue. I thought I would do something other than the standard black tubes.
So I will be going through stylin motors to purchase the SR20det vacuum lines in blue. The kit cost 120.00, plus shipping and handling. If anyone knows where to get a vacuum tube kit for a more affordable price post it up.
http://stylinmotors.com/nissan.html
I will be purchasing the Agency Power coolant hoses through 240sxmotoring in high temp silicon blue as well.
http://www.240sxmotoring.com/agponi2489ka.html
If anyone has any other suggestions let me know.
BTW pep boy's sucks and screwed my order for my felpro gaskets, so I will be going through monument auto parts to order them all over again. Unless any one knows where I can get them with 2 day shipping.
BEFORE
AFTER
So far I have gone through 2 cylinder grinders 1 80grit flap wheel. I will also need to order more polishing abrasives in the 120 and 320 grits as well.
In the process of waiting for more grinders and abrasives I have taken the time to research company's that carry vacuum and coolant high temp silicon hoses in Blue. I thought I would do something other than the standard black tubes.
So I will be going through stylin motors to purchase the SR20det vacuum lines in blue. The kit cost 120.00, plus shipping and handling. If anyone knows where to get a vacuum tube kit for a more affordable price post it up.
http://stylinmotors.com/nissan.html
I will be purchasing the Agency Power coolant hoses through 240sxmotoring in high temp silicon blue as well.
http://www.240sxmotoring.com/agponi2489ka.html
If anyone has any other suggestions let me know.
BTW pep boy's sucks and screwed my order for my felpro gaskets, so I will be going through monument auto parts to order them all over again. Unless any one knows where I can get them with 2 day shipping.
Last edited by BigVinnie; May 27, 2007 at 10:17 PM.

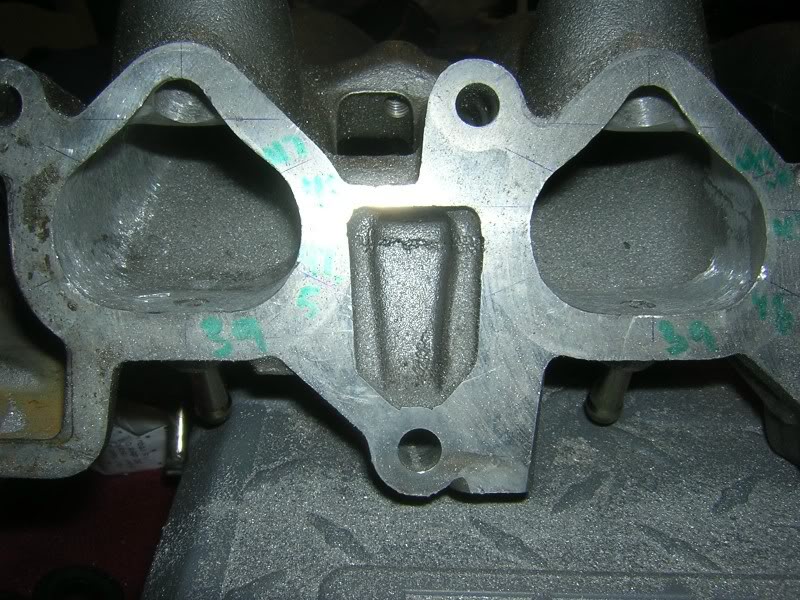
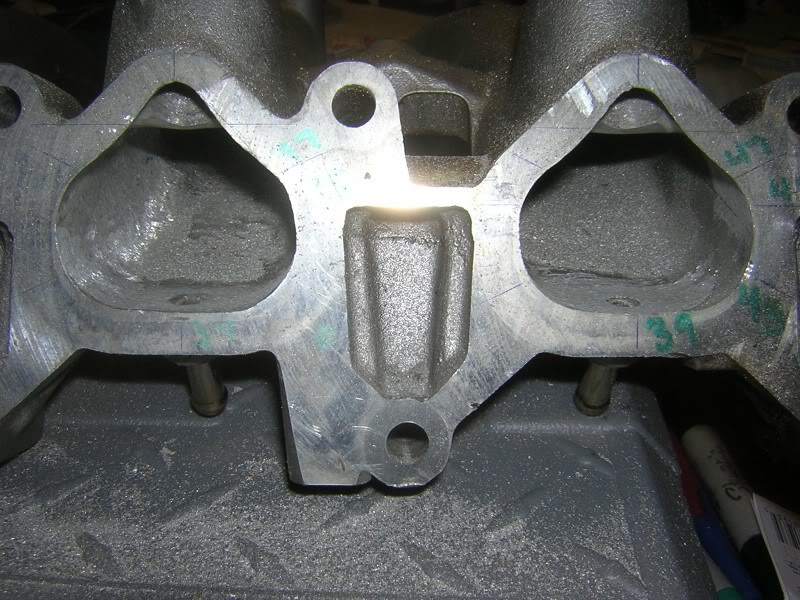
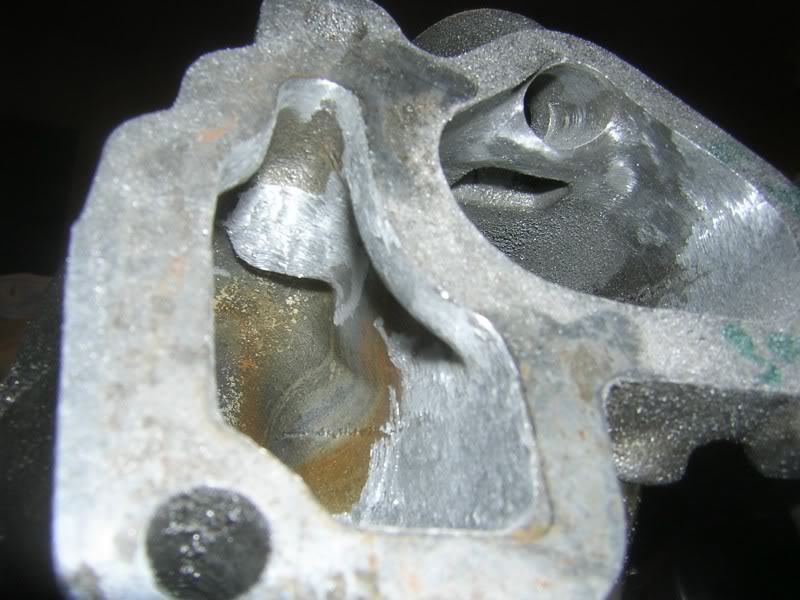
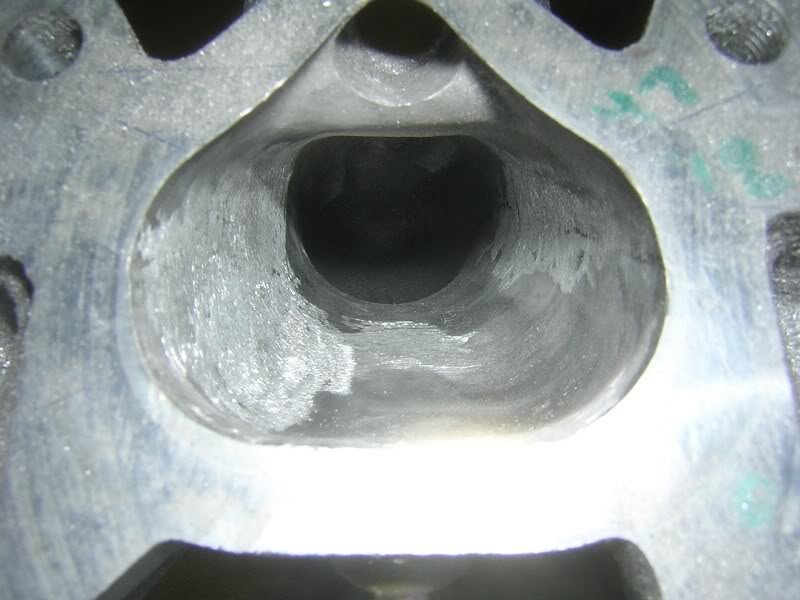
So here is an update on the progress. Total time spent on the ports was3,1/2 hours of grinding and extruding material with the cylinder grinding stone.
The manifold is a little over 2/3 towards completion about this time.
All ports have been matched to to react like a 45.6MM opening. As you all know I won't bee port matching to the head until a rebuild so this is as good as this port process becomes, I still need to sand and polish.
BEFORE

RUNNERS 1 & 2
RUNNERS 3 & 4
I have just gotten back from my camping trip so I will be ordering the felpro gaskets today.
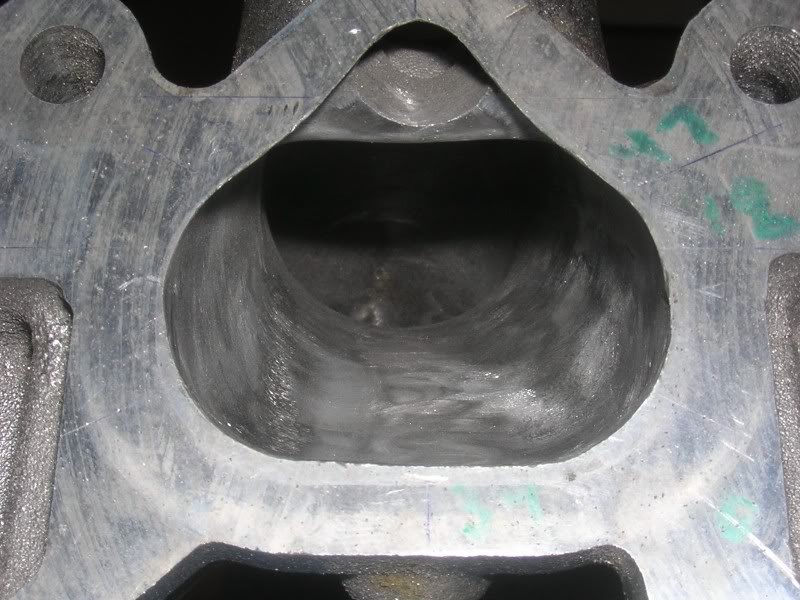
Also after looking at several KA24de manifolds, what I thought were casting imperfections in runner 1 and runner 3 are actually engineered casting. Why Nissan would do this I don't know, but my work looks great and is coming along well, each runner is to equal diameter to the head.
The manifold is a little over 2/3 towards completion about this time.
All ports have been matched to to react like a 45.6MM opening. As you all know I won't bee port matching to the head until a rebuild so this is as good as this port process becomes, I still need to sand and polish.
BEFORE
RUNNERS 1 & 2
RUNNERS 3 & 4
I have just gotten back from my camping trip so I will be ordering the felpro gaskets today.
Also after looking at several KA24de manifolds, what I thought were casting imperfections in runner 1 and runner 3 are actually engineered casting. Why Nissan would do this I don't know, but my work looks great and is coming along well, each runner is to equal diameter to the head.
Last edited by BigVinnie; Jun 4, 2007 at 09:50 AM.
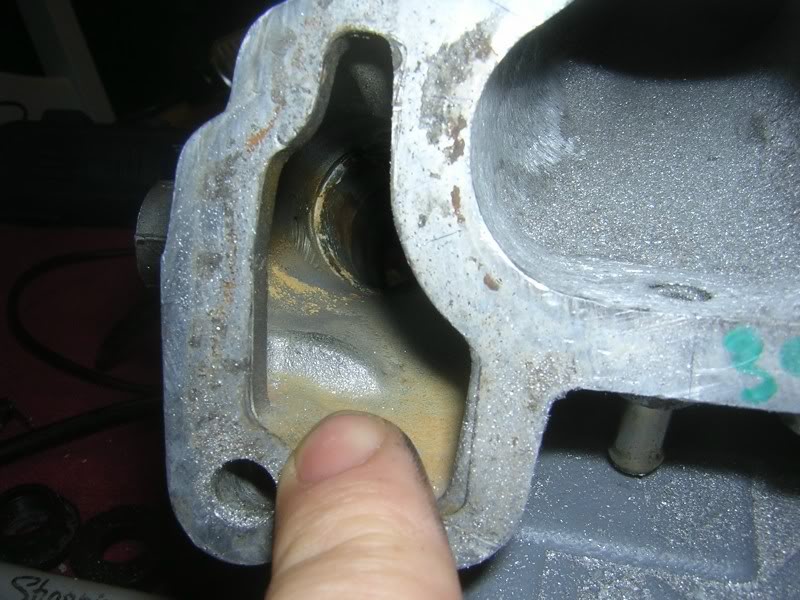
Today I decided to work on the coolant passage for about an hour. There were a few things that bothered me about the coolant passage. There are humps with in the coolant passage that prevents good flow. This bothers me because the coolant pump has to work harder to pull coolant through the passage. Not that I think I will gain any thing from this, but I am rather doing it for peace of mind.
BEFORE
AFTER
BEFORE
AFTER
I still haven't taken the time to order the gaskets.
I was considering on purchasing a PX3 gasket, but no one to date has proven that it has done anything. Anyways more research to come and more progress next week.
BEFORE
AFTER
BEFORE
AFTER
I still haven't taken the time to order the gaskets.
I was considering on purchasing a PX3 gasket, but no one to date has proven that it has done anything. Anyways more research to come and more progress next week.
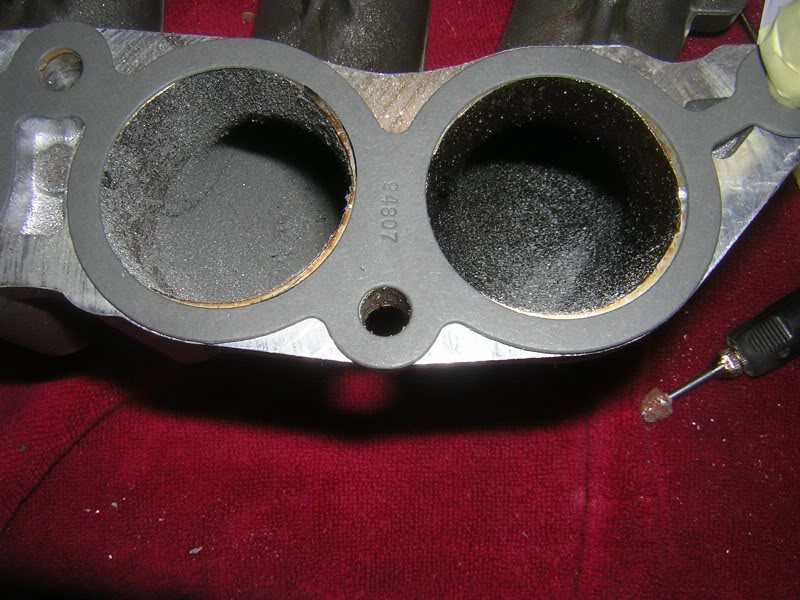
Finally received the intake manifold gaskets today. It seems to be a S.O.B to try and get a hold of the IACV, and EGR gaskets that fit to the manifold so it seems that I will be using some good ol' gasket maker. This is because those gaskets normally come with an entire engine rebuild gasket kit.
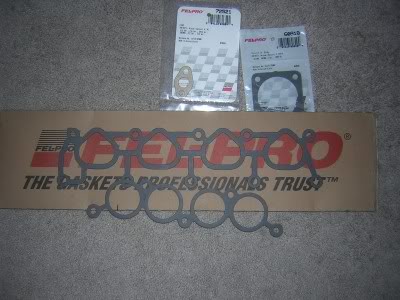
It was $8.00 for the 2 intake mani flange gaskets and $5.00 for the TB gasket.
So now I started to check my work using the gaskets to make sure that nothing wasn't to out of whack or disproportioned. Things are overall looking good.

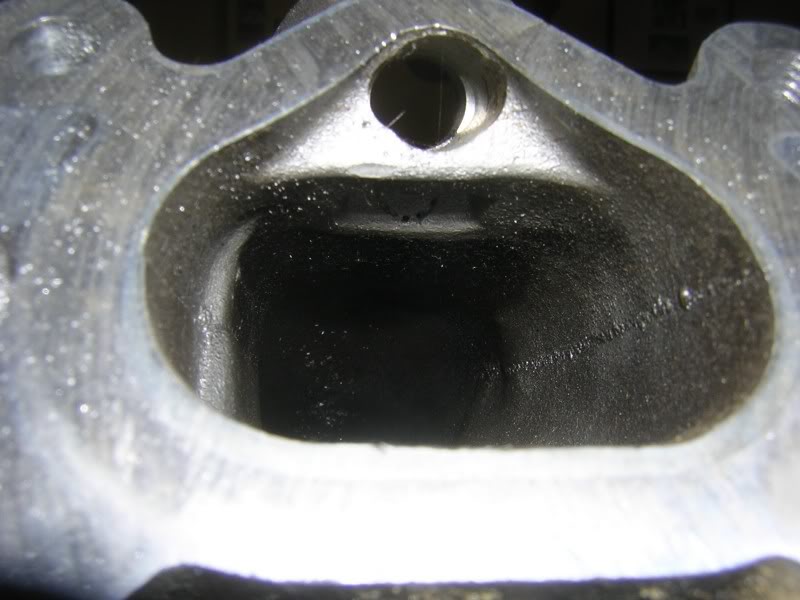
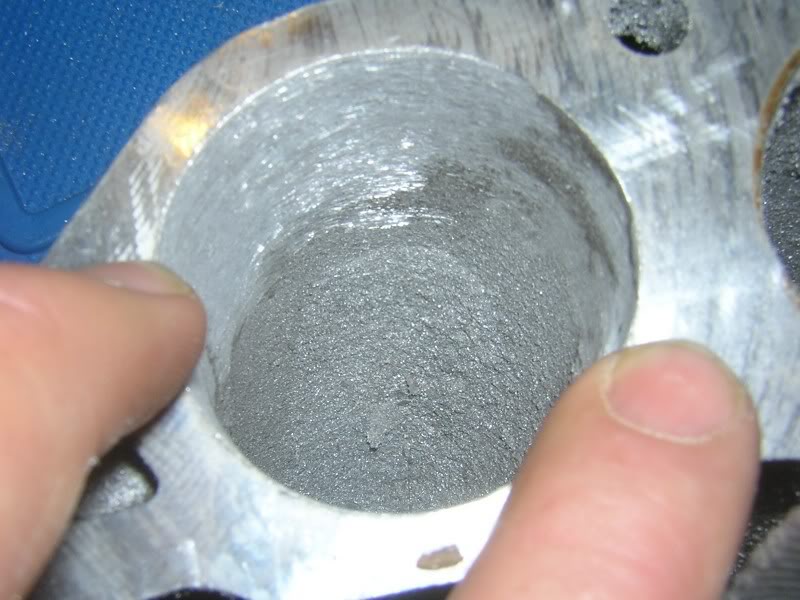
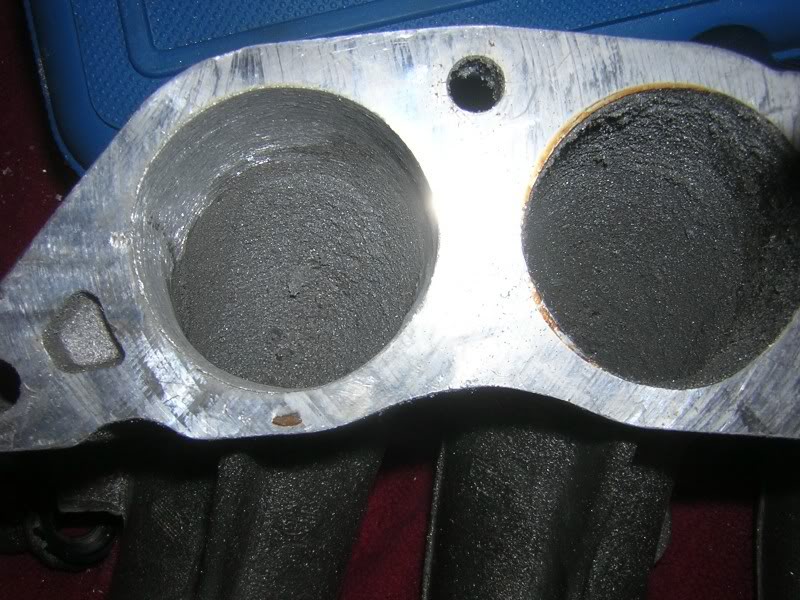
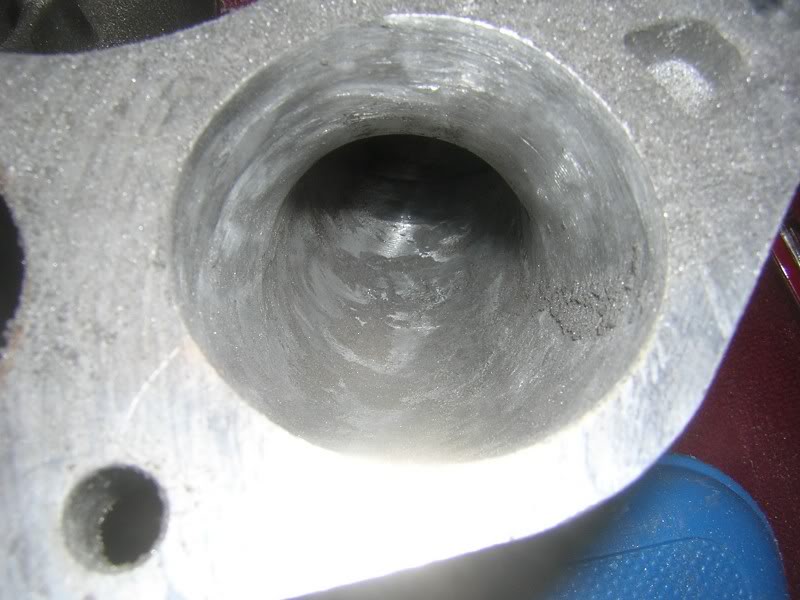
So today I decided to start taking the casting imperfections out of the runners where the upper and lower manifold join together. The difficult part was that looking at this imperfection long enough I would have to extrude to the diameter of the gasket to make it round and smooth.
Here is what the runner looks like when it comes close to completion, I have spent about an hour on it with the cylinder grinder.
BEFORE
AFTER
It was $8.00 for the 2 intake mani flange gaskets and $5.00 for the TB gasket.
So now I started to check my work using the gaskets to make sure that nothing wasn't to out of whack or disproportioned. Things are overall looking good.
So today I decided to start taking the casting imperfections out of the runners where the upper and lower manifold join together. The difficult part was that looking at this imperfection long enough I would have to extrude to the diameter of the gasket to make it round and smooth.
Here is what the runner looks like when it comes close to completion, I have spent about an hour on it with the cylinder grinder.
BEFORE
AFTER
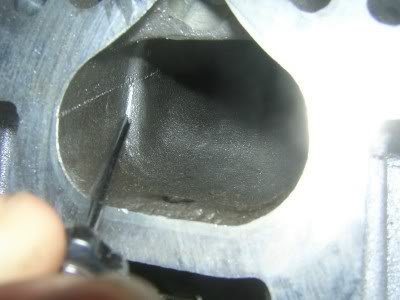
Spent another hour today polishing up runner 4 with the 80 and 120 grit sanding wheels. I was just a little disappointed because the runner had some casting divots and imperfections in it next to the port. You will notice them on the bottom right of the runner. I don't want to extrude any more metal, so it is what it is, I can't complain, although I want too.
J/K I hate divots and it had to go!!!!!

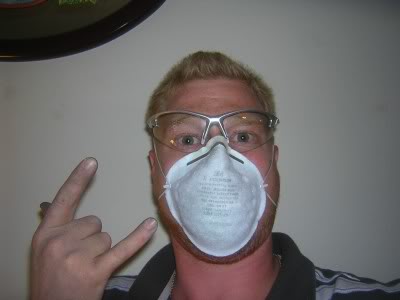
Yeah and just for sh*ts and giggles a pic of me nerd'in out with the safety gear... If you look closely you can see the aluminum shards stuck to my mask...
J/K I hate divots and it had to go!!!!!
Yeah and just for sh*ts and giggles a pic of me nerd'in out with the safety gear... If you look closely you can see the aluminum shards stuck to my mask...
Last edited by BigVinnie; Jun 19, 2007 at 03:13 PM.

Shooting for around 175 WHP with stock ecu, SAFC tune, removal of SCV, all the other bolt ons already on my car, plus 91octane with a mixture of NOS brand Octane Booster (lowers 50knock points) with Nitro Methane we will see how it works out..
What do you guy's think of using the TORCO concentrated fuel? It makes proven dyno numbers.
http://www.need4speedpower.com/torco...AodNEeoUA#dyno
Last edited by BigVinnie; Jun 11, 2007 at 01:17 PM.
Completed runner 3 and it looks amazing. I can't wait to see the difference that it made extruding all the aluminum, and polishing it...
BEFORE

Middle Stage
AFTER
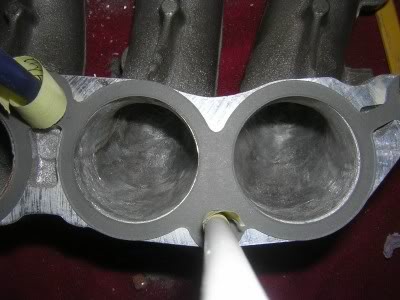
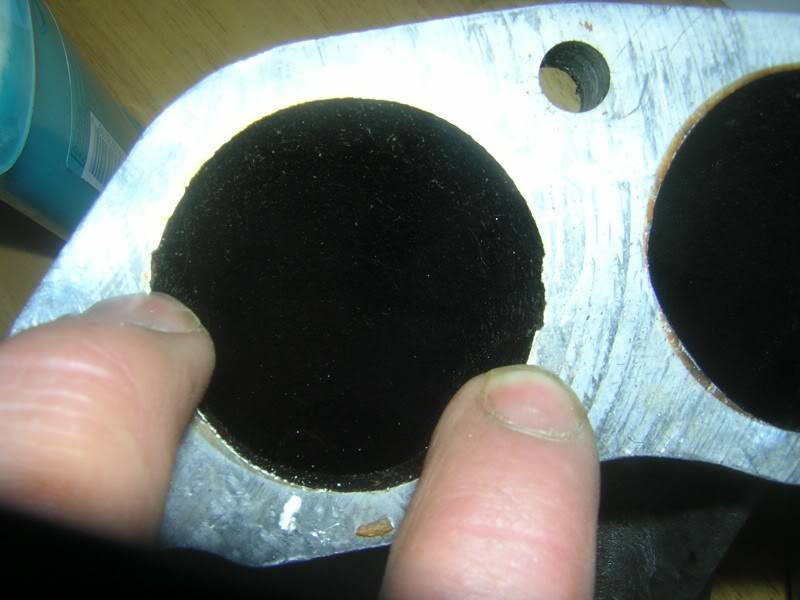
As you can see from the PIC that the runners are off center when matched up with the gaskets, I did what I could to keep a perfect circle.
Now I am on to the last 2 runners.
BEFORE
Middle Stage
AFTER
As you can see from the PIC that the runners are off center when matched up with the gaskets, I did what I could to keep a perfect circle.
Now I am on to the last 2 runners.
At the bottom half of the manifold that was ported to 45mm, it actually tapers to the port from from the plenum.
Looking at the upper half of the manifold it was to allow direct flow from the 44mm stock opening through 44mm runners, that is what seems to be consistent with the manifold. Port opening from the upper runner to the head seems accurate at 45.6mm this is because fluid mass is heavier than air so the port dimension to the head should normally be larger than the runners themselves.
So in all each runner works as a velocity stack starting from the plenum on AVG it is about 49mm. I enlarged to the port ends and extruded to 45mm from the stock 44mm this will help increase overall velocity while compressing the air as it moves into the 44mm runners. On the upper half of the manifold I was correcting the port to make flow smoother it wasn't to enlarge it any more than the 48mm it was from it's imperfections. The runner diameter drops to 44mm.
This makes it a velocity stack that will outflow and compress air better than stock as it moves into the head, that is all I have done.
Last edited by BigVinnie; Jun 20, 2007 at 07:26 AM.