
S13 Rear Brake Pad Install

Thread Starter
Contributing Member
Joined: Sep 2002
Posts: 1,192
From: Starkville, MS.
S13 Rear Brake Pad Install
Got some new pads and rotors to swap out the 13+ year old rear components.
Tools needed:
Jack
Jackstands
Socket wrench
14mm socket
Disc Brake Quiet
Metal coat hanger/bungee cord
Brake cleaner
Rag
BEFORE DOING THIS INSTALL MAKE ABSOLUTELY SURE YOU RECEIVED THE CORRECT BRAKE PADS AND BRAKE ROTORS OR YOU WILL HAVE A BAD DAY!!!
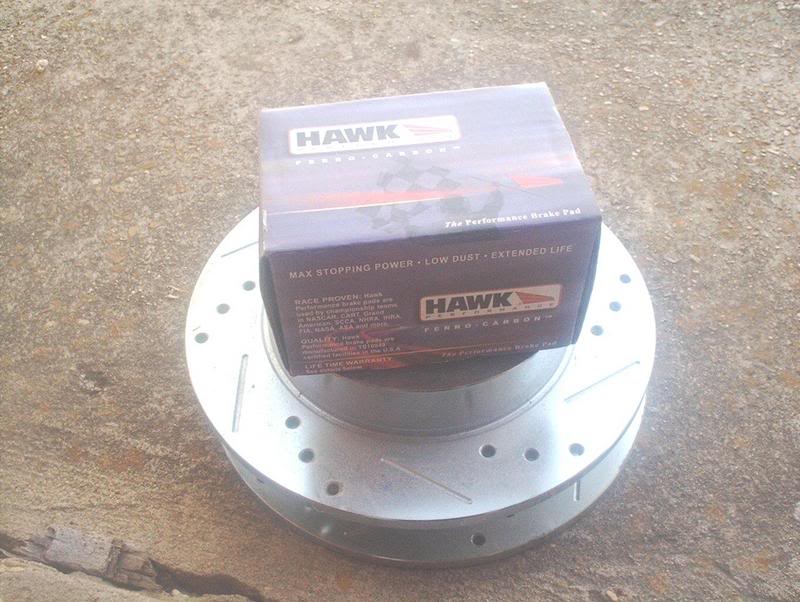
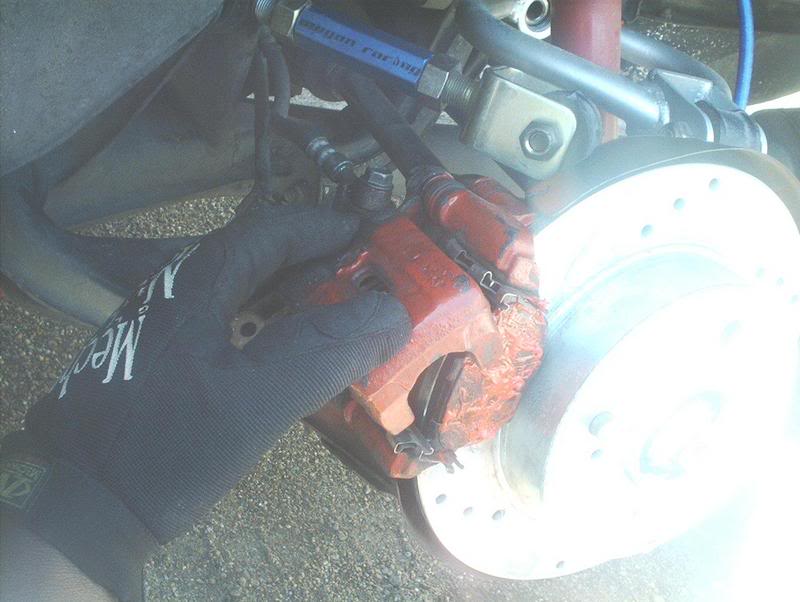
Hawk HPS pads/Brembro rotors

The new rotors and pads are gonna help braking performance and make your wheels look better by getting rid of the rusty rotor syndrome. I hate seeing a fat set of shiny wheels on a car with the rusty rotors peeking thru.
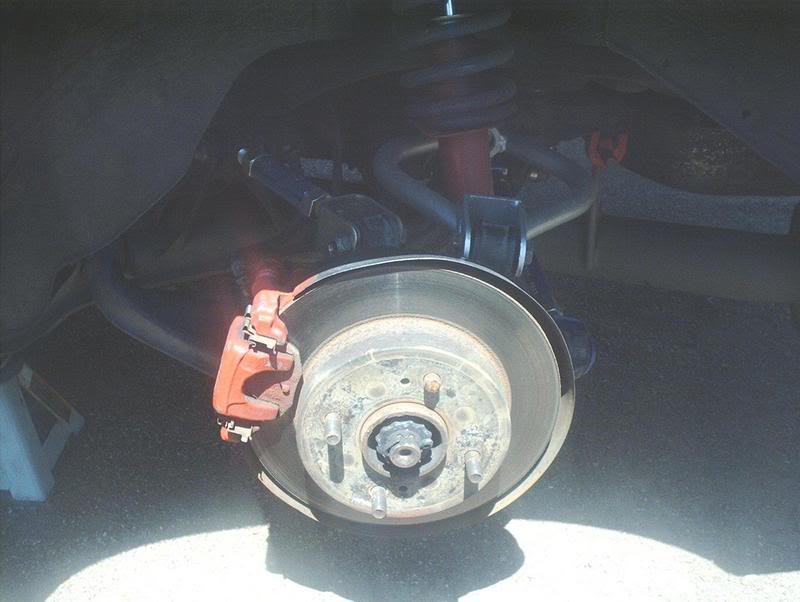
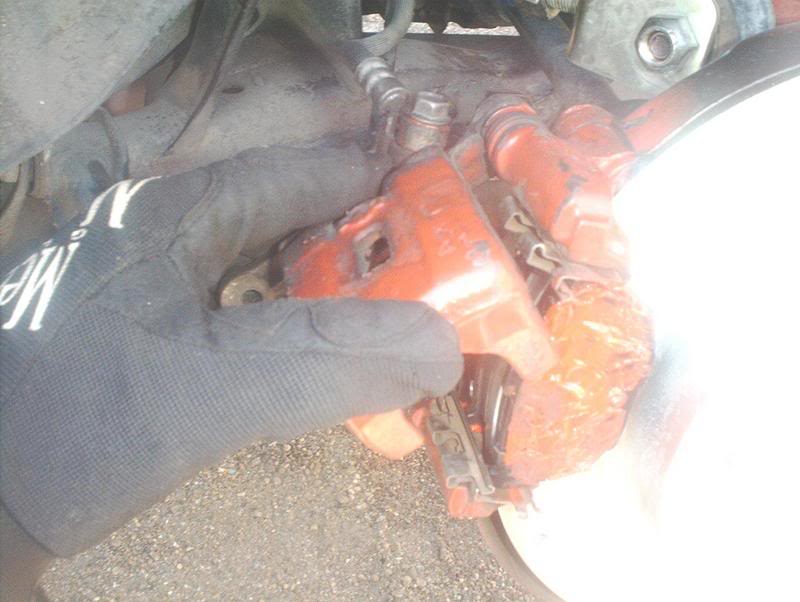
First, remove the brake master cylinder resevoir cap then jack the car up and remove the wheels to expose the brake calipers.
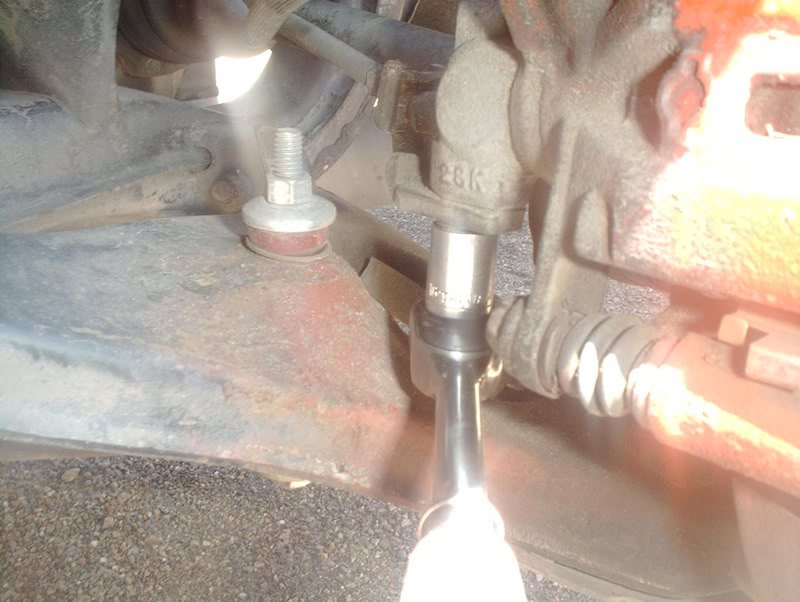
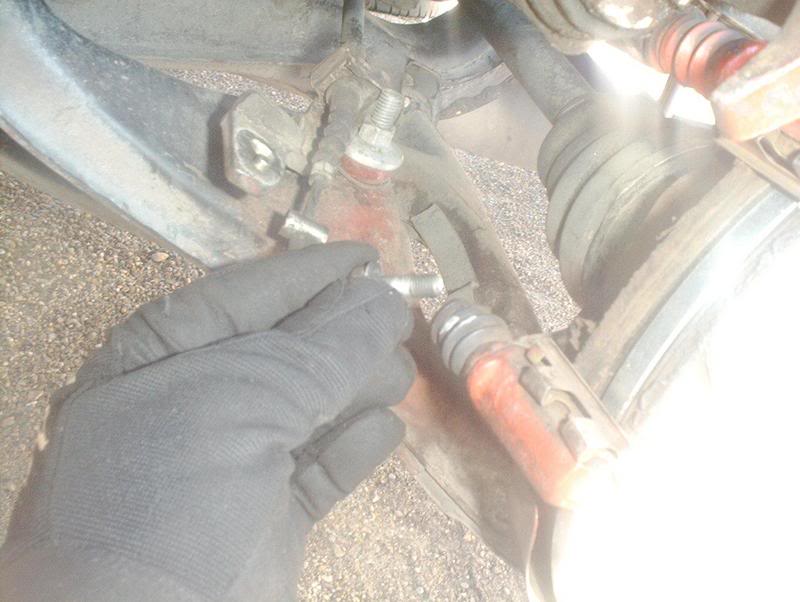
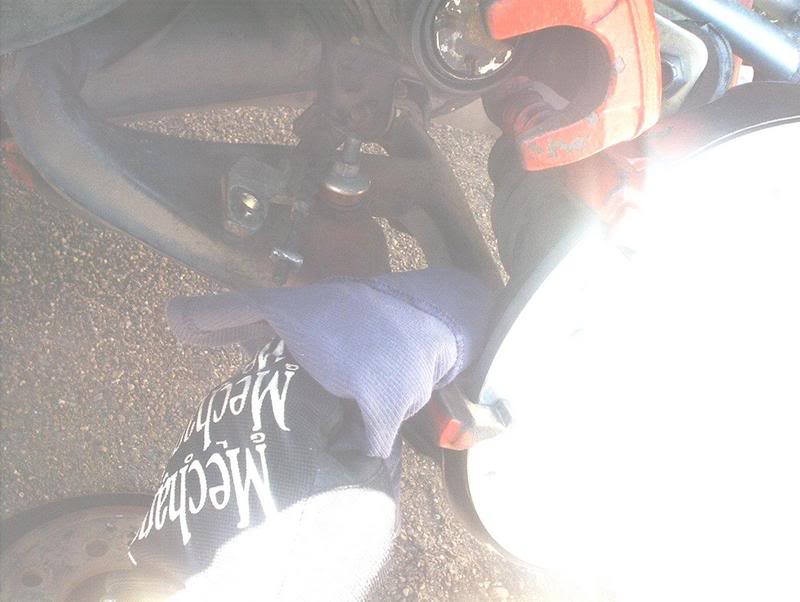
Next, use a 14mm socket to disconnect the parking brake from the caliper. I don't think I had to do it this way. I could have just taken the parking cable with the little cylinder on it and pulled over and out of the bracket on the bottom of the caliper.
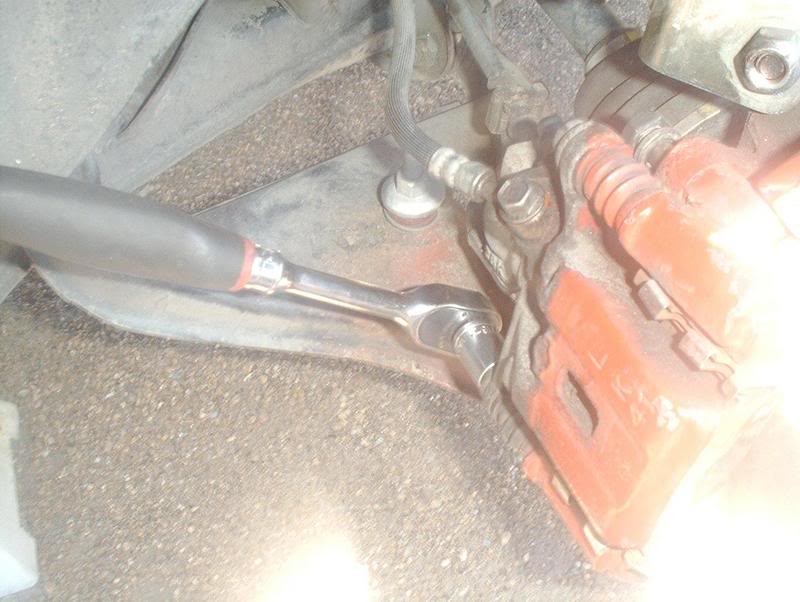
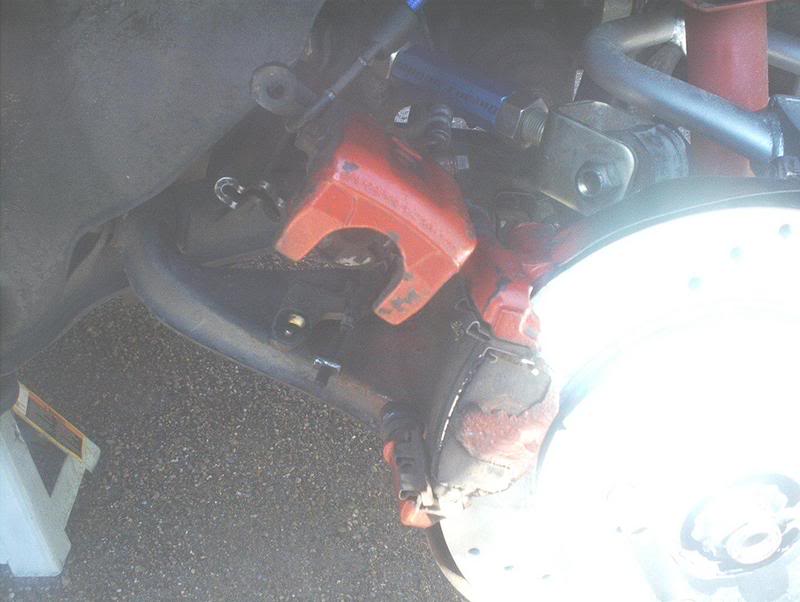
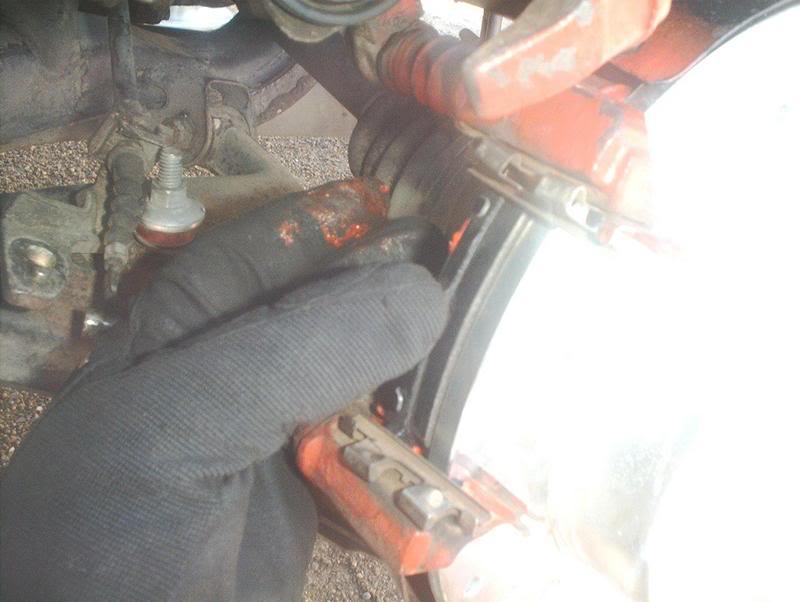
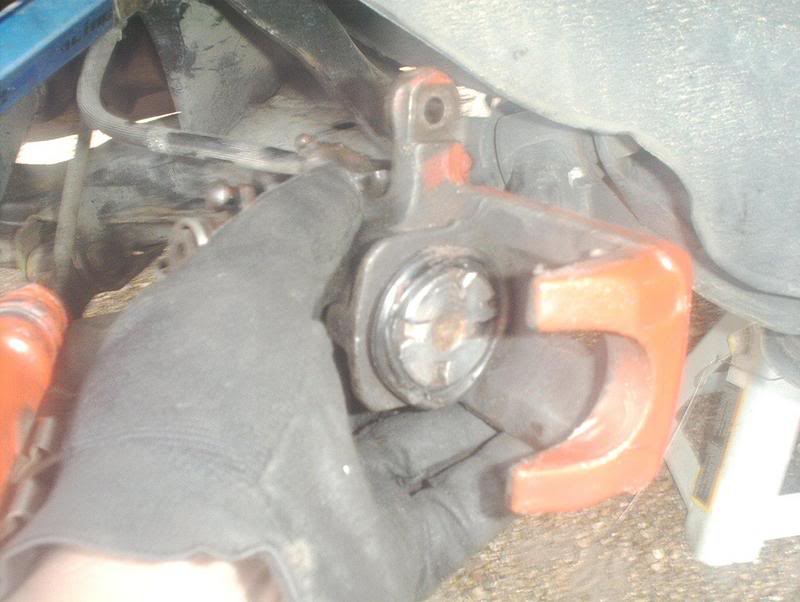
The rear brake caliper has two upper and lower pin bolts holding it to the torque member. Remove the bottom pin bolt.
Lower pin bolt.

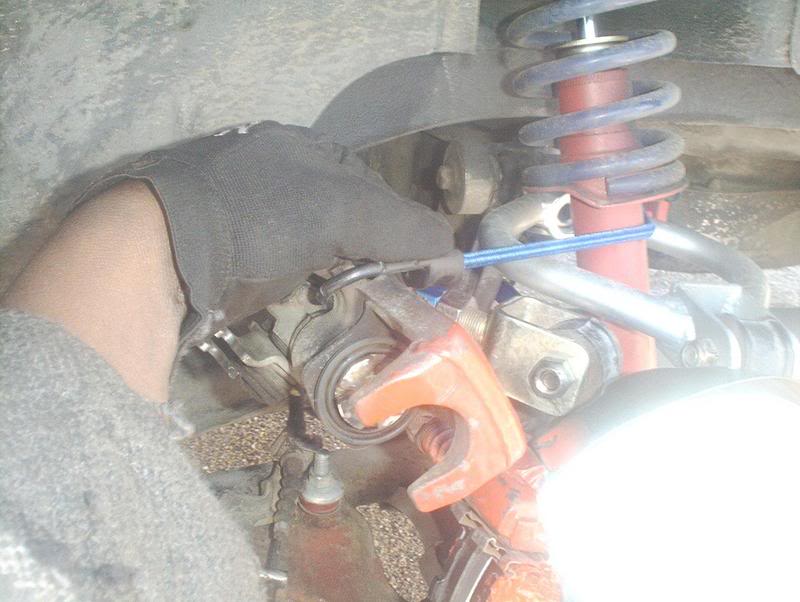
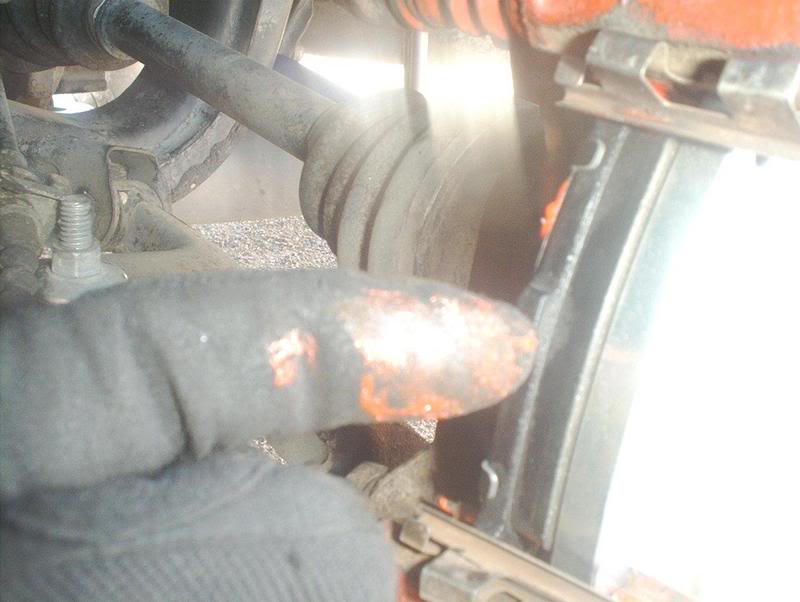
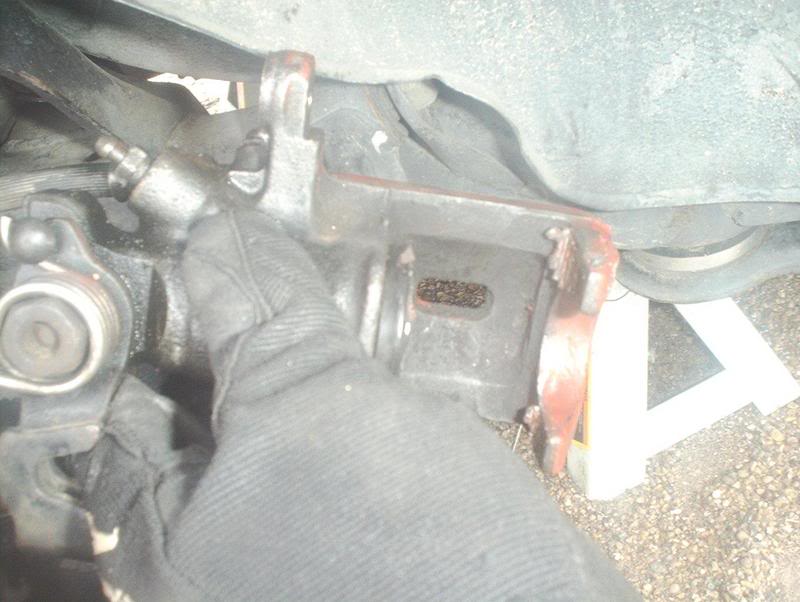
Now, loosen the upper pin bolt but do not remove it.
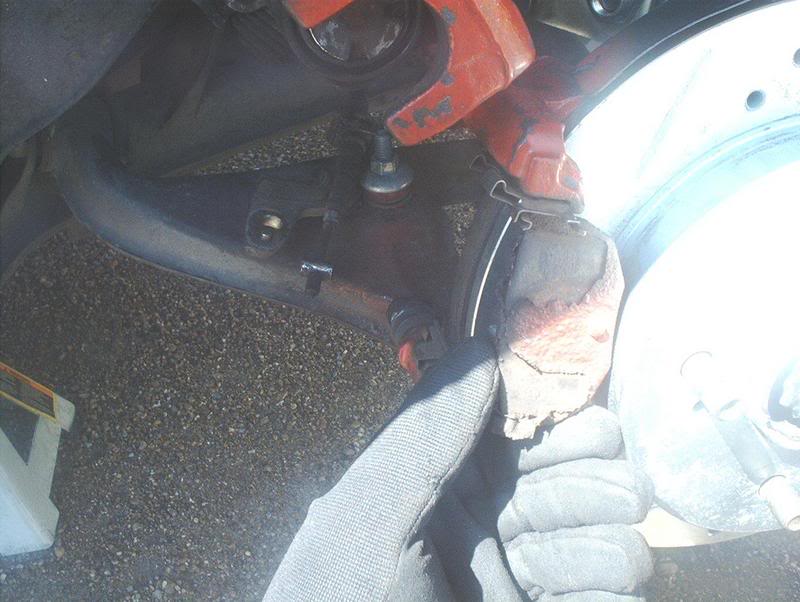
With the lower pin bolt removed and the upper pin bolt loosened, you can swing the caliper up to gain access to the brake pads.
To keep the caliper up, use a metal coat hanger or, in my case...I was all out of coat hangers, a small bungee cord to suspend the caliper in the air.
Before you remove the old pads, make sure you pay attention to how the upper and lower pad retainers are positioned. You'll need to put them back in the same way later.
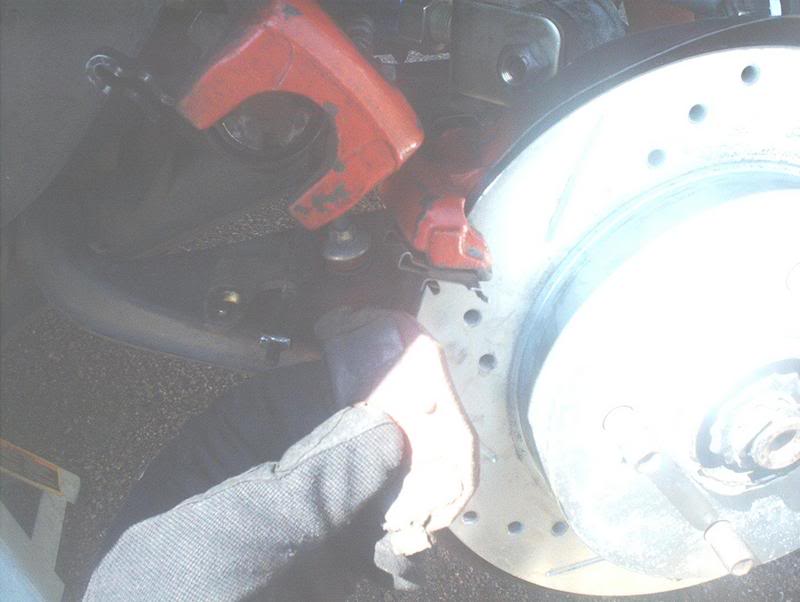
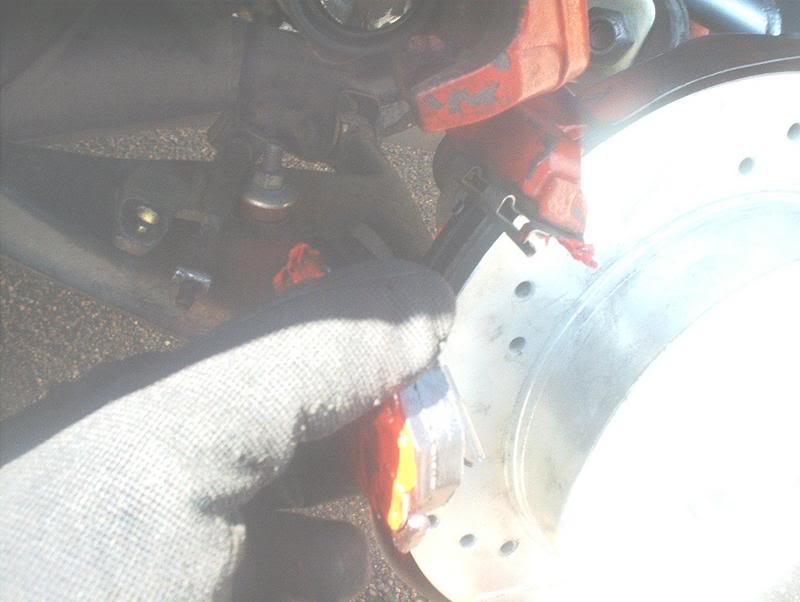
Pull the outer pad out.
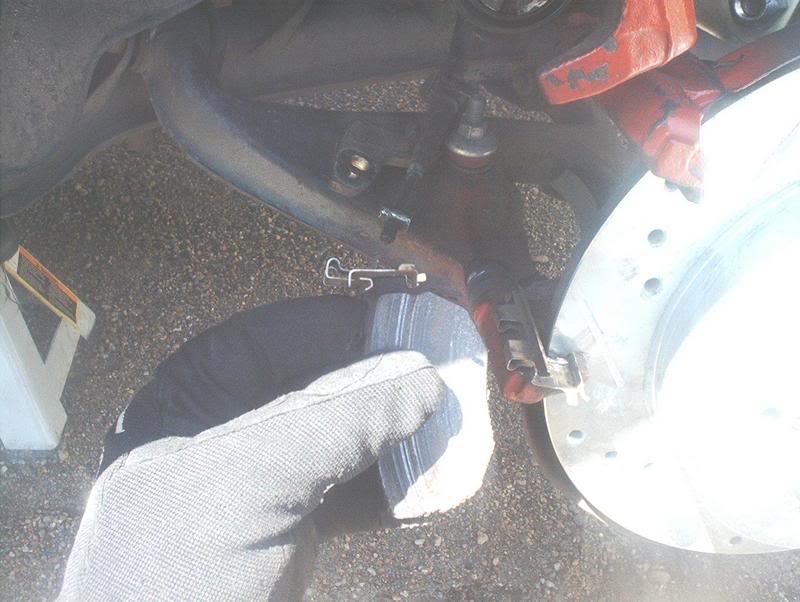
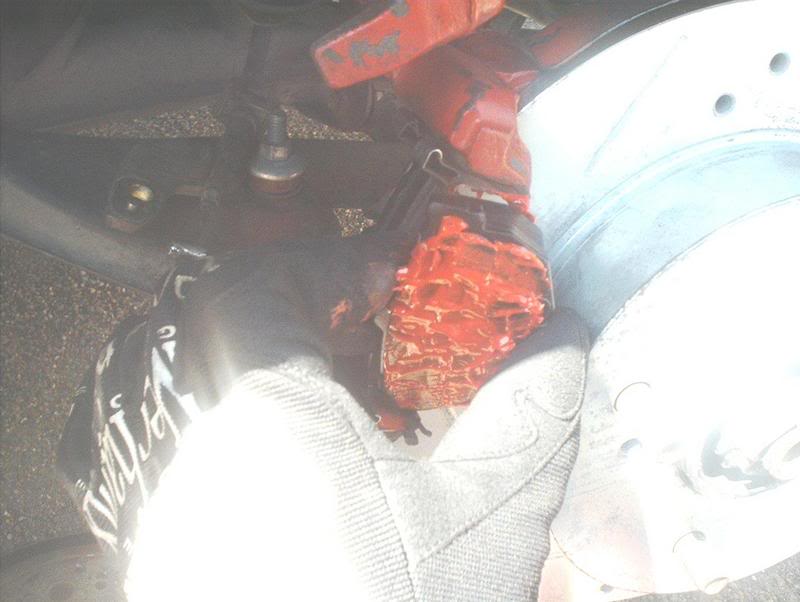
Pull the inner pad out.
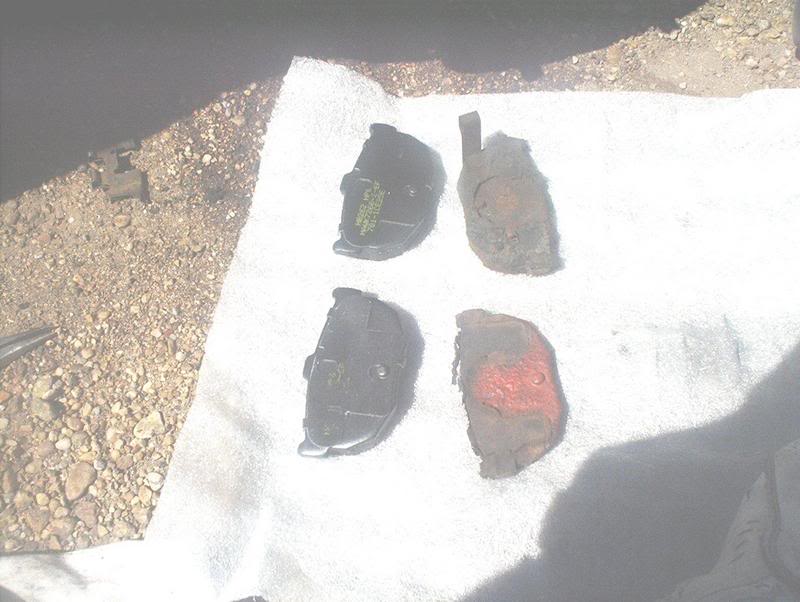
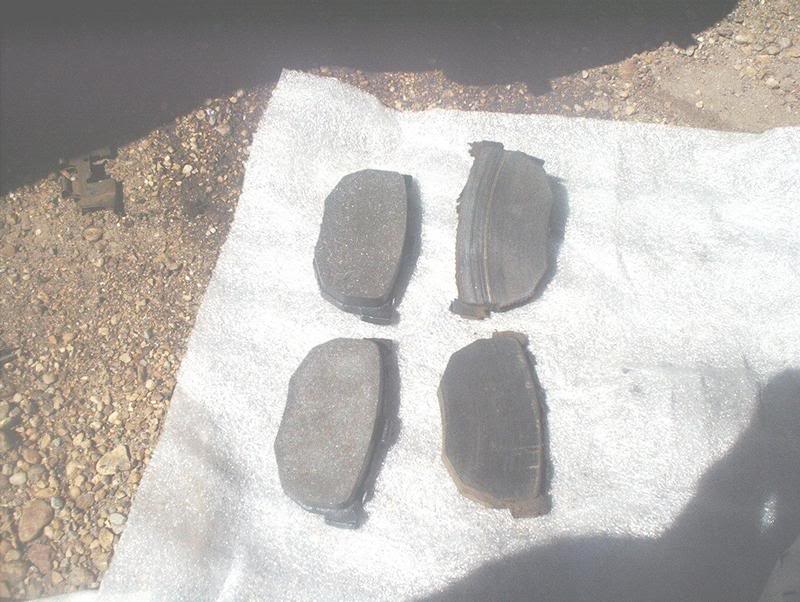
A shot of the old pads and the new pads.
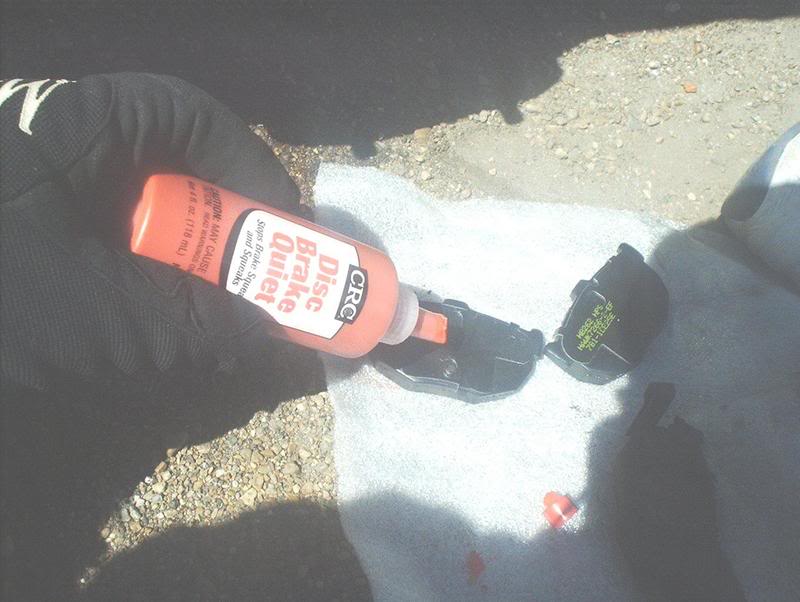
Now you can take the Brake Disc Quiet, which should keep your new pads from squealing like a stuck pig, and apply a little on the metal backings of your brake pads and let it dry for a couple of minutes.
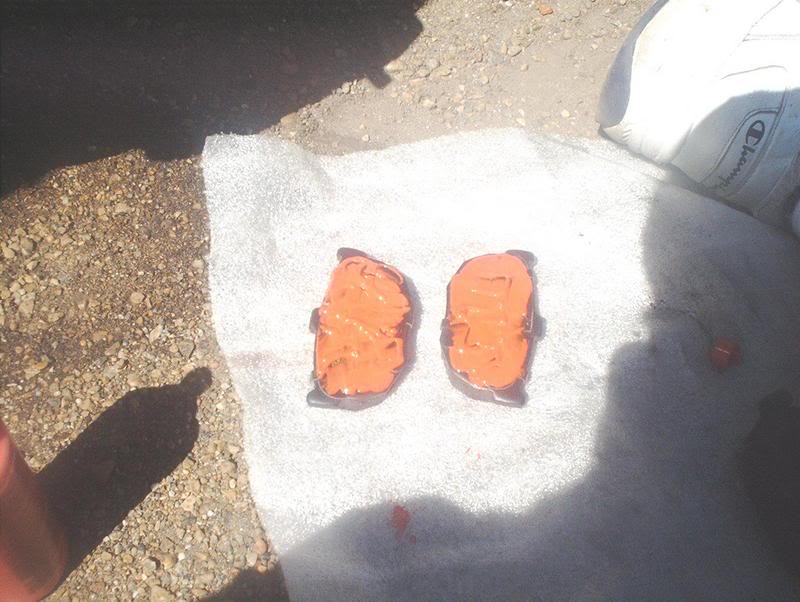
I over did it...alot!
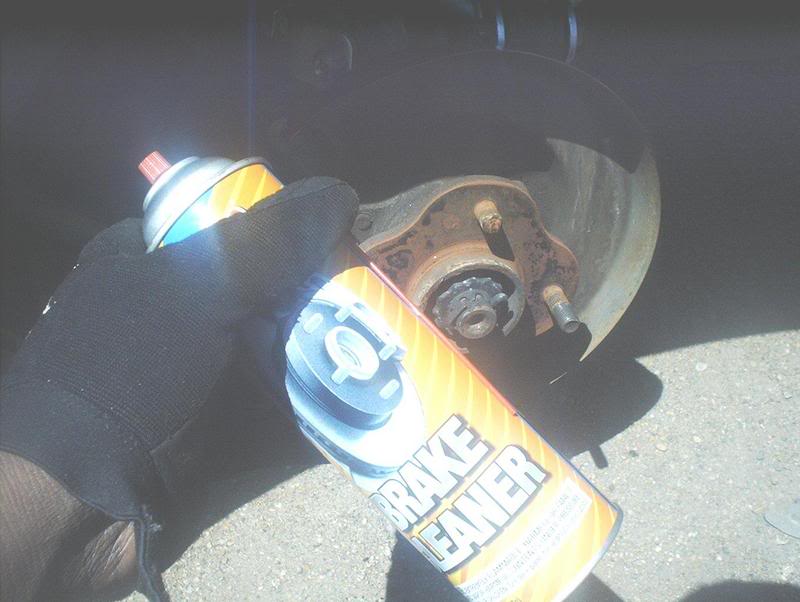
This is a good opportunity to take some brake cleaner and clean your retainers, the caliper and the surrounding area which probably has quite a bit of brake dust on it.
Take your retainers and position them on the caliper and insert your pads.
The inner pad.
Now the outer pad.

Pads in!
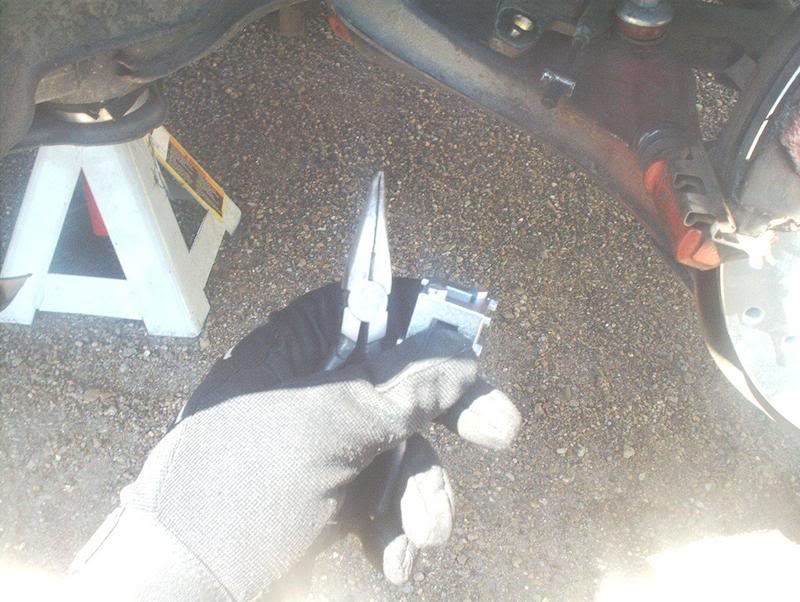
Now comes the part that aggravates many a people! In order to get the caliper over the new pads and or rotors which are obviously thicker, you have to retract the caliper pistons. There are a couple of methods to do this, the needle nose pliers or the piston tool.
This can be done with the caliper suspended so these pics are just for reference.
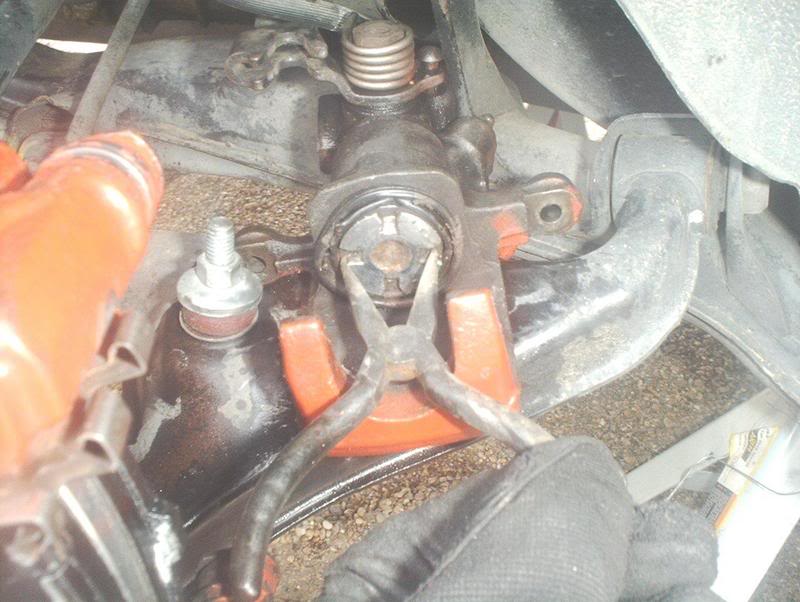
This is how you can use the needle nose to retract the piston. Be careful not to damage the rubber boot.
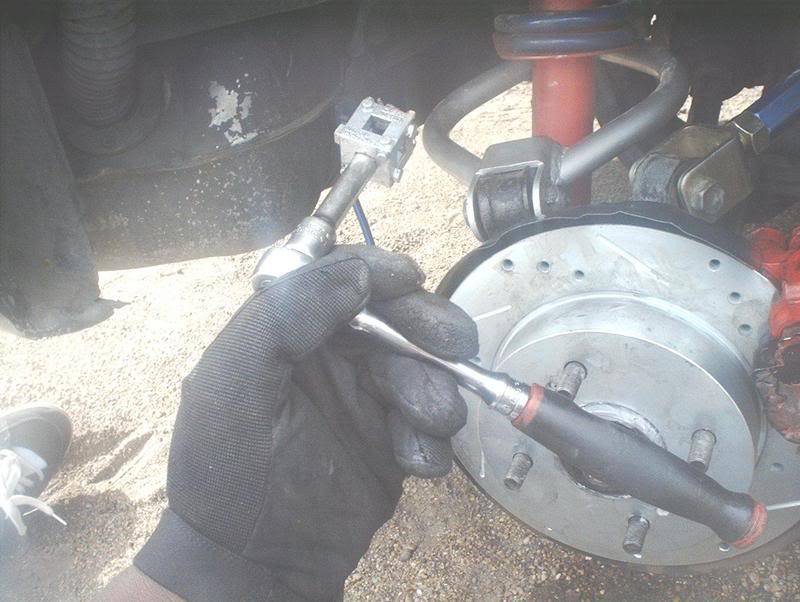
With a socket wrench and a extension, this is how you use the piston tool.

The piston tool has many different sides for many different vehicles, for these pistons you use the side with small pegs in all four corners.
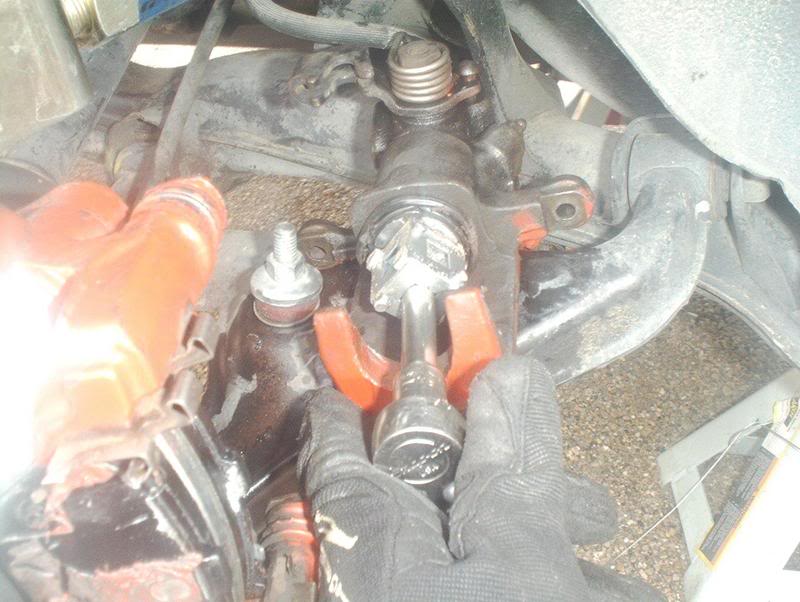
The piston should be retracted as far as it will go to allow enough room for the caliper to fit over the new pads. To retract, turn the piston clockwise!
Now that you have retracted the piston, you can slide the caliper over the new pads.
Put the lower pin bolt back into place and torque both pin bolts to 16-23ft. lbs. Connect the parking brake cable back to the bottom of the caliper, put your wheels back on and lower the vehicle. Check the brake master cylinder and make sure that it's full. Pump your brakes to seat the pads, bleed the brakes if neccessary and you're done! When you hit the road, check your pads paperwork for instructions on breaking them in...no pun intended!
Tools needed:
Jack
Jackstands
Socket wrench
14mm socket
Disc Brake Quiet
Metal coat hanger/bungee cord
Brake cleaner
Rag
BEFORE DOING THIS INSTALL MAKE ABSOLUTELY SURE YOU RECEIVED THE CORRECT BRAKE PADS AND BRAKE ROTORS OR YOU WILL HAVE A BAD DAY!!!
Hawk HPS pads/Brembro rotors
The new rotors and pads are gonna help braking performance and make your wheels look better by getting rid of the rusty rotor syndrome. I hate seeing a fat set of shiny wheels on a car with the rusty rotors peeking thru.
First, remove the brake master cylinder resevoir cap then jack the car up and remove the wheels to expose the brake calipers.
Next, use a 14mm socket to disconnect the parking brake from the caliper. I don't think I had to do it this way. I could have just taken the parking cable with the little cylinder on it and pulled over and out of the bracket on the bottom of the caliper.
The rear brake caliper has two upper and lower pin bolts holding it to the torque member. Remove the bottom pin bolt.
Lower pin bolt.
Now, loosen the upper pin bolt but do not remove it.
With the lower pin bolt removed and the upper pin bolt loosened, you can swing the caliper up to gain access to the brake pads.
To keep the caliper up, use a metal coat hanger or, in my case...I was all out of coat hangers, a small bungee cord to suspend the caliper in the air.
Before you remove the old pads, make sure you pay attention to how the upper and lower pad retainers are positioned. You'll need to put them back in the same way later.
Pull the outer pad out.
Pull the inner pad out.
A shot of the old pads and the new pads.
Now you can take the Brake Disc Quiet, which should keep your new pads from squealing like a stuck pig, and apply a little on the metal backings of your brake pads and let it dry for a couple of minutes.
I over did it...alot!
This is a good opportunity to take some brake cleaner and clean your retainers, the caliper and the surrounding area which probably has quite a bit of brake dust on it.
Take your retainers and position them on the caliper and insert your pads.
The inner pad.
Now the outer pad.
Pads in!
Now comes the part that aggravates many a people! In order to get the caliper over the new pads and or rotors which are obviously thicker, you have to retract the caliper pistons. There are a couple of methods to do this, the needle nose pliers or the piston tool.
This can be done with the caliper suspended so these pics are just for reference.
This is how you can use the needle nose to retract the piston. Be careful not to damage the rubber boot.
With a socket wrench and a extension, this is how you use the piston tool.
The piston tool has many different sides for many different vehicles, for these pistons you use the side with small pegs in all four corners.
The piston should be retracted as far as it will go to allow enough room for the caliper to fit over the new pads. To retract, turn the piston clockwise!
Now that you have retracted the piston, you can slide the caliper over the new pads.
Put the lower pin bolt back into place and torque both pin bolts to 16-23ft. lbs. Connect the parking brake cable back to the bottom of the caliper, put your wheels back on and lower the vehicle. Check the brake master cylinder and make sure that it's full. Pump your brakes to seat the pads, bleed the brakes if neccessary and you're done! When you hit the road, check your pads paperwork for instructions on breaking them in...no pun intended!
Last edited by positron; Apr 14, 2007 at 12:38 PM.

Thread
Thread Starter
Forum
Replies
Last Post